Ikea Butcher Block Countertops
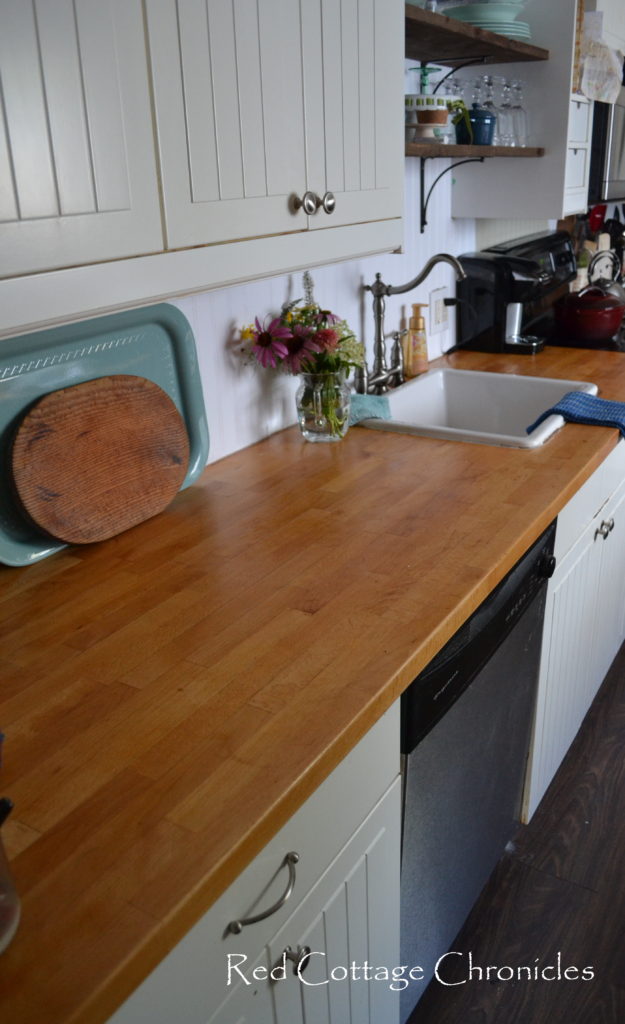
I have had a few questions about our Ikea butcher block countertops. Mostly how they hold up and if we are happy with them long term. We have had them for, oh about 6 or 7 years now I think. Could be a bit longer.
I am happy to report that I love them more now than the day they went in! While I will sand out major stains (like grape juice, oops!), I don’t sweat the small stuff and I don’t worry about forgetting a cutting board if I am in a hurry. I find all the little wear and tear just adds to the character!
We use the butcher block treatment oil from Ikea to season them. The first time we did this, I did about 5 coats, letting each coat sit about 15 minutes before rubbing off excess. Now, I recoat about every 4 to 6 months and usually only one coat is required, but I always go heavy handed around the sink area.
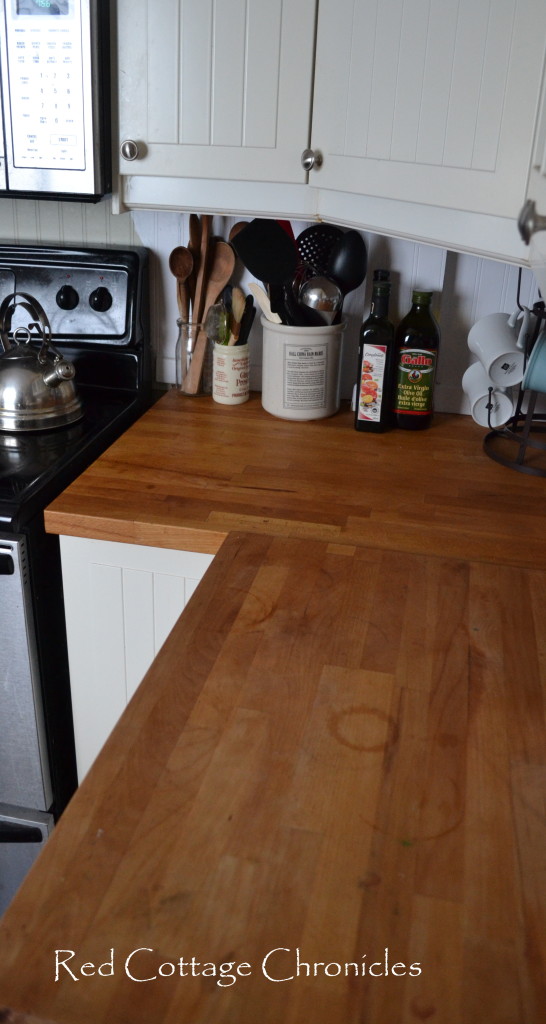
Before treating next time I will lightly sand out the ring that was left behind by an olive oil bottle. Otherwise I just skim sand the entire surface before recoating. The entire process takes only about a half hour to do all my countertops, plus the 15 minutes of sitting time.
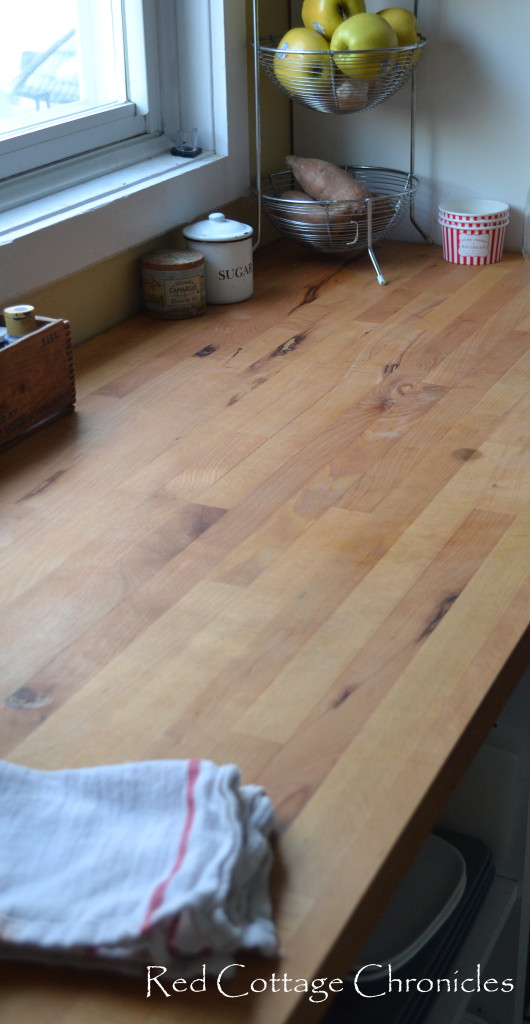
This countertop is on the other side of the kitchen (not like the room is big it just looks so different being right by the window!) and is where I roll all of my pastry dough.
The beauty of these butcher block is that you would never know that on the other side of this slab of counter is the biggest, blackest burn mark you will ever see! At Christmas time last year, Tim set up our warming station, but accidently put the heating element upside down so it was right against the counter. It wasn’t until we started to clean up and moved it that we even realized. I freaked out at first, but then simply turned over the countertop. Good as new! (Tim had never gotten around to fastening this piece in to the counter – and it turns out that was a good thing!)
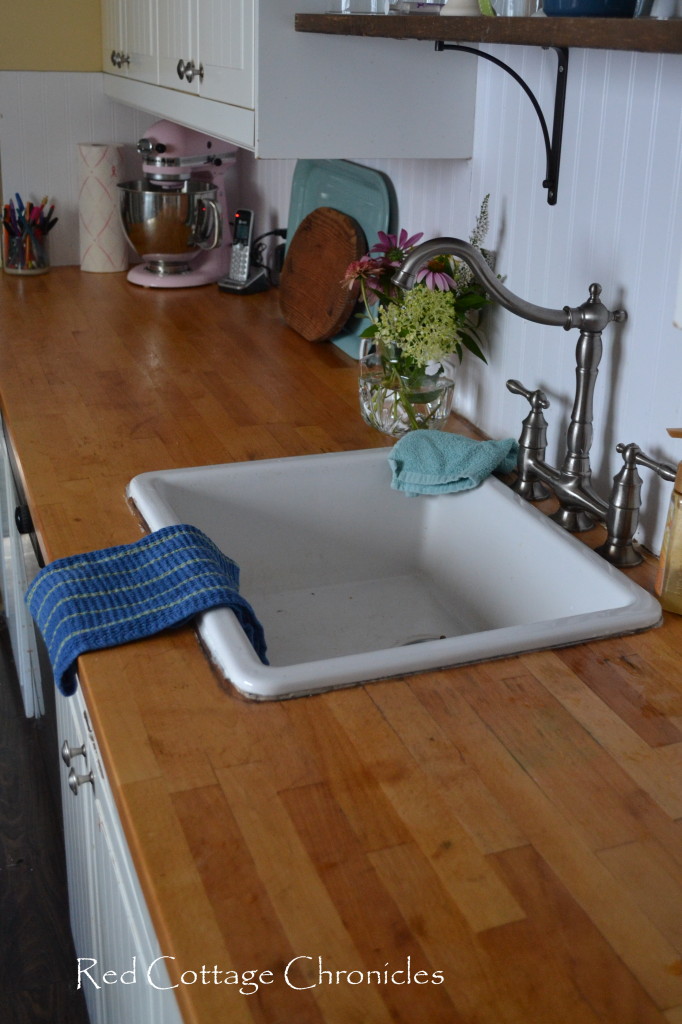
The one thing that is a thorn in my side is this raised edge sink. Not a good idea, no matter what counters you choose. It requires re-caulking often as water can pool up against the outer raised edge and cause the caulking to lift and water to get underneath. Obviously you cannot wipe crumbs right into the sink, which also annoys me. I do love the look of the white porcelain, and we will be switching this out to an under mount or farmhouse apron style kitchen in the near future.
We choose the Ikea butcher block because the price is so reasonable and I can honestly say the quality is outstanding! The wood has never raised even when water has sat on it unnoticed for a time. It is easy to maintain and it fits in with my coastal cottagey feel! Not to mention we were looking for a DIY option to help keep the total cost down.
So, there you have it. Although I lust after granite or marble when I see it in magazines, I really am in love with my butcher block and can’t see us changing it anytime soon!





Very interesting post. I do think it’s beautiful, but I wonder about setting hot things down. I guess you just use a lot of hot plates or pads? Personally I think this is much prettier than ugly dark granite. I hate that you can’t even see if there is food residue on them. Ick. This is far nicer.
Thanks Sara! I actually try to use hot pads, which I have several at easy reach, but I know for a fact the rest of my family is not so cautious! Other than the big burn at Christmas time, I have not really had any scorch marks at all to worry about! I often set cookie sheets straight from the oven on the counter without a hot plate without a problem!