
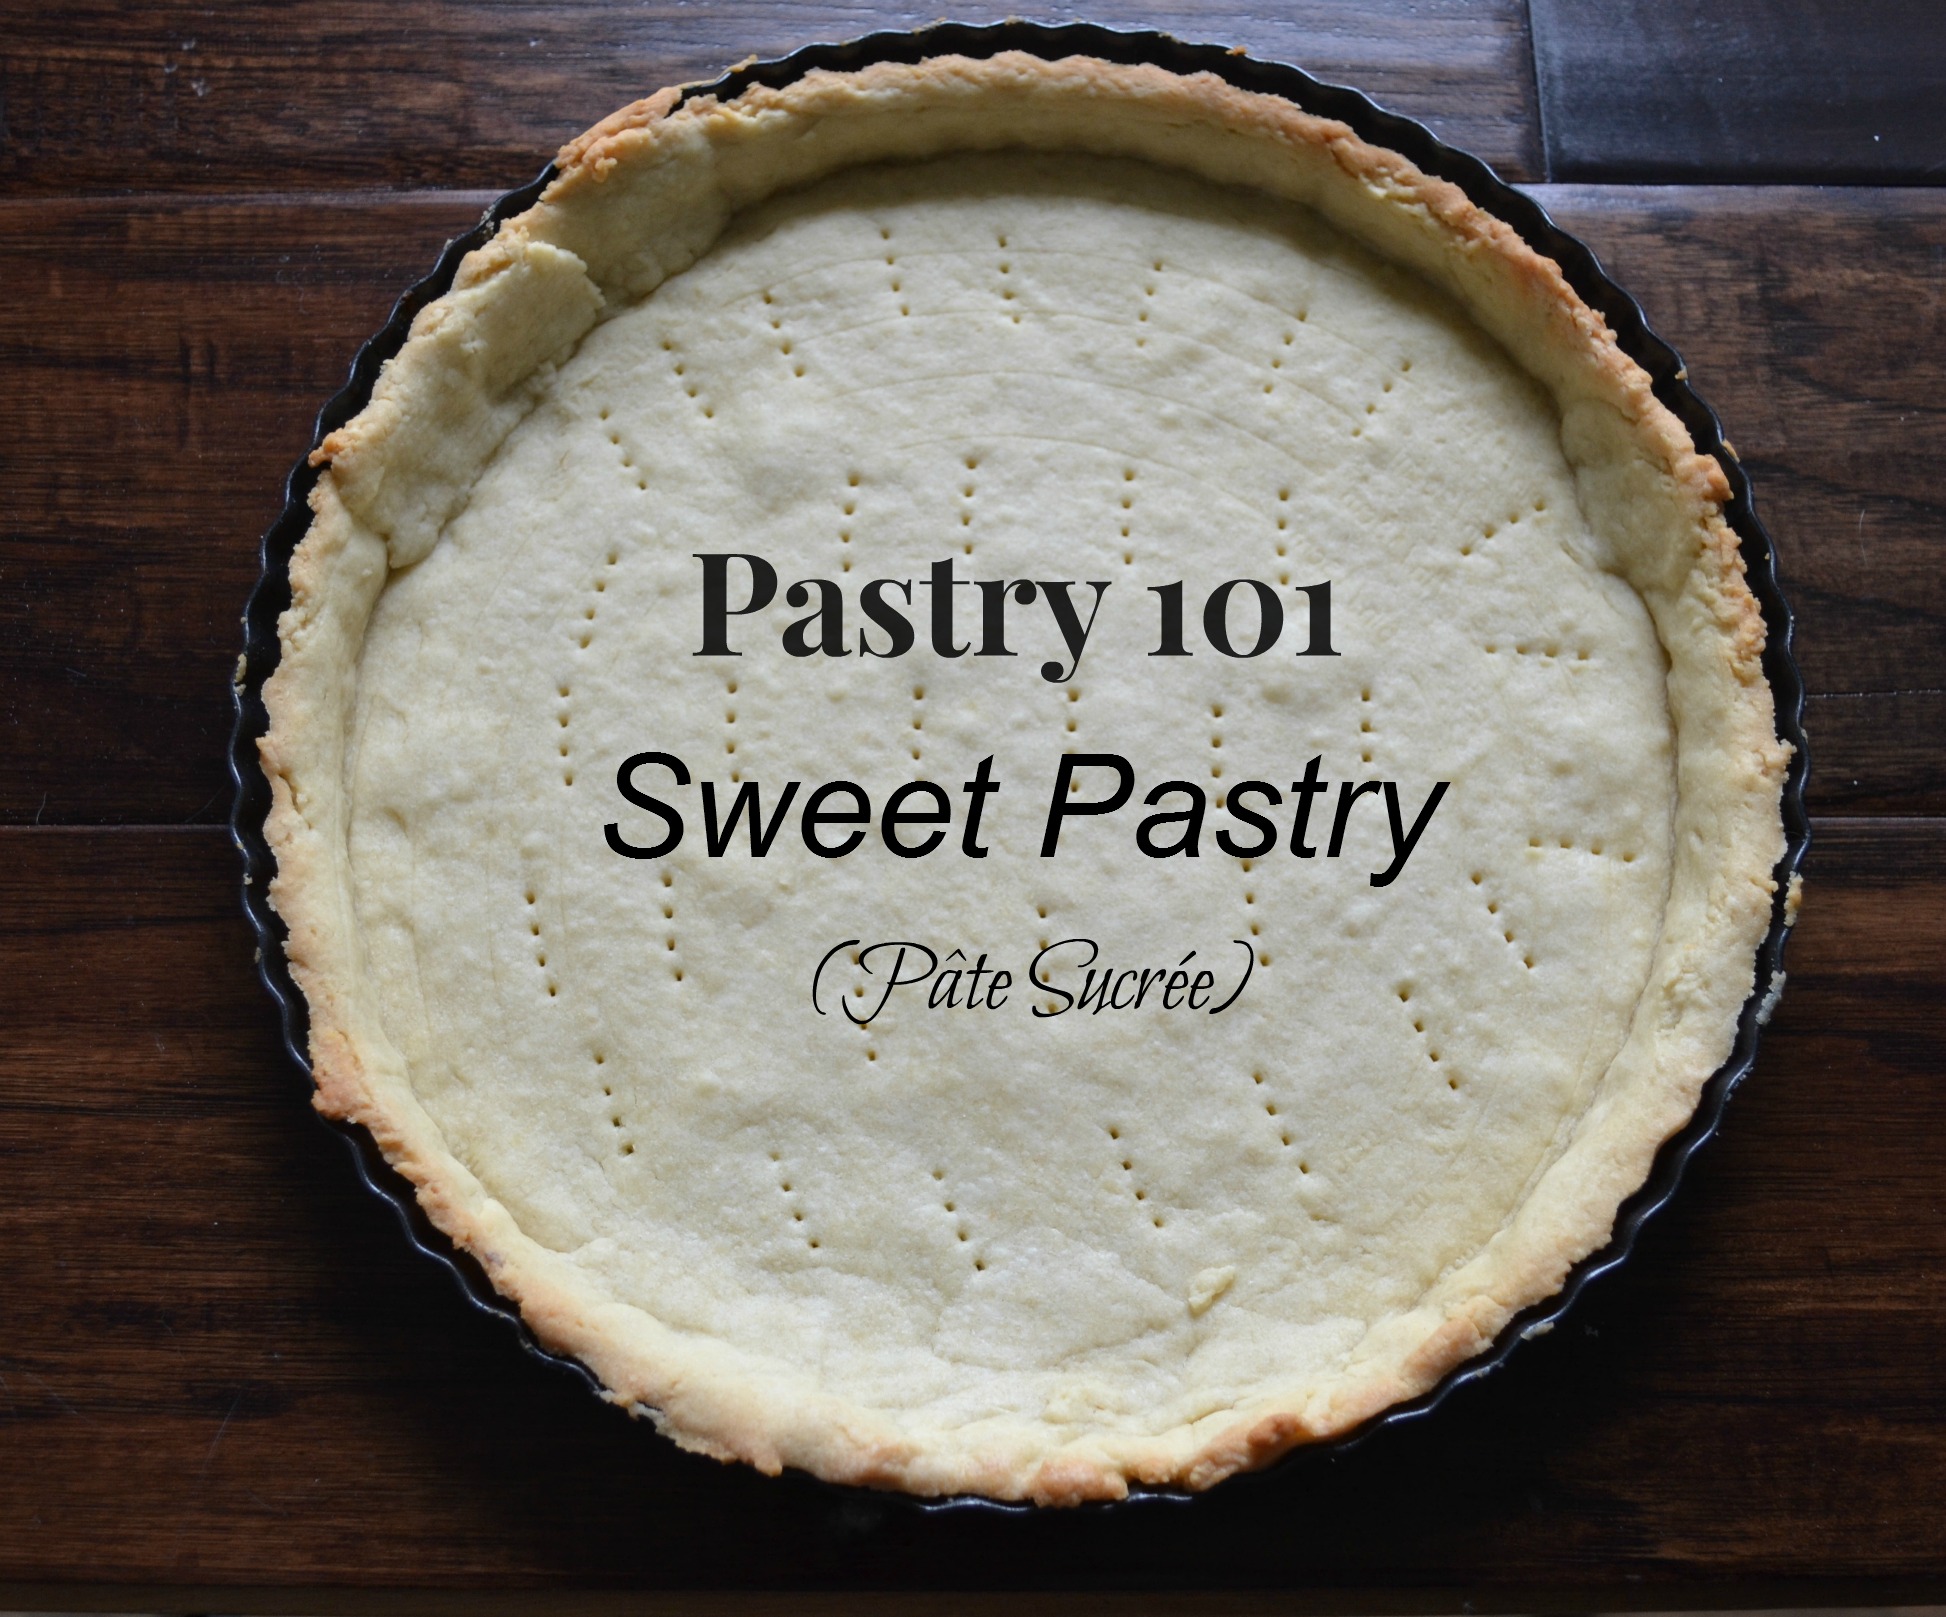
Pastry 101 – Sweet Pastry
This recipe for sweet pastry dough (also known as Pâte Sucrée) is an easy, versatile pastry dough that is the perfect base for tarts, both large and small.
When I signed up to take the first class towards my Baker’s Certificate program at our local College’s culinary institute, Pastry 101, I had been dreaming of creating those cute little pastry swans you see at fancy bakeries, or elaborate cakes with many layers and amazing fillings!
I don’t know what made me think this is what we would be learning, it is just what I had built up in my mind! You would have thought the 101 in the class title would have been a dead giveaway! So imagine my surprise when we started with the basics!
Now, I am a bit of an impatient person and have been known to jump ahead on certain tasks, but baking is one of those tasks that make you slow done and take notice of what you are doing! The perfect pastry, after all, is the basis of many outstanding desserts! While I am no expert, and still going through the process of learning, I thought I would share a some of the basics I learned so far.
Tips for beginner bakers
Read your recipe
One of the best things I learned in class was before you even pull out a mixing bowl, READ YOUR RECIPE! And then read it again. It seemed a bit redundant at first, but for an impatient person like me, it really helped me slow down and enjoy the process. It is your guide to the best possible finished product. I would recommend you print out the recipe below and look it over a couple of times before you begin following the step by step photos below.
Gather your ingredients
After you are familiar with your recipe, gather all your ingredients before you begin. There is nothing worse than getting part way through a recipe and find you are missing an ingredient. Some recipes cannot just be put on hold while you run out to get what you need.
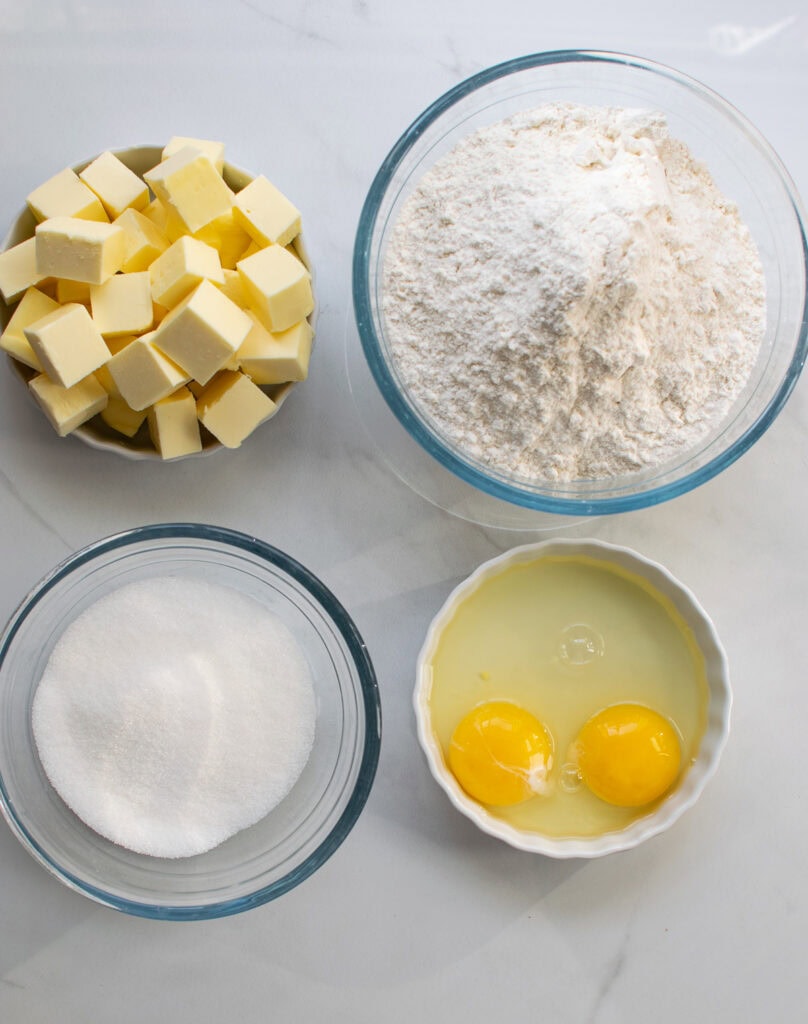
Ingredients for Sweet Pastry
- granulated sugar
- butter
- eggs
- all purpose flour
- salt
How to make sweet pastry
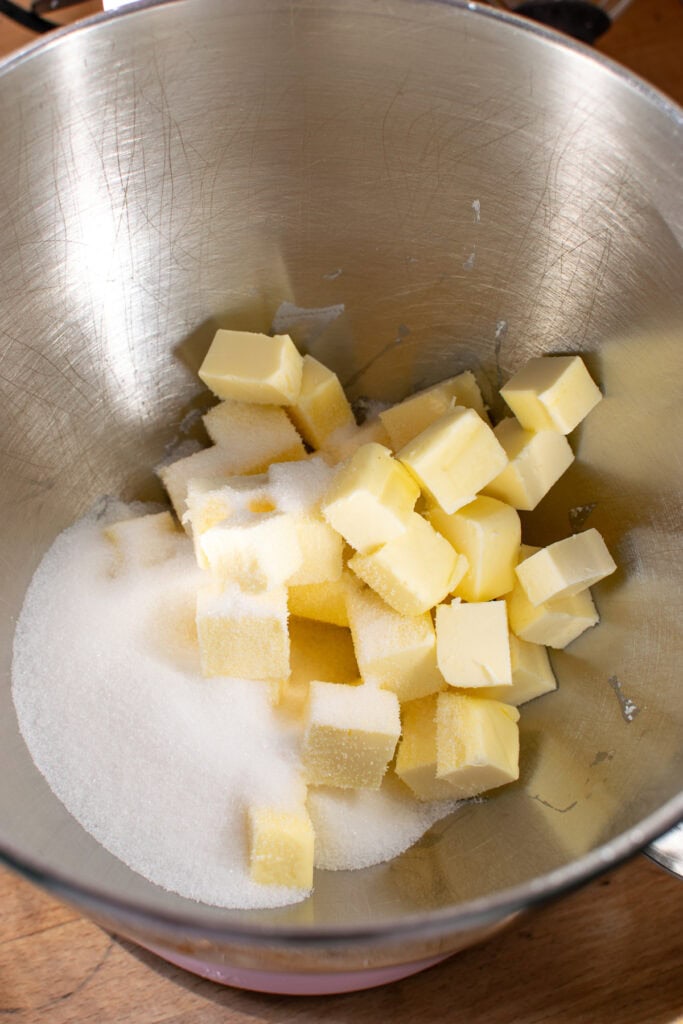
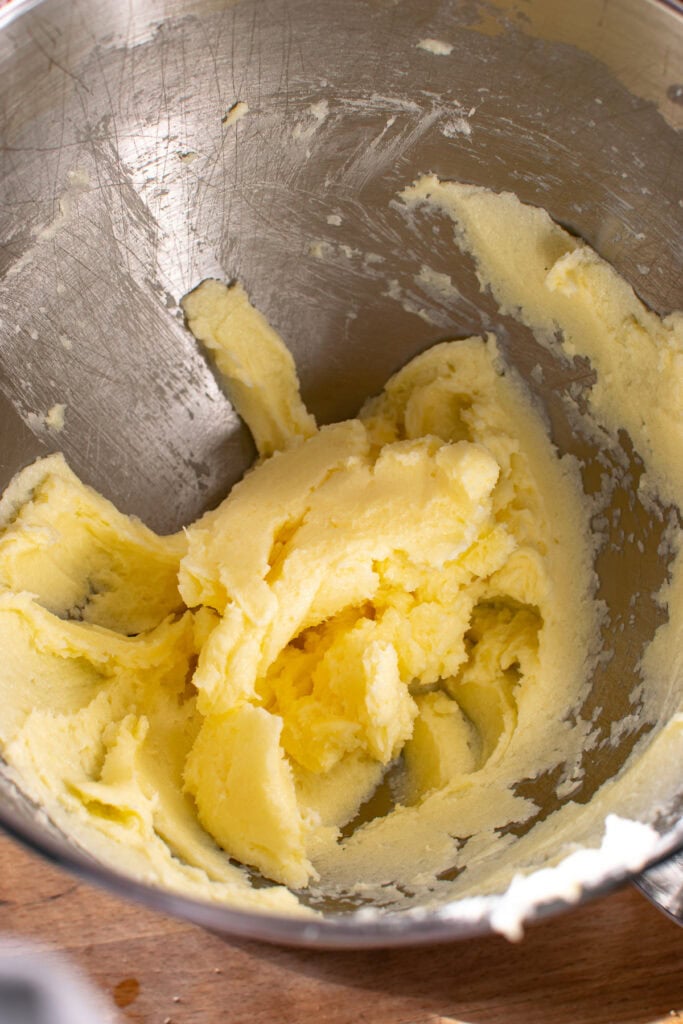
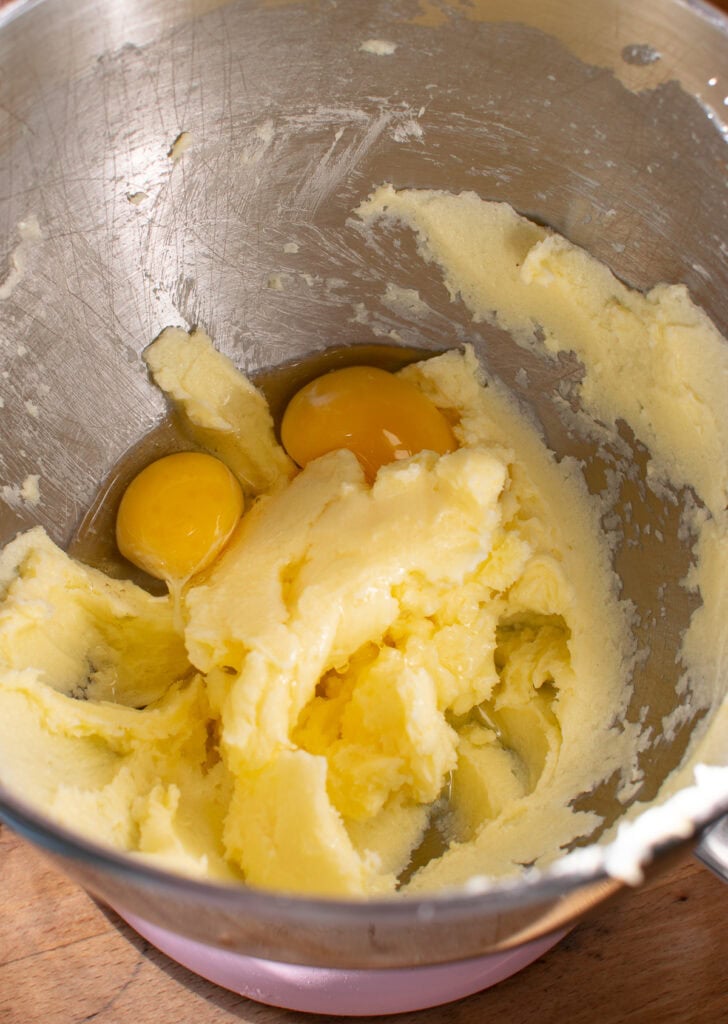
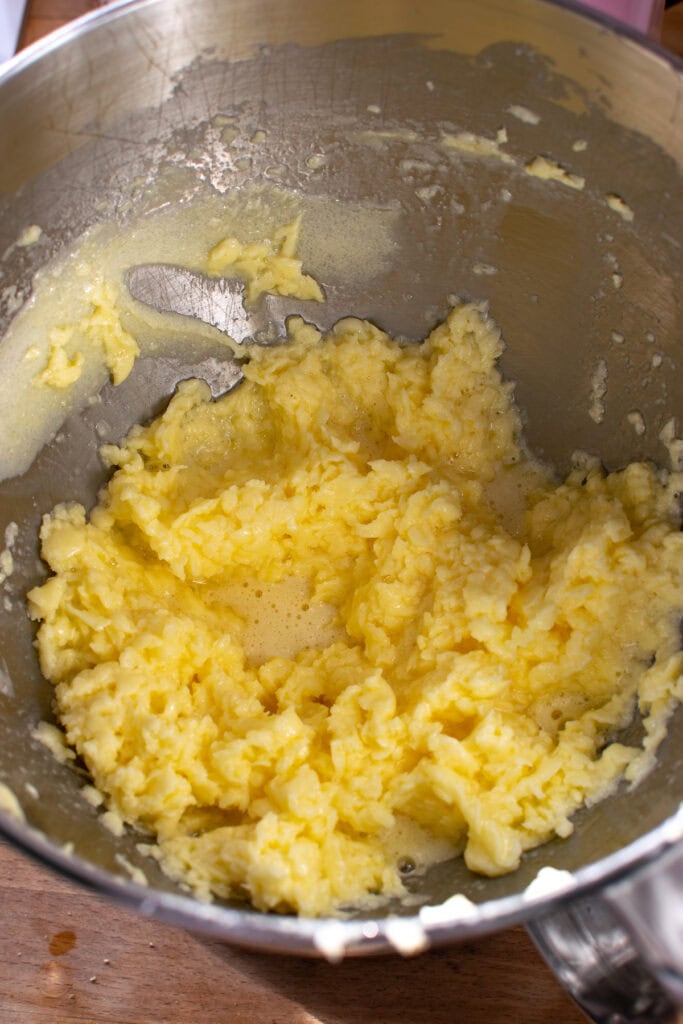
Combine butter and sugar in bowl of electric mixer and beat until light and fluffy. Add 2 eggs and beat well to combine.
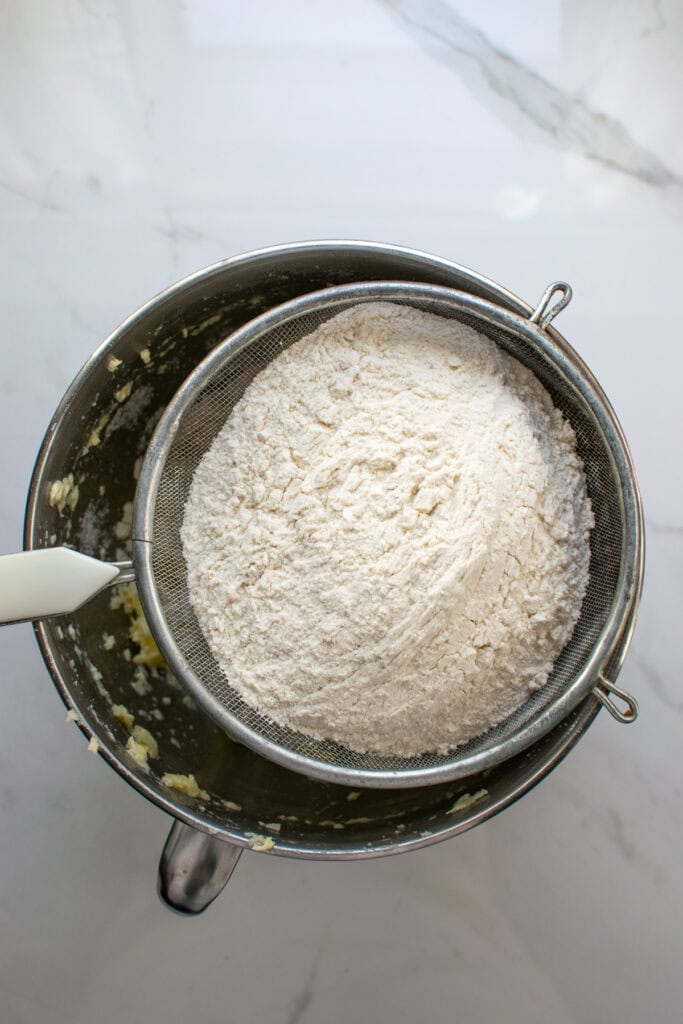

After eggs are incorporated, sift flour and salt into mixture.
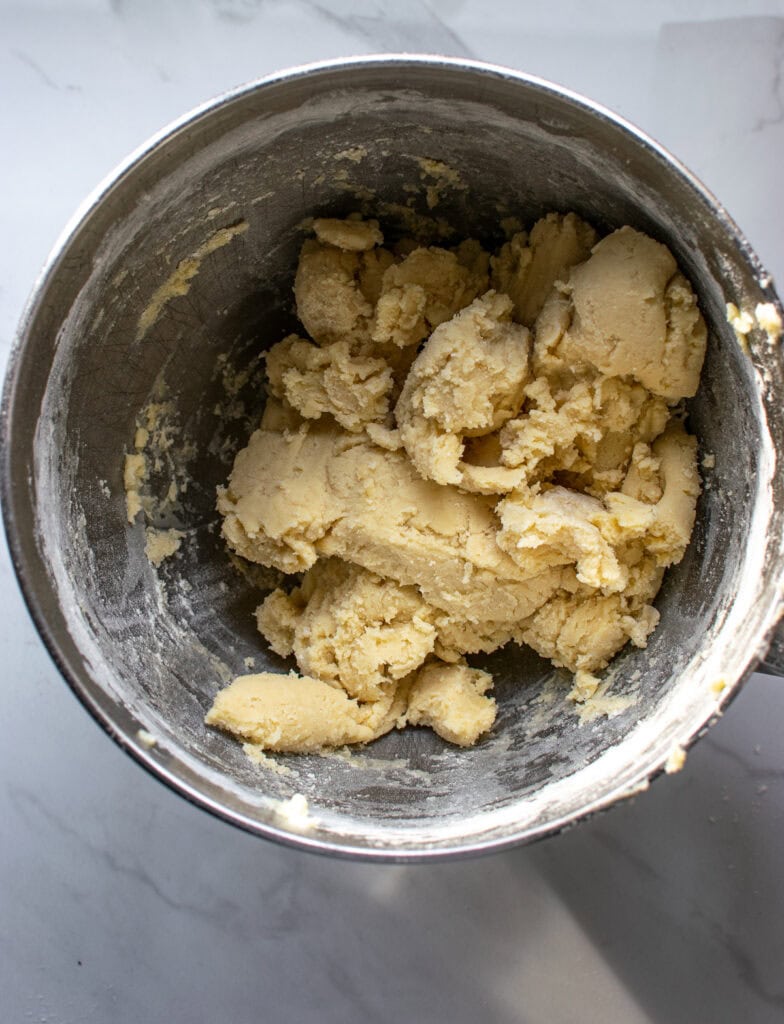
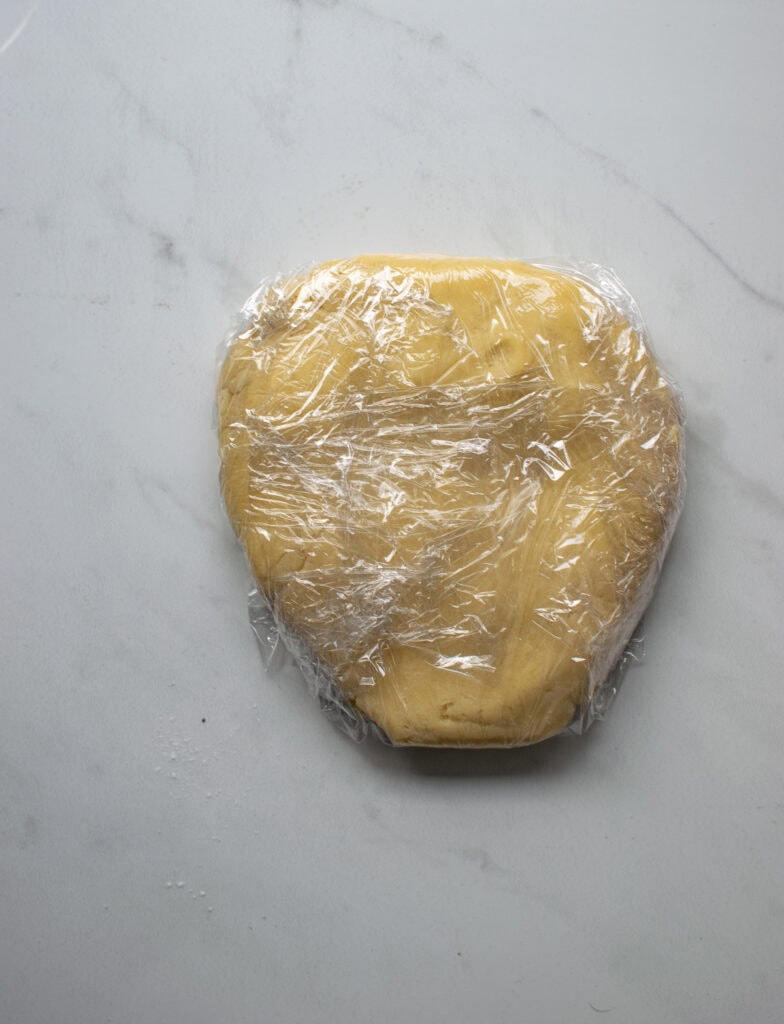
Mix on low just until combined and dough comes together. Divide dough in half and flattened each half into a disc, wrap in plastic wrap and refrigerate for at least an hour before using.
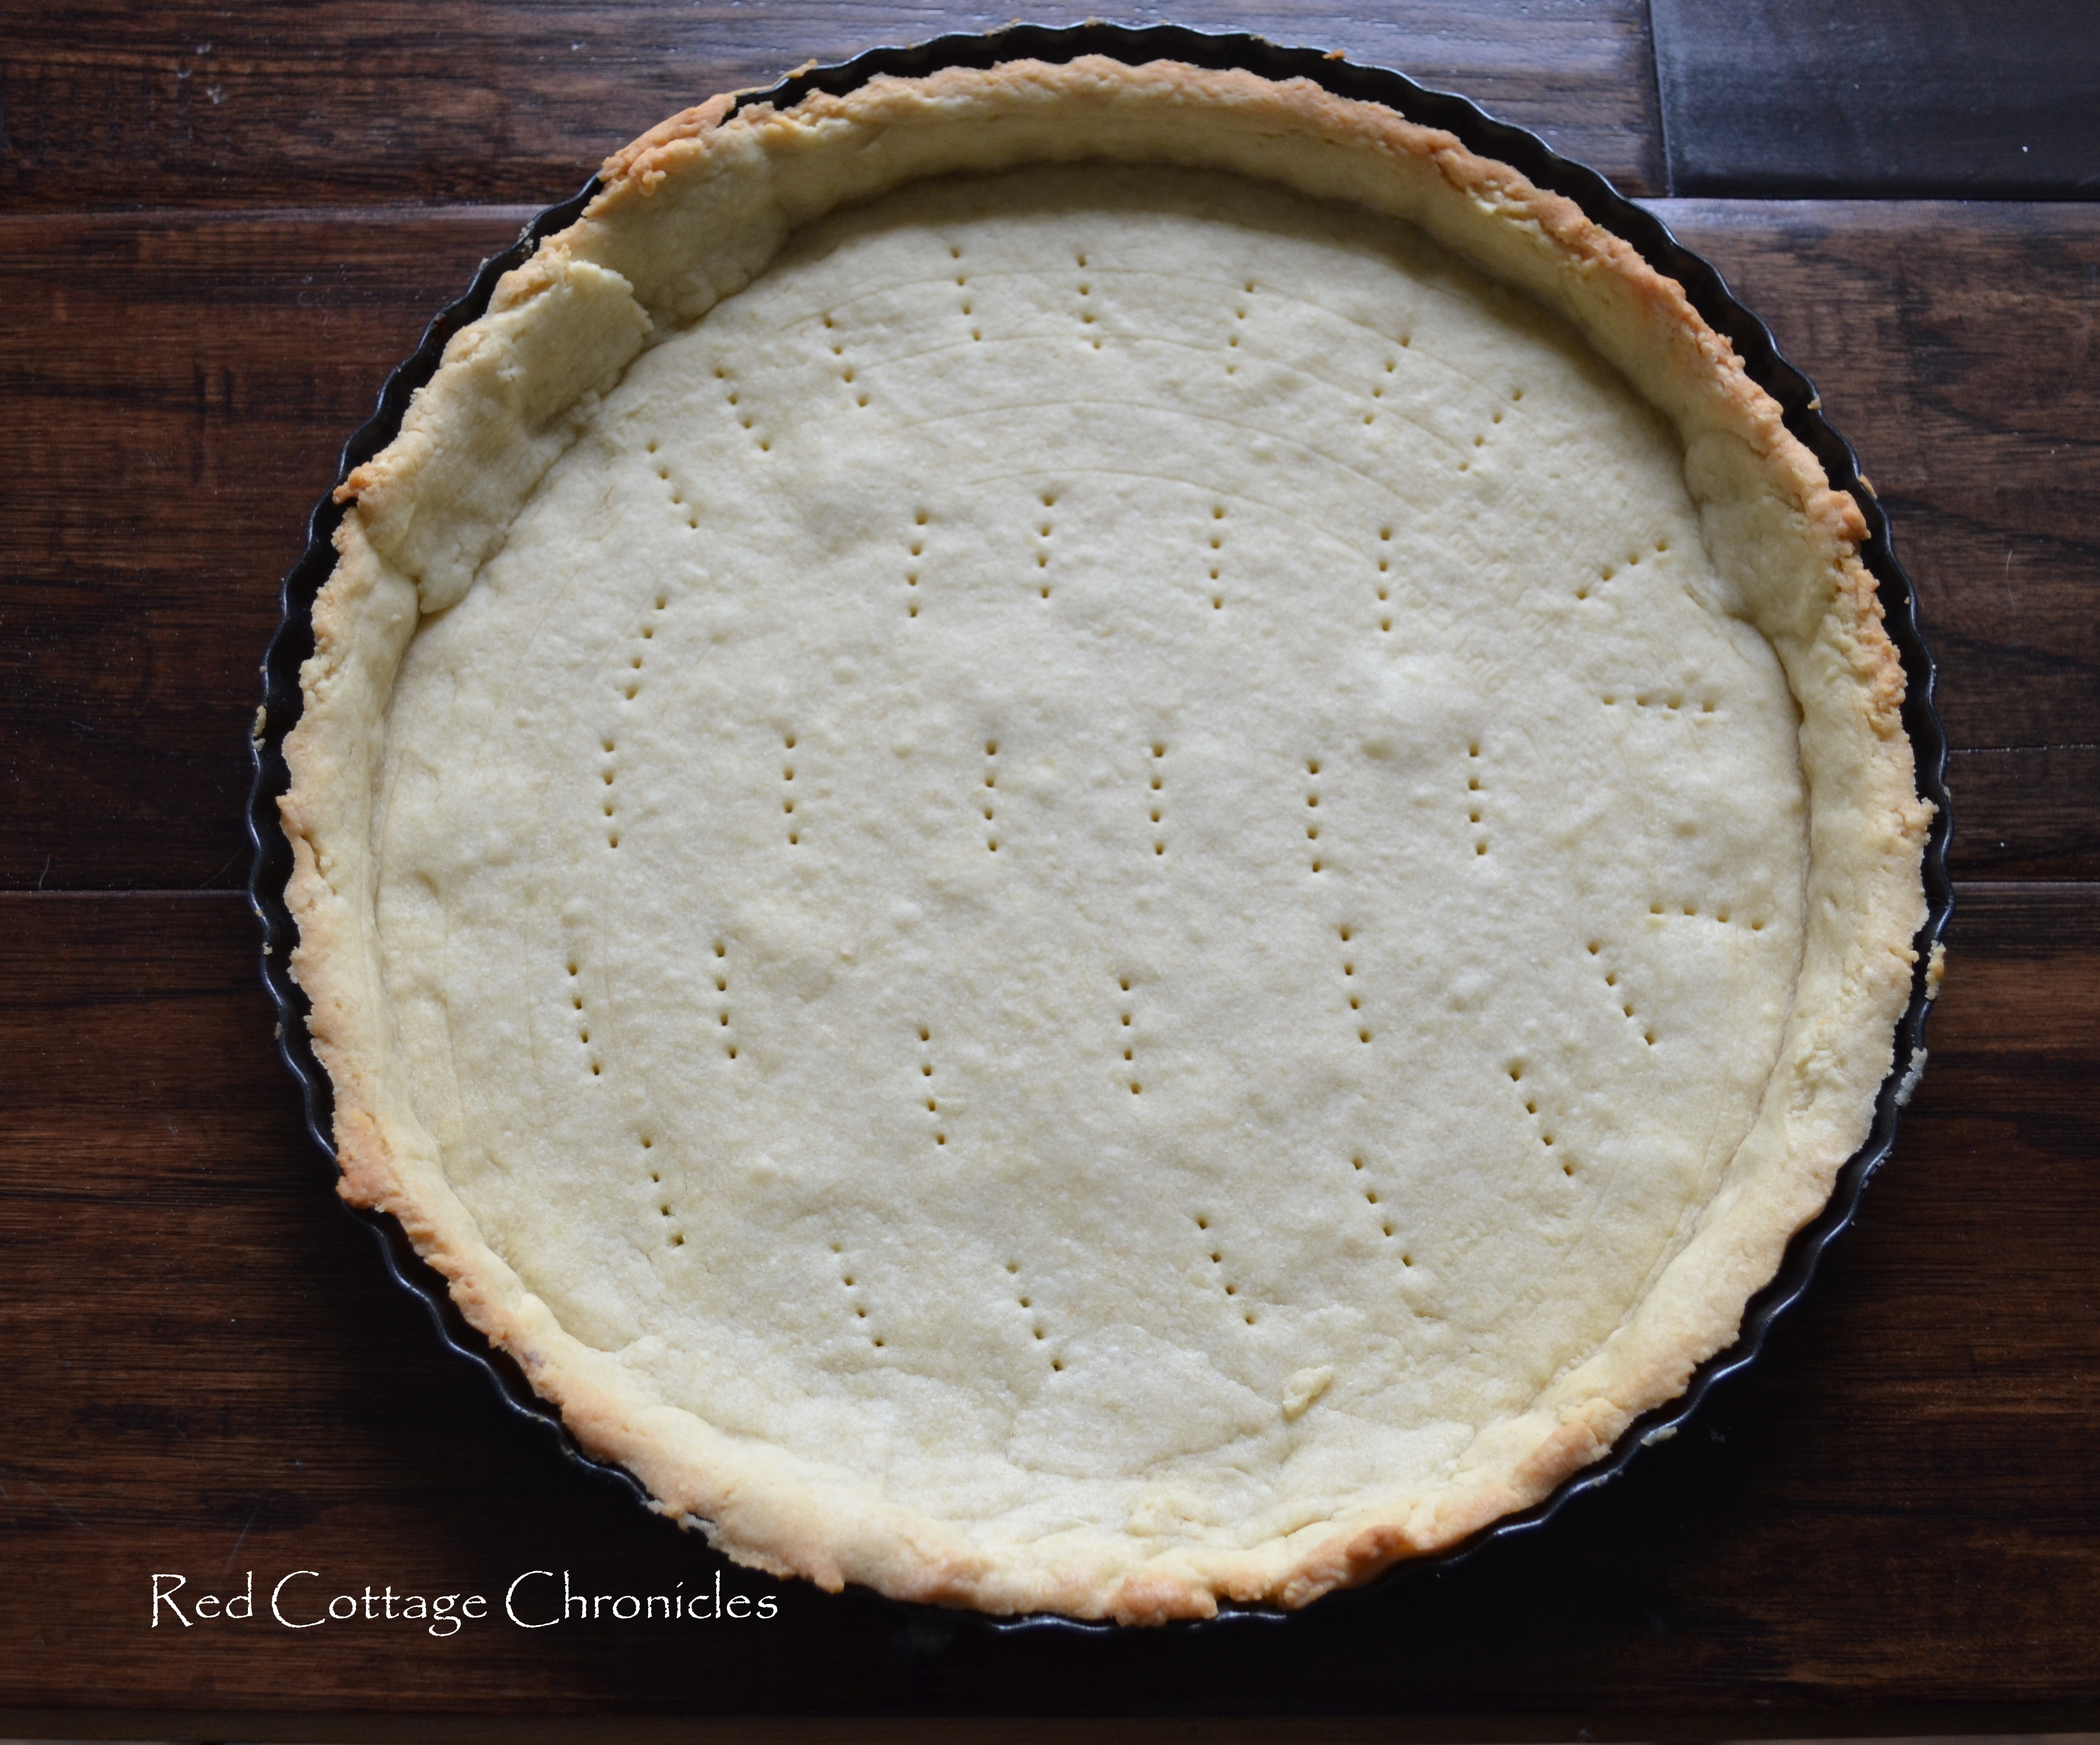
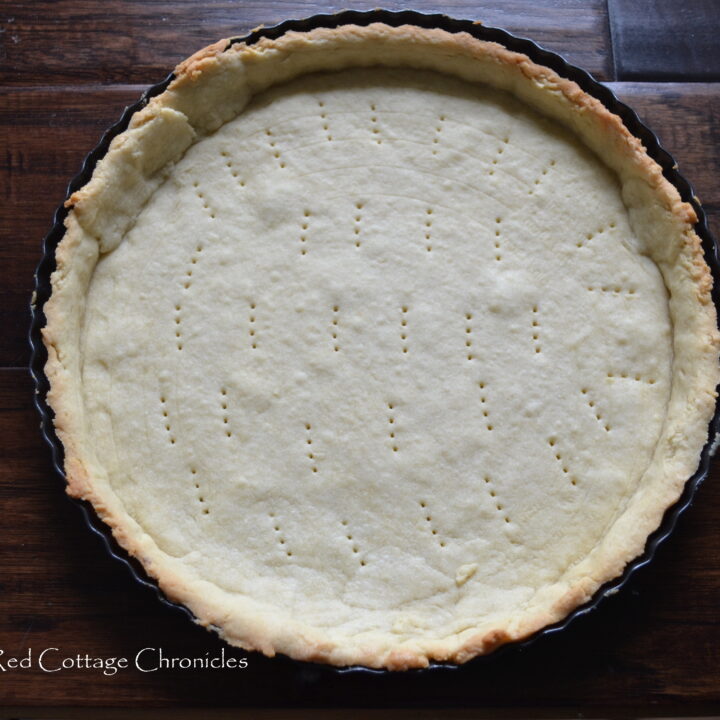
If you are preparing a tart that requires blind baking, follow the directions below.
Roll dough to about an 1/8th of an inch thickness. Transfer to tart pan with removal bottom, “dock” the dough by pressing tines of a fork throughout the bottom of the dough, and bake at 350 degrees for 15 to 20 minutes. In my oven 18 minutes gives it a nice golden edge
I made this tangy lemon curd tart with my blind baked sweet pastry dough however it works with a variety of fillings such as chocolate, lemon, a light whipped mousse…the possibilities are endless!
Sweet Pastry Dough
This easy sweet pastry dough is the perfect base for a variety of tarts. It can be blind baked for no-bake tart fillings or unbaked for fillings that require baking.
Ingredients
- 125 grams granulated sugar (1/2 cup + 1/8 cup)
- 285 grams room temperature butter (1 1/4 cups)
- 2 large eggs, room temperature
- 460 grams all purpose flour (3 2/3 cups)
- Pinch of salt
Instructions
- In the bowl of electric mixer fitted with paddle attachment (or a large mixing bowl if using hand-held mixer), add butter and sugar until light and fluffy.
- Add the eggs and beat until combined.
- Sift flour and salt into butter mixture, mix on low just until combined and mixture starts to form a ball.
- Divide into two portions and flatten each into a disc, wrap in plastic wrap and refrigerate at least 30 minutes.
Notes
For recipes that call for a blind baked crust, Preheat oven to 350 degrees, remove dough from refrigerator and allow to stand for 10 minutes before rolling out on a lightly floured surface to about 1/8 inch thickness. Transfer to appropriate tart pan with removal bottom, or mini tart tins. Return to refrigerator to chill for 30 minutes. Poke the bottom of crust with a fork and bake for 15 to 18 minutes for large tarts, or about 12-15 minutes for small tarts, or until edges are just golden brown.
Each portion makes one large tart or up to 16 small tarts.
This dough will keep in the refrigerator for 1-2 days, or can be frozen up to 2 months and thawed in the refrigerator before use.


I found your site on facebook’s Blog Group. I have to save this- thanks!
Welcome Linda! So happy to have you stop by!
From LTB! Love your blog! Subbed and followed. This is a great tutorial! I’m trying this ASAP. love the images too!
Carolann xo