
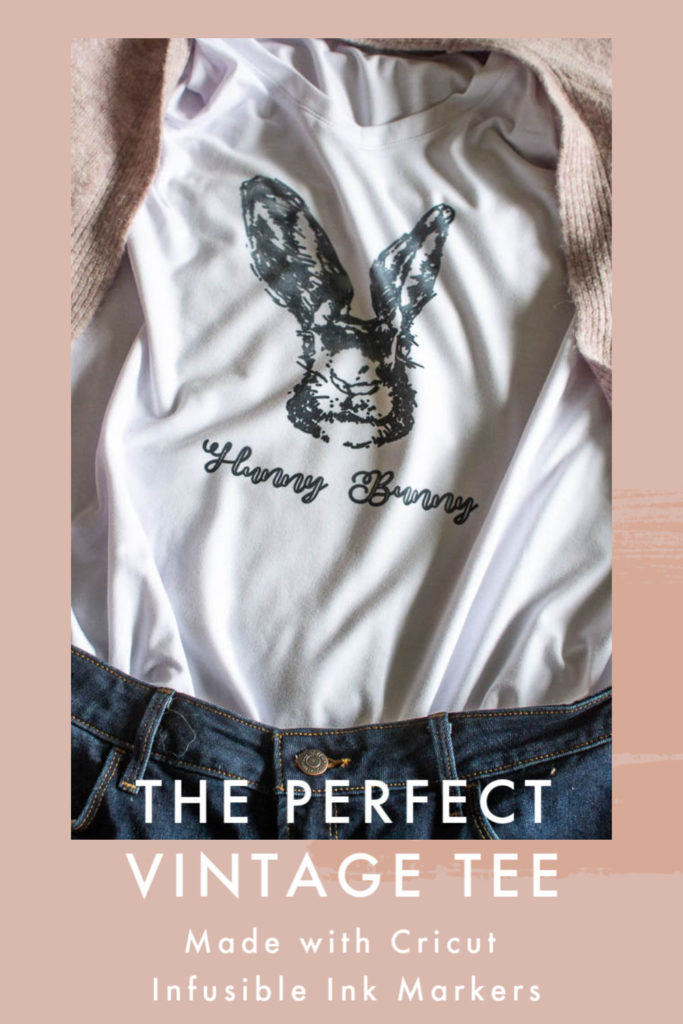
Vintage Look T-Shirt with Cricut Infusible Ink Markers
Make this cute t-shirt with a vintage vibe using with Cricut Infusible Ink markers.
There is a store at a local mall that has the cutest vintage looking t-shirts. By vintage I mean the image is slightly faded and looks like it has been through the washing machine more than a few times. Like a favorite t-shirt you have had for years.
Sadly, the price is anything but vintage!
Turns out I can create my own custom t-shirts with that vintage vibe. Enter my Cricut machine and Infusible Ink markers!
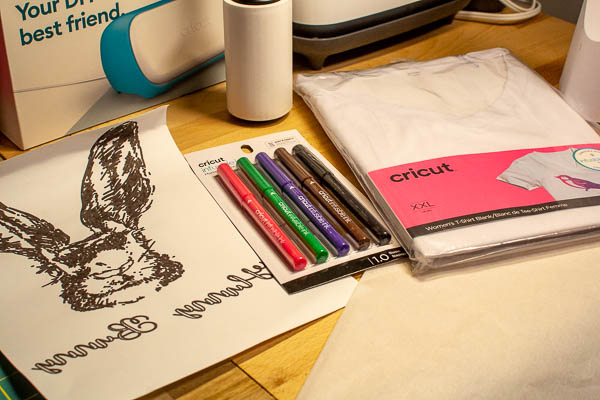
Did you know you can actually use these special markers to draw an image onto laser copy paper? Yes, you sure can!
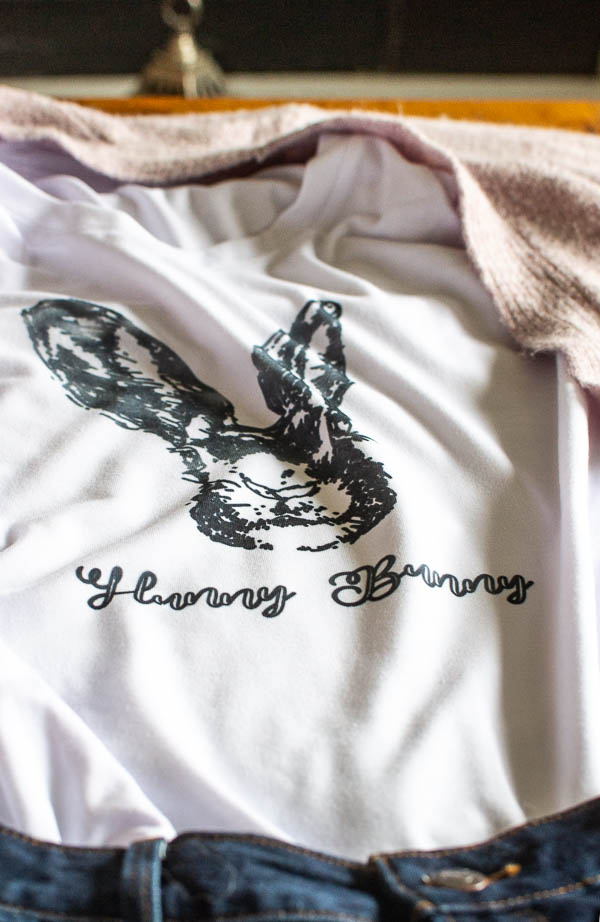
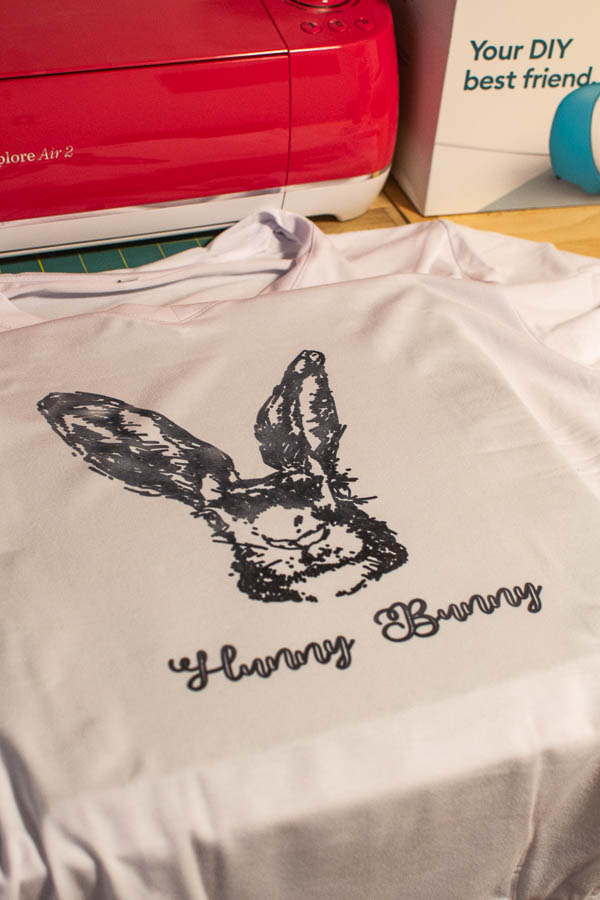
Once the image is drawn onto the paper, it becomes an ink transfer that can be heat pressed onto any Cricut Compatible blank! I used the white v-neck t-shirt to create this cute “Hunny Bunny” Easter t-shirt!
How to create a custom image with Infusible Ink markers
- You can find loads of designs and images in Cricut Design Space, or you can do what I did and purchase one through Creative Market
- You can see this post for more details on this process
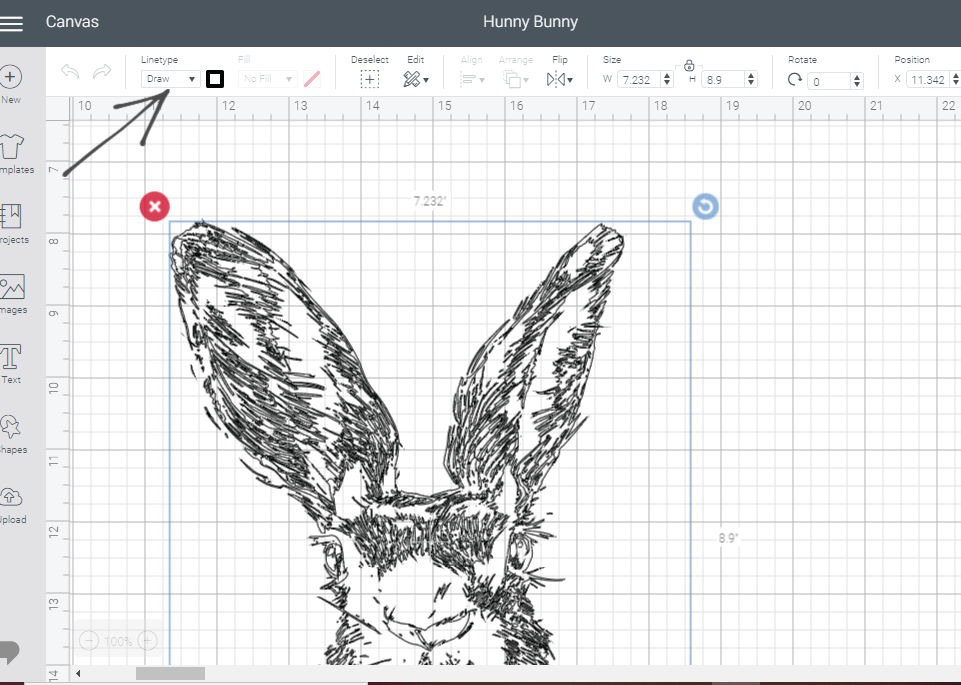
- With a new project open in design space, select an image or upload your own.
- Add any text, should you want to, and position it appropriately.
- Click “select all” and then “weld” to create a single image that includes both the graphic and the text. (you can skip this step if you are only using a single image)
- Resize your image to fit the blank you are using. Within Cricut Design space there are many “templates” you can choose from to help you with the sizing of your image).
- Select “draw” as pictured below to indicate you will not be using a blade, but a marker or pen instead
- click “make it”
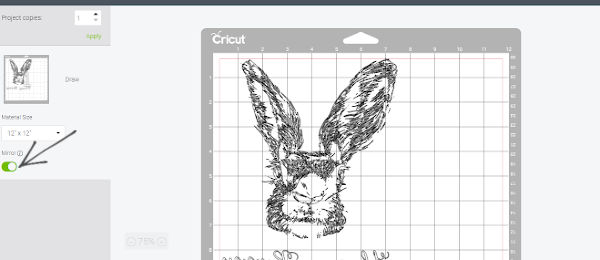
- make sure to mirror your image before printing
- follow the on-screen prompts to begin drawing your image
- you will choose laser copy paper from the materials list and use the light grip map
How to Heat Press Infusible Ink Image onto T-Shirt blank
And, in case you are wondering…..you don’t have to heat press your image right away. I waited about a week before I had time to pick up a t-shirt!
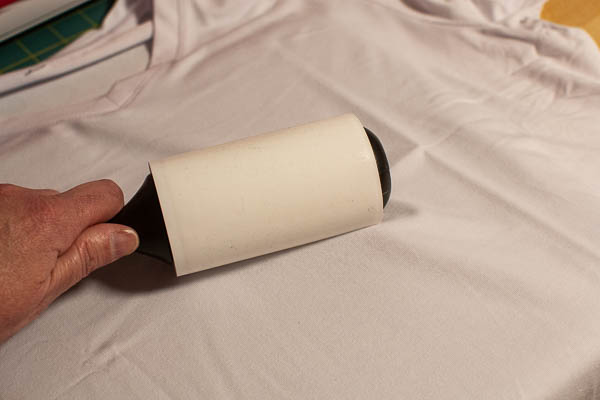
Always lint brush your t-shirt first. Even if it is fresh out of the package, you will be surprised to see how many little bits of lint you pick up!
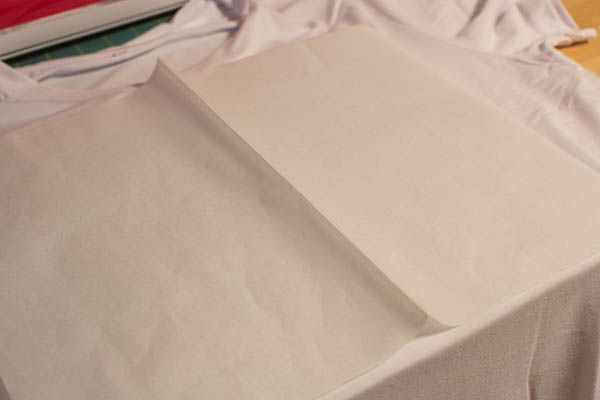
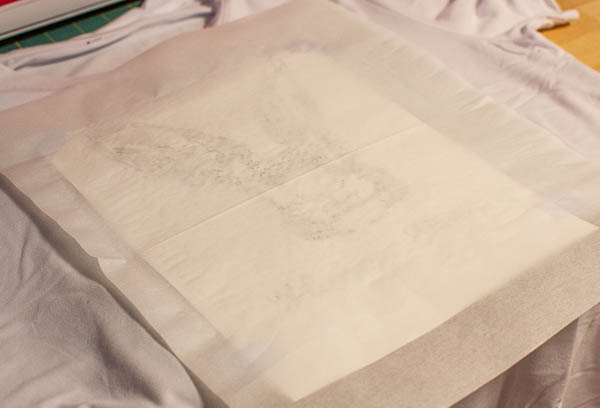
Insert a piece of card stock, larger than your image, into the t-shirt between the front and pack. Layer on a piece of butcher or parchment paper and preheat the t-shirt for 15 seconds. I used this heat press guide to determine the temperature and time specific to the Easy Press 2.
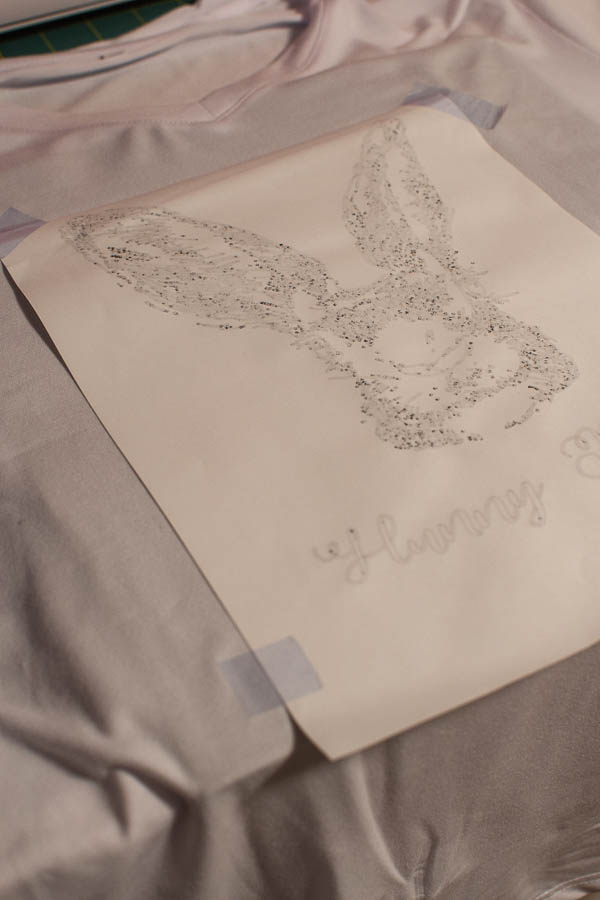
Position your transfer (ink side down!) and secure with heat proof tape to prevent the image from shifting. Cover with butcher or parchment paper.
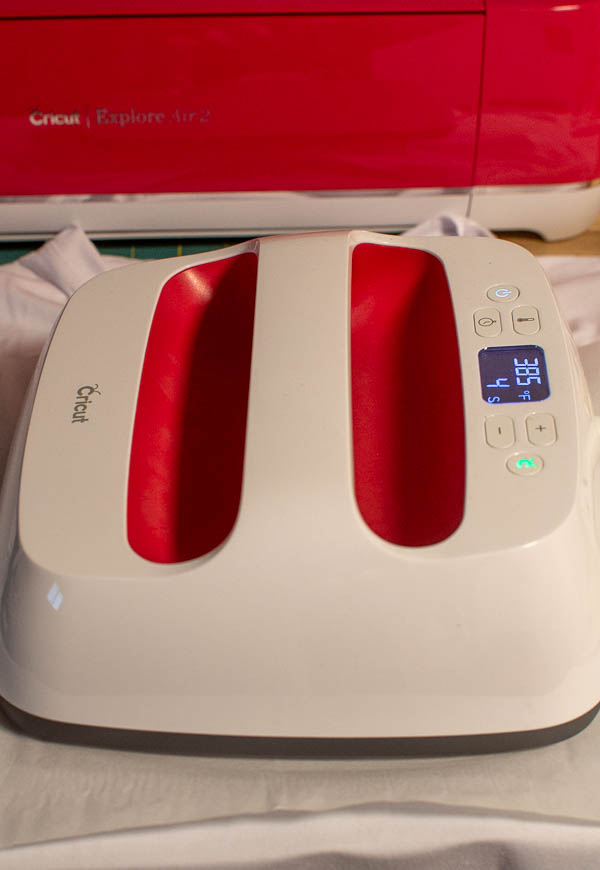
Carefully place the Easy Press onto the image and leave it for the specified time. Do not move it or apply any extra pressure.
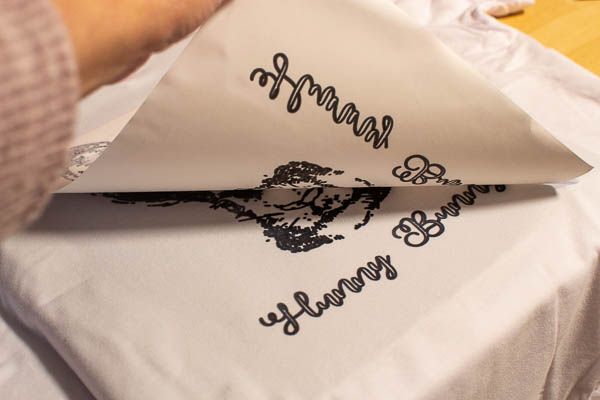
Remove the butcher paper and while still warm (not hot) lift off the transfer……
…….to reveal your image!
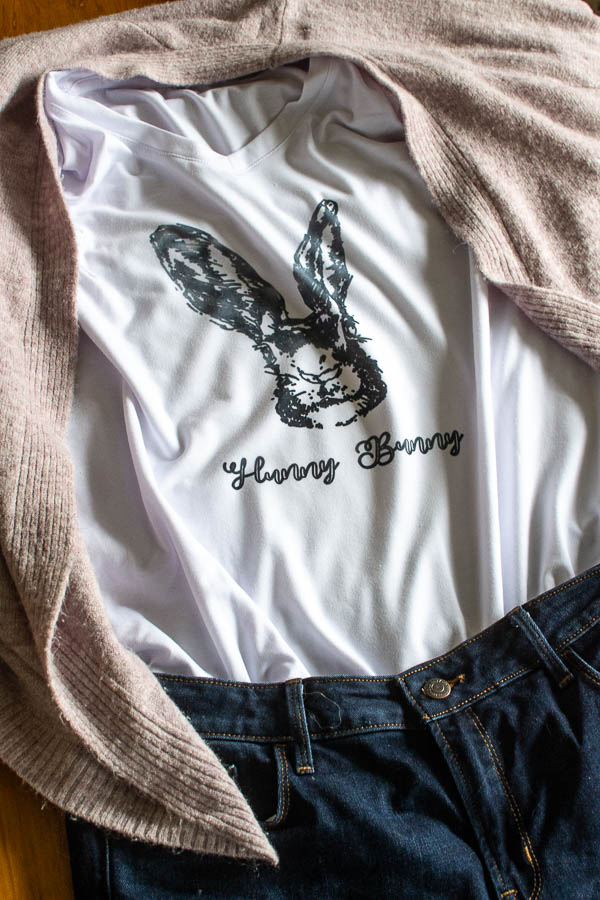
How cute is that?! A stylish t-shirt I can wear at Easter or anytime with a just a hint of fading to give it a well loved look!
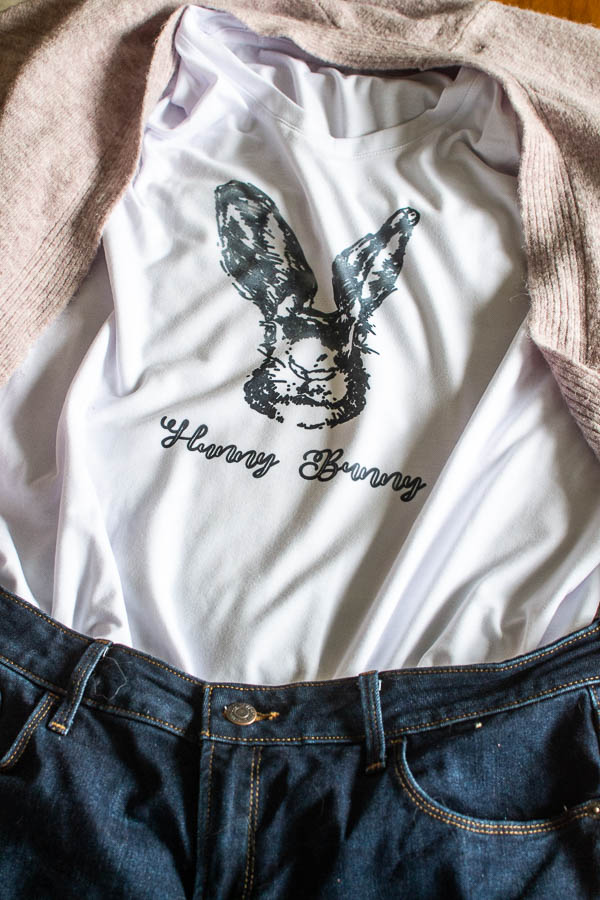
The Cricut t-shirt blanks are super soft and wash well. They do fit on the small size though! I like my t-shirts quite loose, so I had to up two sizes.

No more admiring the vintage tee’s in the store! Now I only have to go as far as my own closet to find one!


Oh my heavens…I need to make this for my daughter! She had a bunny she is CRAZY for…Need to see if I can use my explore air. Thanks my friend.