
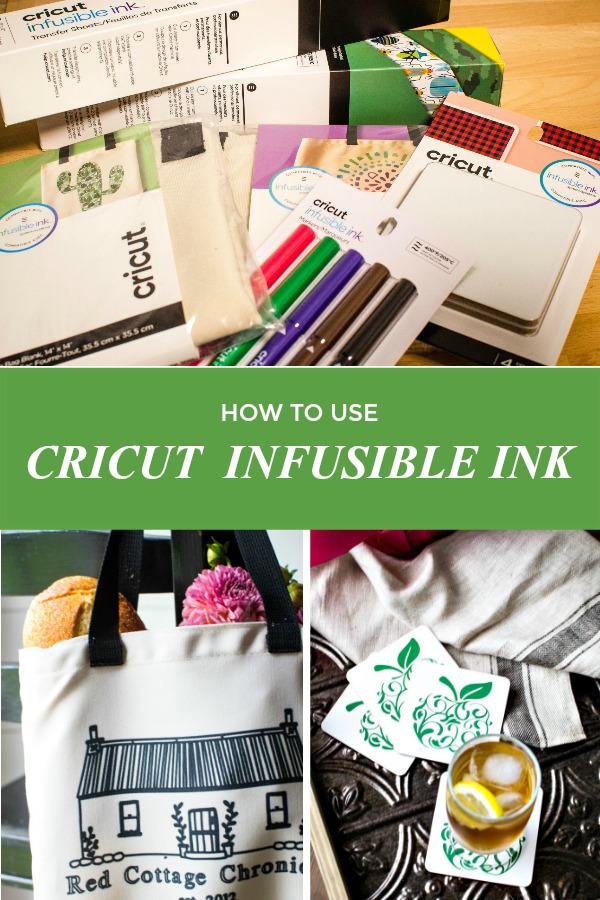
How to Use Cricut Infusible Ink Sheets and Markers
You may have heard all the buzz about Cricut Infusible Ink and are wondering exactly what it is, how to use it and why it is so unique.
This is a sponsored conversation written by me on behalf of Cricut. The opinions and text are all mine.
Today’s post is going to answer those questions and more! I will also walk you through two easy projects that show you how you can use Cricut Infusible Ink transfer sheets and markers to make two fun hostess gifts (or keep for yourself!).
What is Infusible Ink?
In a nutshell, Infusible Ink is a revolutionary new product that allows you to “infuse” ink right into the blank in which you are personalizing. The result is a smooth transfer that won’t peel, crack or wrinkle. It makes it easy to achieve professional looking results right at home!
The vibrancy of Infusible Ink will not fade and lasts wash after wash.
On what types of material can I use Infusible Ink?
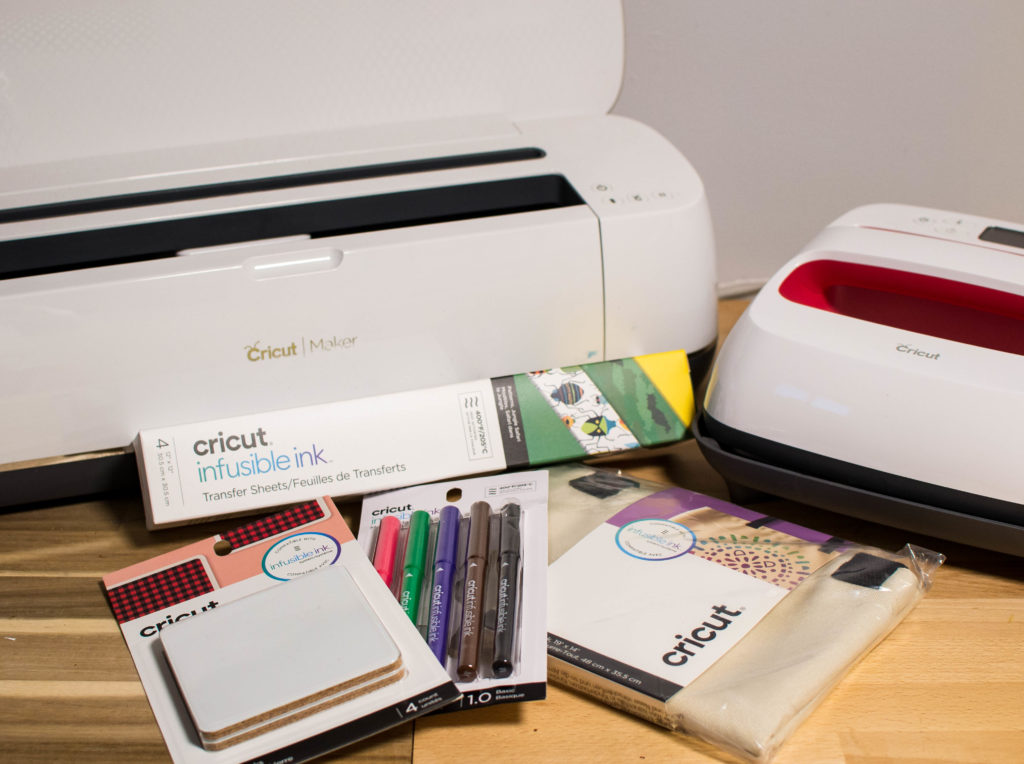
Infusible Ink can be used on any of Cricut compatible blanks. Currently you can choose t-shirts, coasters, tote bags (a personal favorite!) and baby bodysuits! These compatible blanks have been tested and proven to provide great results with Infusible Ink. Keep an eye out for more compatible blanks to come.
What does Infusible Ink look like?
It is available in transfer sheets which are embedded with ink, that come in rolls of either two or four rolls per box. It also comes in pens and markers to allow for endless creativity. The markers and pens are used with laser printer paper to create an ink infused transfer sheet with your custom image.
Is Cricut Infusible Ink easy to use?
Yes! Yes! Yes! You do not need to be an experience crafter to use Infusible Ink. In fact, I still consider myself very much a beginner and found it very easy to use.
What Cricut cutting machines work with this product?
It is designed to be used with Cricut Maker or Explore models.
For my two projects I used the Cricut Maker and EasyPress 2 and achieved flawless results!
Can I use a regular iron to transfer ink?
Infusible ink is designed to be used with the Cricut EasyPress 2 for optimum results. With its even heat plate and temperature range up to 400 degrees, its’ advanced features make it the best heat press for the job. Regular household irons are not recommended.
Where can I purchase Infusible Ink?
You can purchase everything you need to create your project including the transfer sheets, markers, pens and compatible blanks at Michael’s stores across the United States and Canada.
Where can I learn more about Cricut Infusible Ink
You can find answers to more commonly asked questions, product videos and general information at Cricut by clicking here.
Now, the fun part!
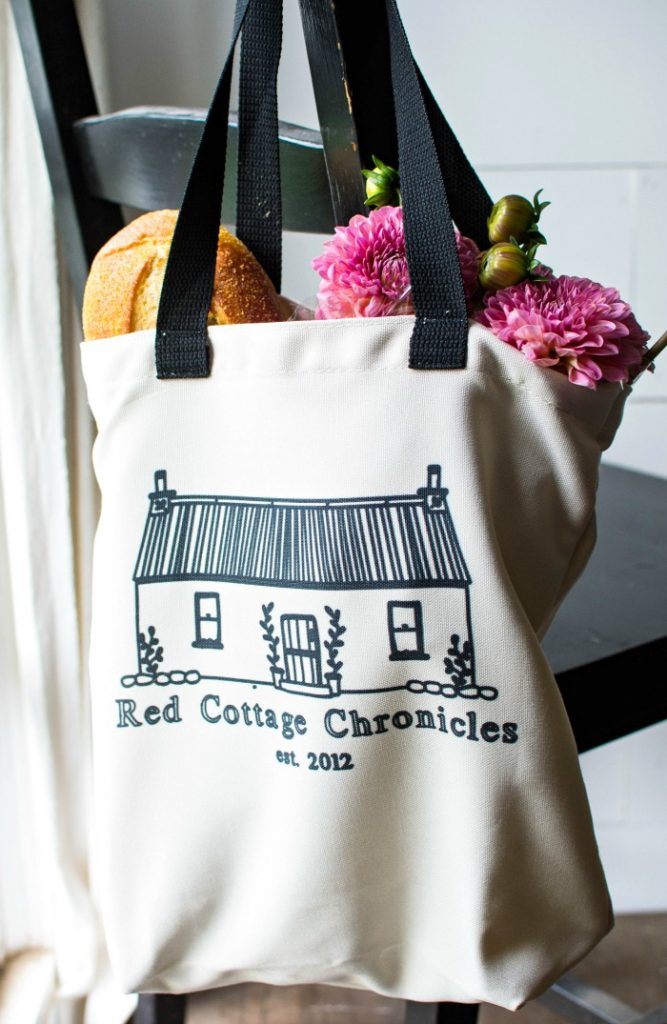
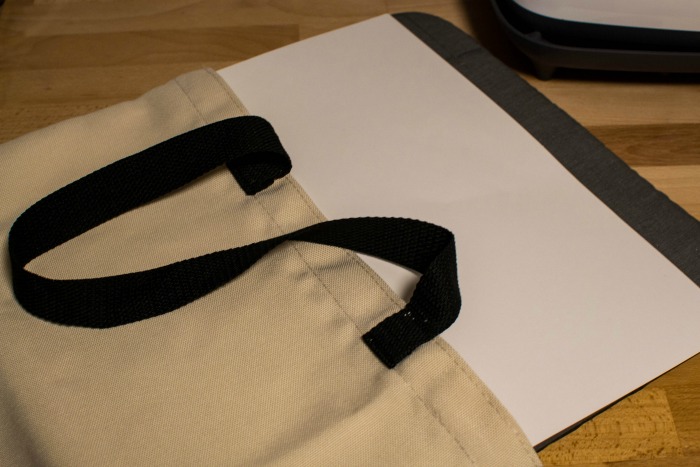
First up, the tote bag! In this tutorial I am going to show you how to use Cricut Infusible Ink markers to personal this cute tote bag, perfect for trips to the Farmer’s Market!
How to use Cricut Infusible Ink Step by Step
I have created two fun hostess gifts for the upcoming holiday season using Cricut compatible tote bags and square coasters.
First up, the tote bag! In this tutorial I am going to show you how to use Cricut Infusible Ink markers to personal this cute tote bag, perfect for trips to the Farmer’s Market!
You will need:
- Cricut Compatible Tote Bag (2 sizes available)
- Cricut Infusible Ink Markers
- Cricut Design Space
- lint roller
- Cricut Maker
- Light Grip Mat
- Butcher Paper
- Cricut EasyPress 2
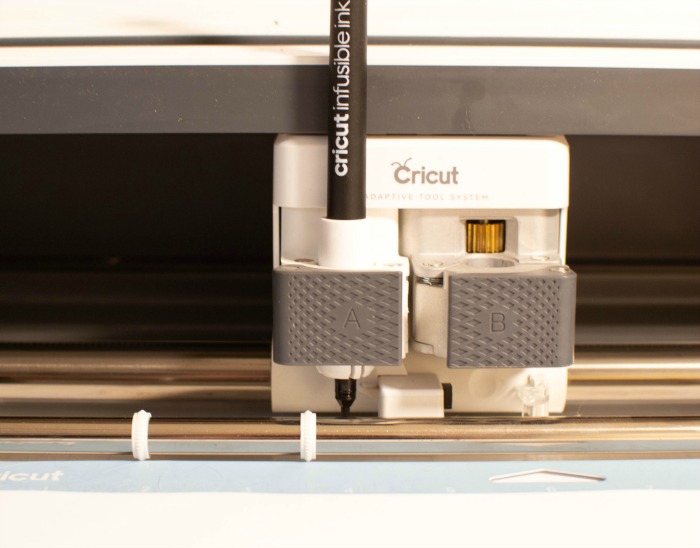
Choose your image. There are over 100,000 images to choose from in Cricut Design space, or you can upload your own design, or even use the markers and pens to draw free hand directly onto laser printer paper!
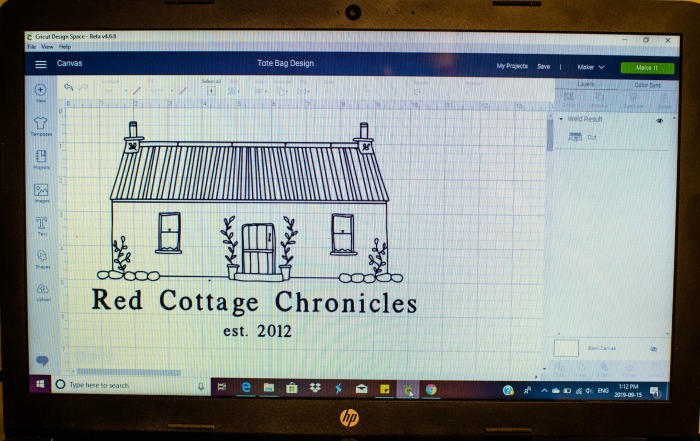
Be sure to choose “draw” in the tool bar, as this will let your Cricut Maker know that you are using a marker into the correct tool housing!
Be sure to mirror your image!
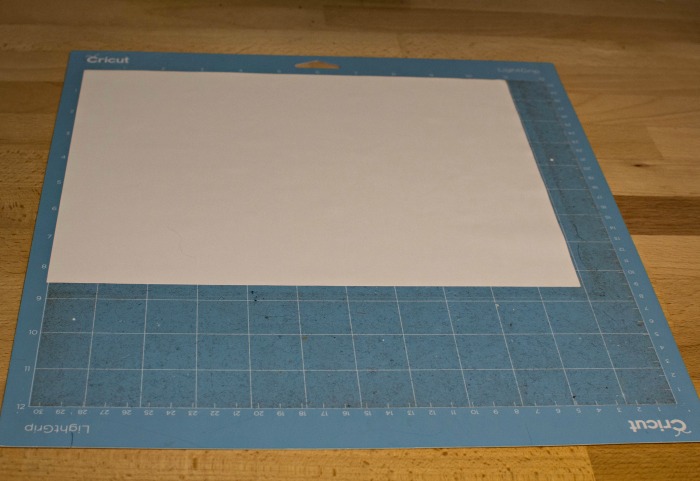
Place a sheet of laser printer paper onto the Cricut light grip mat and press to secure down. Load it into the machine and beginning the “drawing” process.
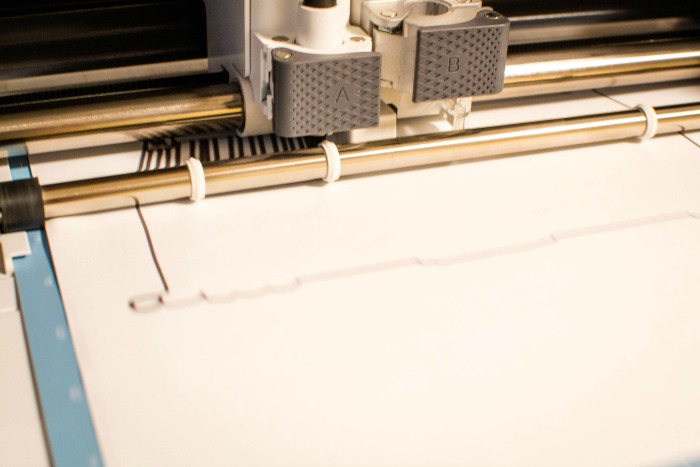
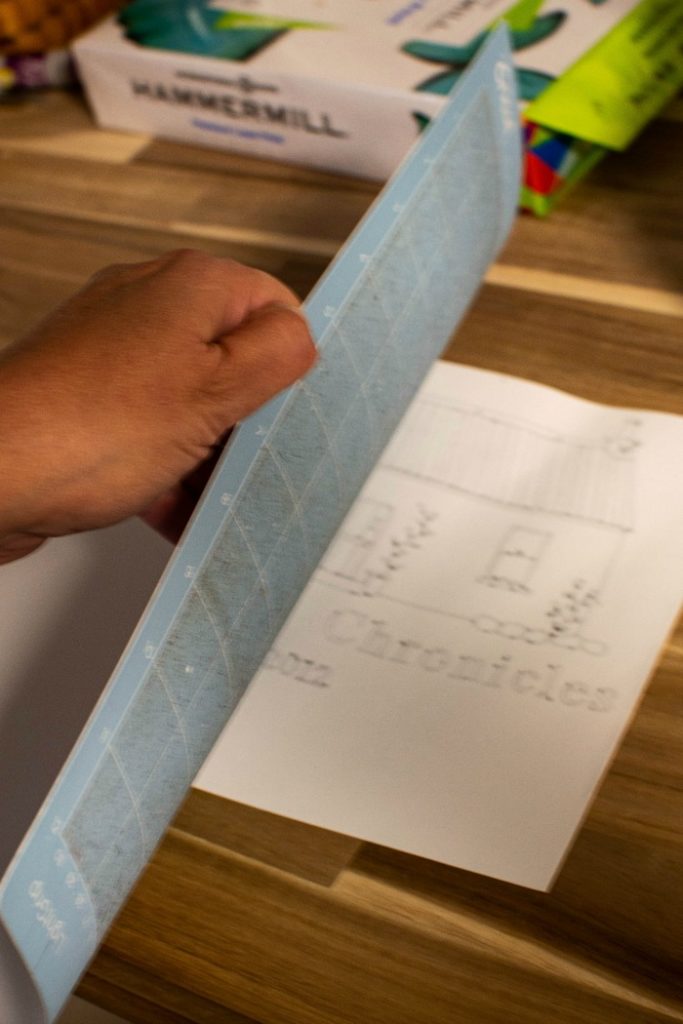
After the drawing process is complete, remove the mat from the machine. Unlike regular vinyl products that you peel from the mat, to remove the ink infused paper from the mat, turn it over and carefully pull the mat away from the paper.
Now, prepare your tote bag to receive the ink transfer by placing a piece of cardstock on top of your Cricut EasyPress mat and insert them into the tote bag as shown above.
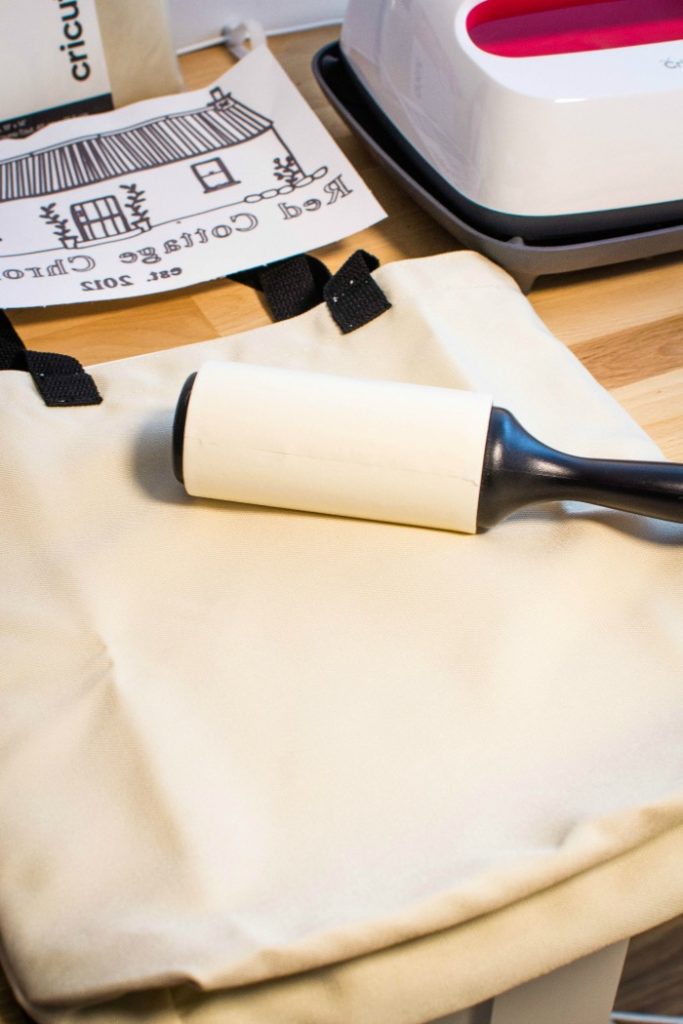
Using a fresh lint roller sheet, roll the entire surface of the tote bag to ensure there are no lint or other particles on the bag. Trust me, even though the bag may look perfectly free from lint, you may be surprised at what that lint roller picks up!
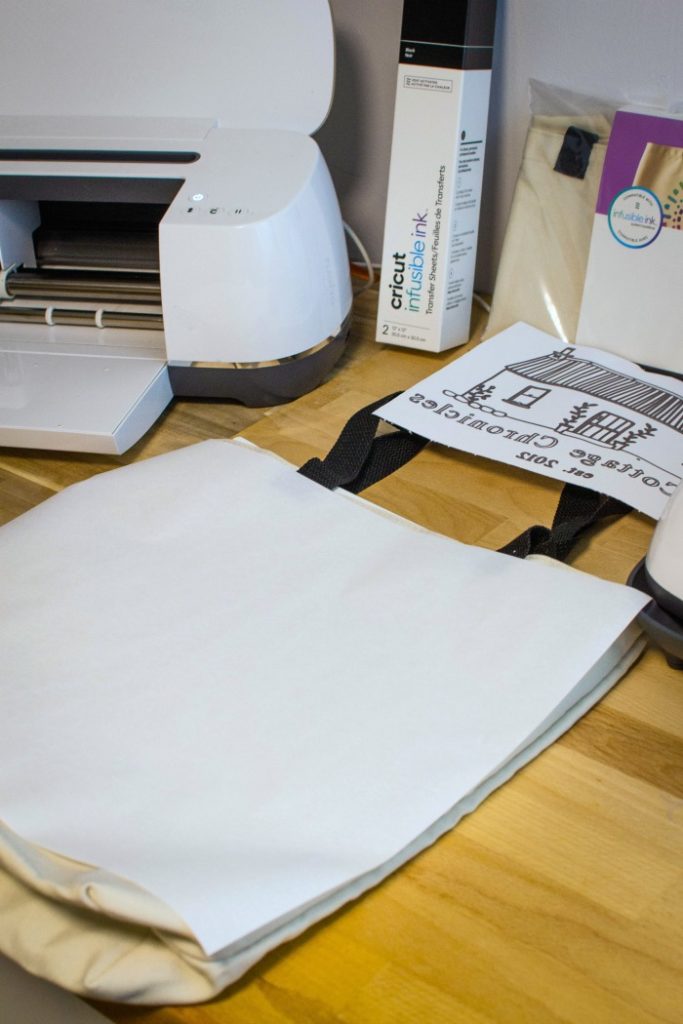
Next, place a sheet of butcher paper on top of the tote bag (butcher paper comes with all rolls of ink transfer sheets but can also be purchased at many grocery stores).
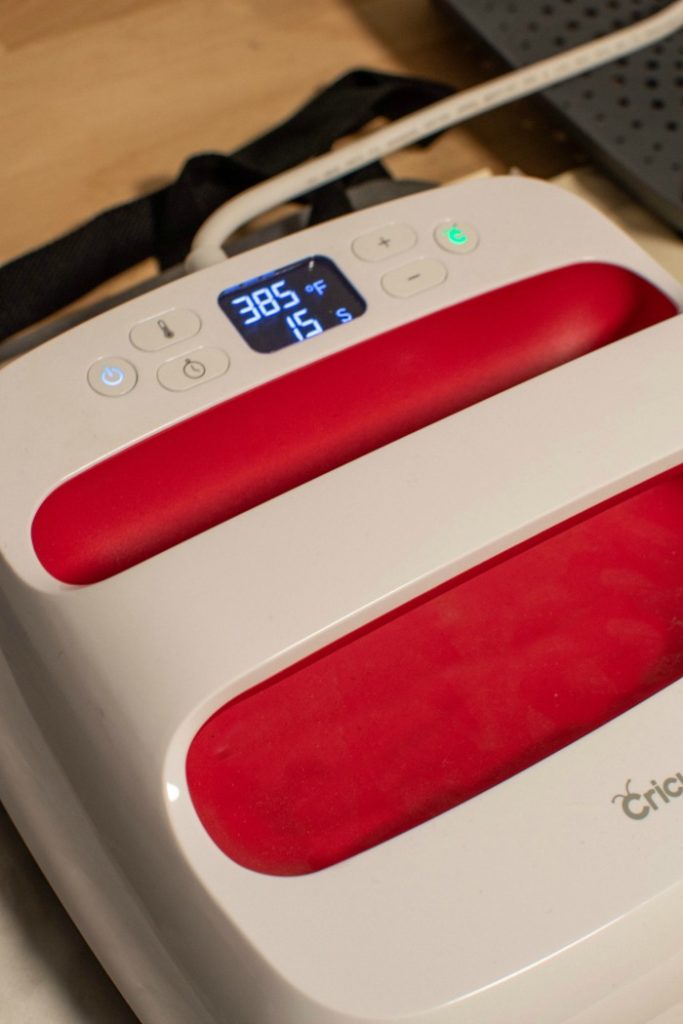
With your EasyPress 2 set at 385 degrees, press down with light pressure for 15 seconds. Remove the press and allow the tote to cool completely. This helps to smooth the surface free of any creases or wrinkles as well as remove any moisture from the material.
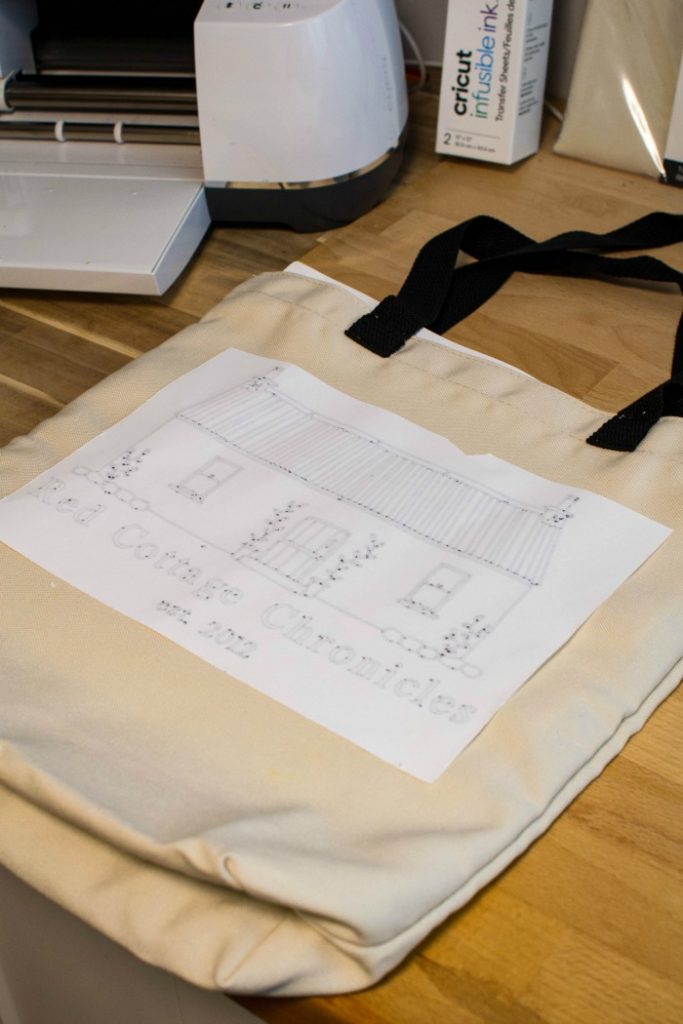
Next, position the laser printer paper, design side down, onto the tote bag. You can use heat proof tape to secure your image to the tote bag to prevent any movement.
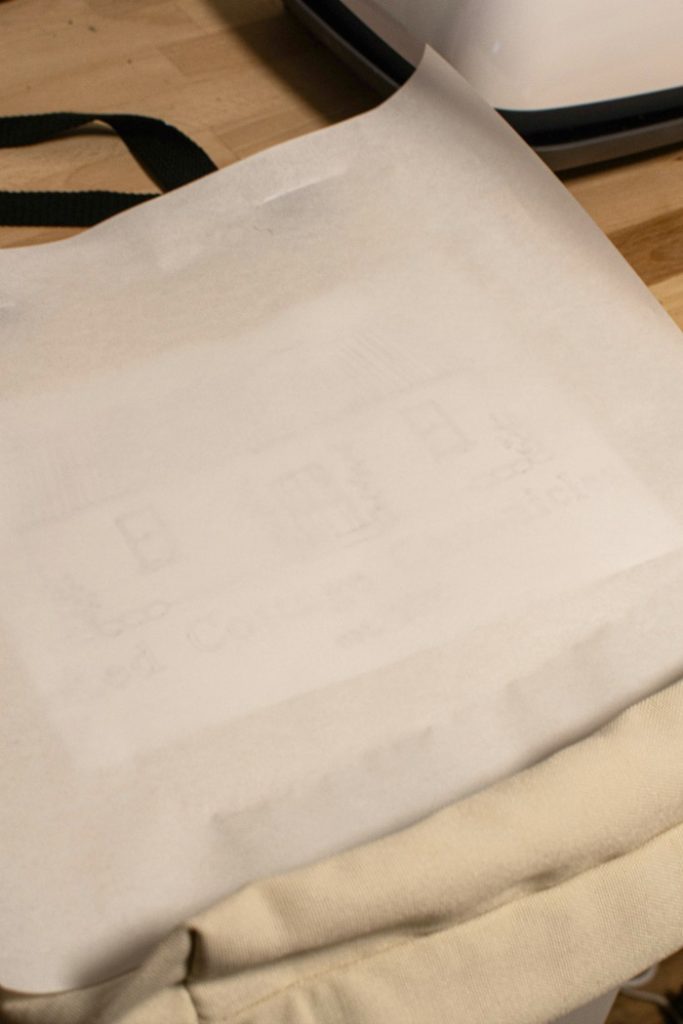
Cover the entire image with the butcher paper.
Using your EasyPress 2 set at 385 degrees, press for 60 seconds. DO NOT MOVE THE PRESS!! Simply apply the heat for 60 seconds and remove when indicated by the beep. Be careful not to move the butcher paper or image during pressing or when lifting off the heat press.
Allow to completely cool before removing the butcher paper and image.
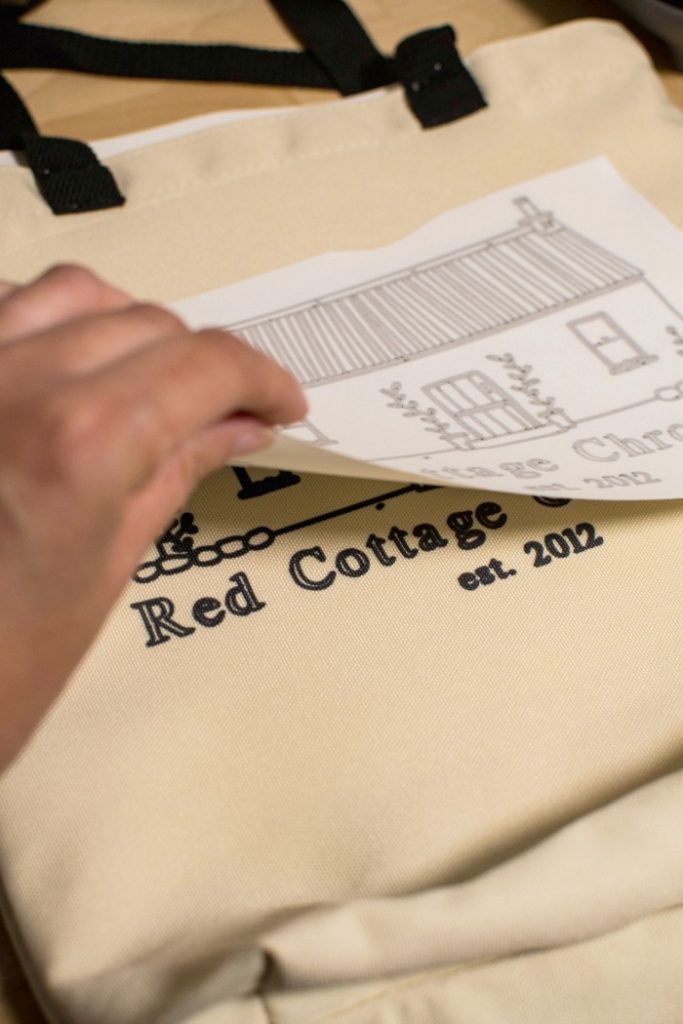
Once it is completely cool, carefully remove the butcher paper, and then the image itself. Do not reuse either!
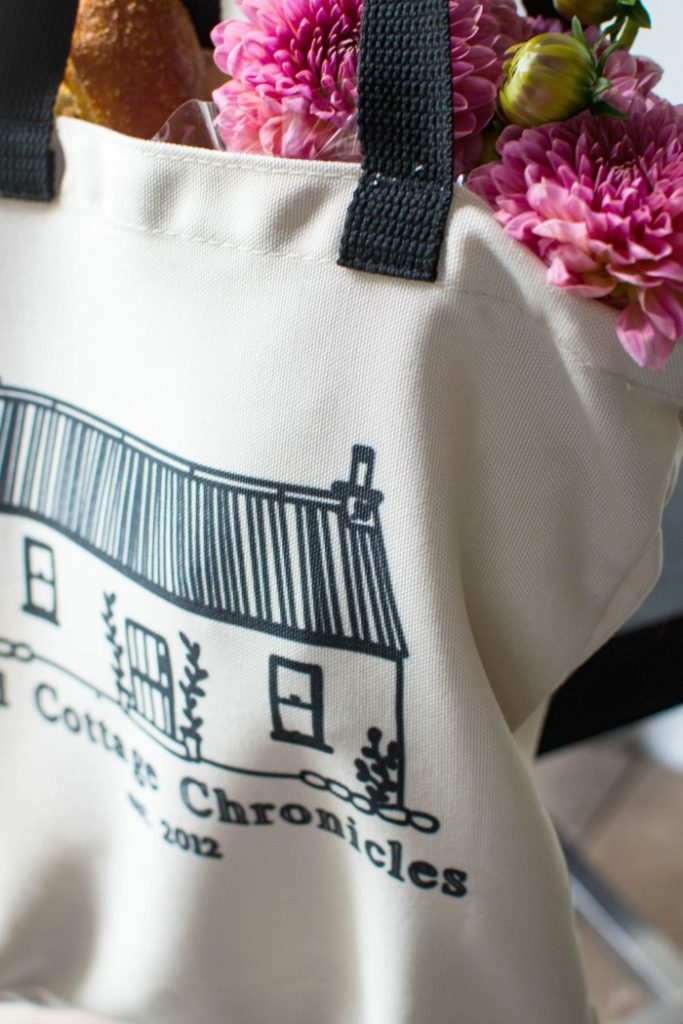
See how crisp and clean the design is! Now that the ink is infused directly into the fabric, there are no seems, no raised edges and no chance of the design cracking, peeling or wrinkling!
What a fun and personal hostess gift that is eco friendly and can be enjoyed over and over again on trips to the farmer’s market or supermarket!
Now, let me show you how easy it is to create incredible personalized coasters using the Invisible Ink transfer sheets.
You will need:
- Cricut Compatible Coasters (choose round or square)
- Cricut Infusible Ink transfer sheets (color of your choice)
- Cricut Design Space
- lint free cloth
- butcher paper
- heat proof tape (optional)
- scissors
- Cricut Maker
- Standard grip mat
- tweezers
- Cricut EasyPress 2
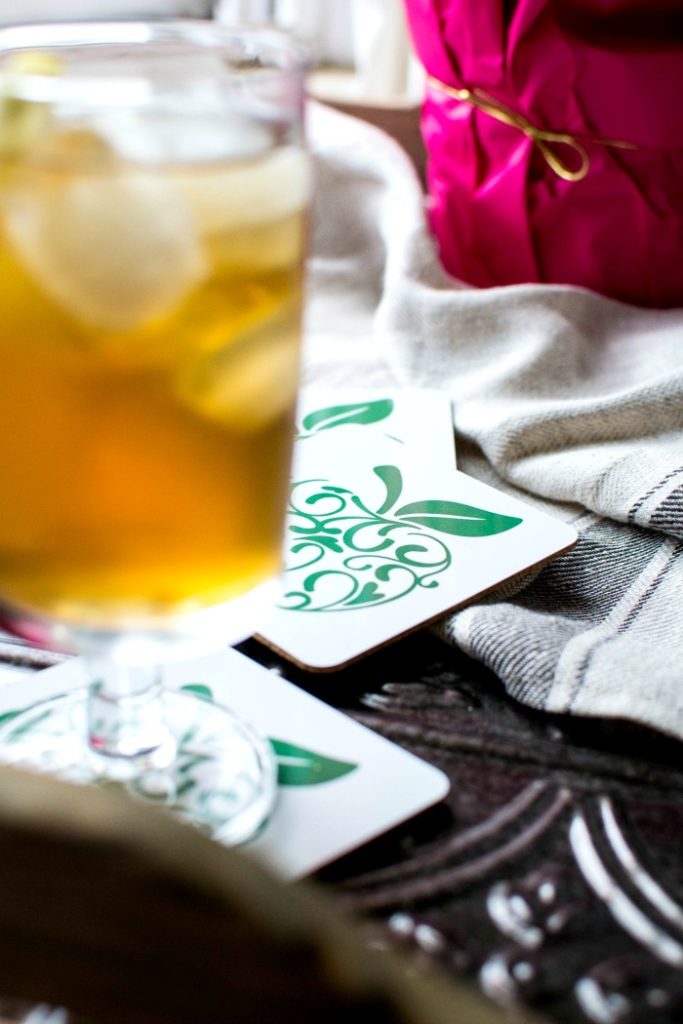
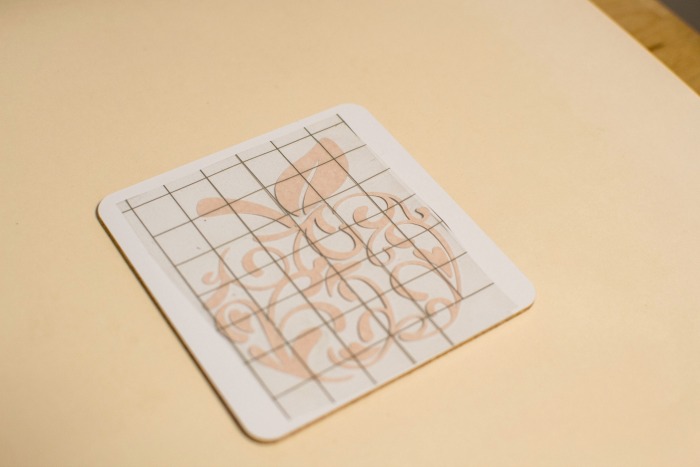
Begin by designing a project in Cricut Design Space. Select one of the many images, or upload your own. I choose this apple image and resized it to fit the compatible square coaster. Be sure to mirror your image.
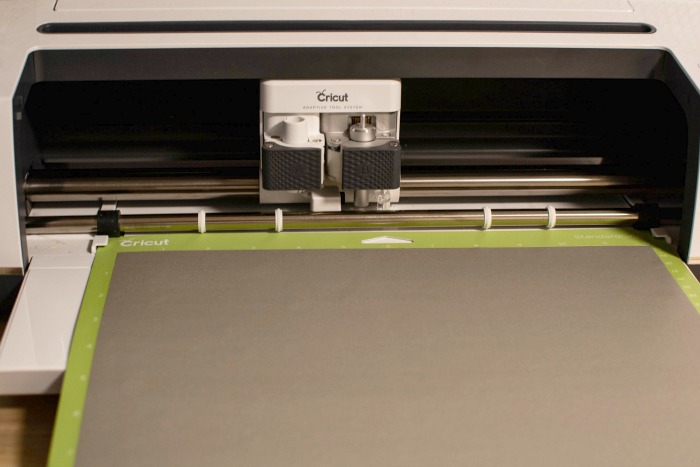
With clean, dry hands that are free from any lotion place a sheet of Infusible ink – ink side up – onto a green standard grip mat. Be sure the correct blade is installed in the B tool housing.
Begin the cutting process.
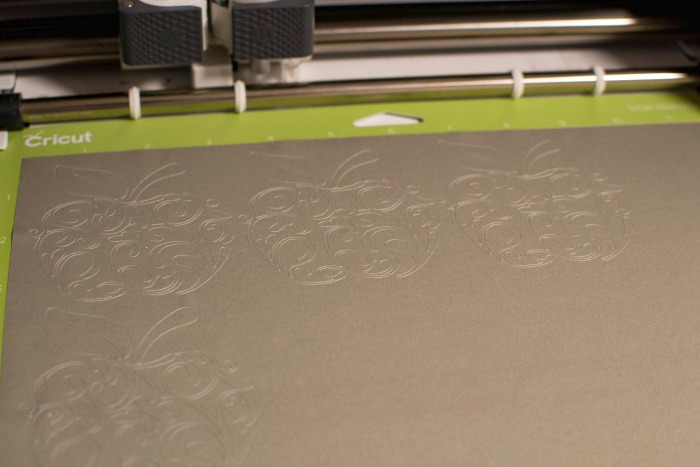
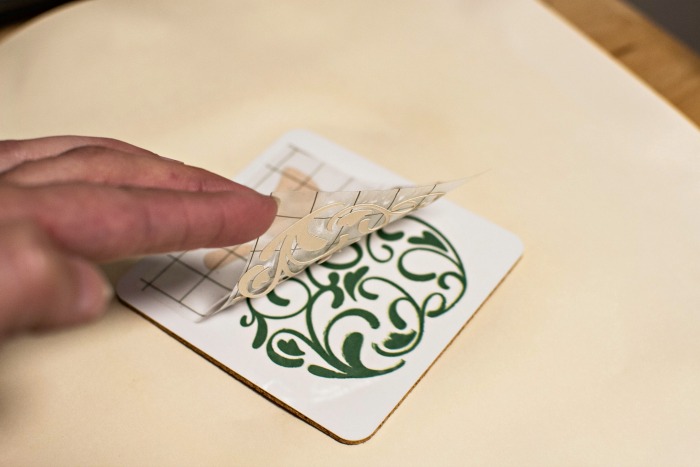
When cutting is complete, carefully remove the sheet from the mat. I cut 4 of the same apple image and cut them out to create 4 images. You can cut your image down to size and reserve the remaining sheet for another project.
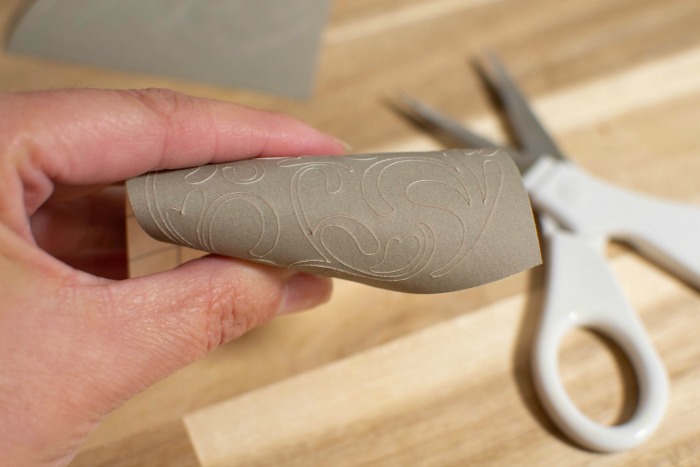
Weeding Infusible Ink is very different than weeding vinyl. Carefully roll the sheet and you will notice the cuts simply “crack” away from the liner. Use your fingers or tweezers to pull away all the negative ink.
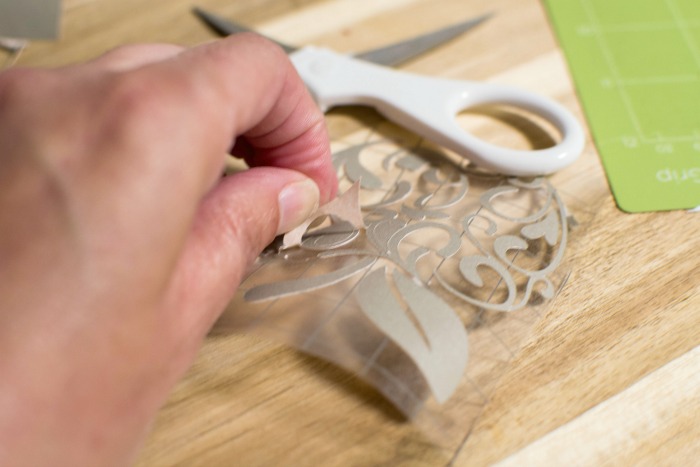
It is really that easy, I could do it with one hand!
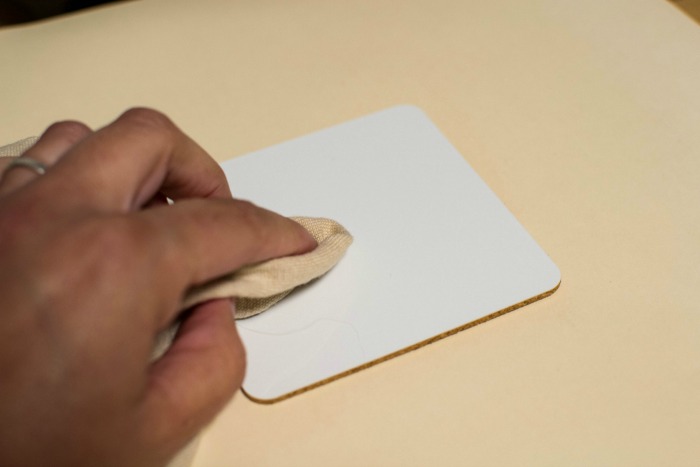
Prepare the coaster by wiping with a soft lint free cloth. The backside of the coasters are cork, making for a nice non-slip surface.
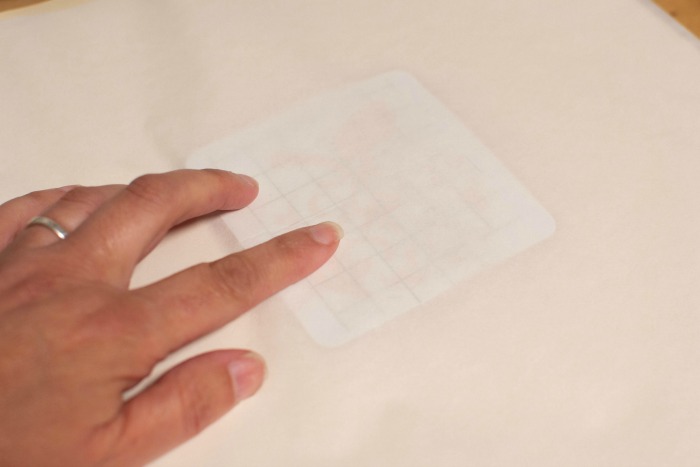
Position your image on to the coaster, ink side down. You can use heatproof tape to hold your image in place. However, I felt that the transfer sheet was sticky enough to keep it from moving. Carefully cover the image with a fresh sheet of butcher paper. (Comes with the transfer sheets.)
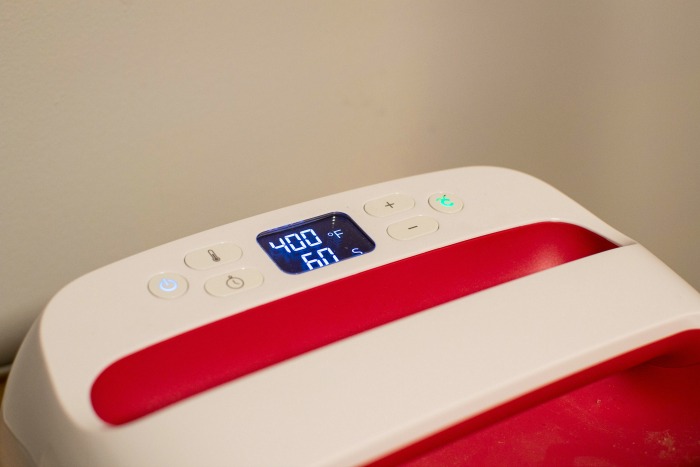
Using EasyPress 2 set at 400 degrees for 60 seconds, place it on top of the butcher paper and carefully let go as to not move the butcher paper. There is no need to apply any pressure. DO NOT MOVE THE HEAT PRESS for best results. Start the timer, and when it is down counting down the 60 seconds, carefully lift the heat press directly up and off the butcher paper.
Do not disturb the paper or image until COMPLETELY cool.
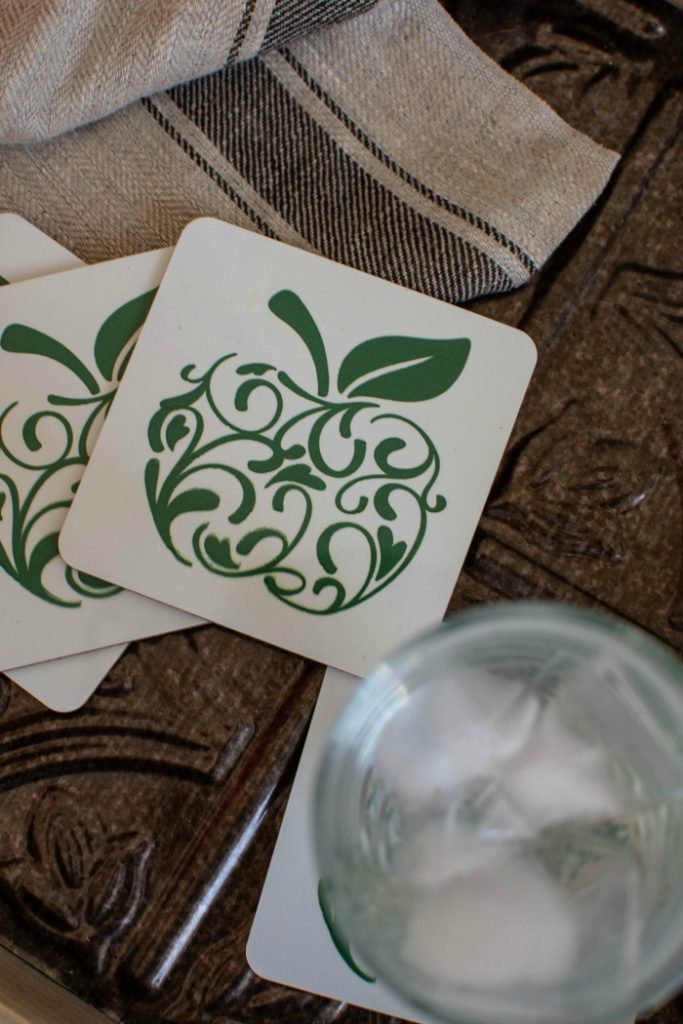
Once cool, carefully remove the image from the coaster and voila! A beautiful, custom coaster to give as a gift or keep for yourself! I am already planning to monogram a set or two for personalized Christmas gifts this year!
The coasters are easy to care for. Just wipe clean with a damp cloth when necessary. Do not use harsh cleaners, or scrubbers.
There you have it! How excited are you to start creating your own professional looking custom projects?! With Cricut the possibilities are endless!
Until next time


Maureen, great job on the tote bag. I love it! I don’t own a Cricut, but it looks like a great machine.
Fantastic Momo!!! Tote bag is GREAT!!! Love the red cottage !!