
My Sisters New House – Renovation Up-Date
Any other Tuesday I would be posting my Taste of Home feature, but since I spent the weekend helping my sister get ready for her move, except for a few hours to sleep I wasn’t at home all weekend! And there was certainly no baking or cooking going on in my kitchen. It was take out pizza, donuts and leftover Christmas baking pulled from the freezer!
I thought I would share a few updates of the renovation! Enough progress has been made that they were able to start moving in this weekend.
It has been several weeks since I shared some photo’s of this beautiful sprawling 1970’s ranch bungalow. A lot of changes have been made since then. General contractors, electricians, plumbers, and flooring installers have been hard at work.
The house is now habitable again and we spent the weekend helping them pack the old house and giving the new house a good cleaning before the movers came on Sunday. Oh, the drywall dust! Everywhere!
There is still some work to be done, such as electrical outlet and light switch covers, baseboards, shelves to be installed and paint to be touched up, but the whole place has a fresh, more open feel.
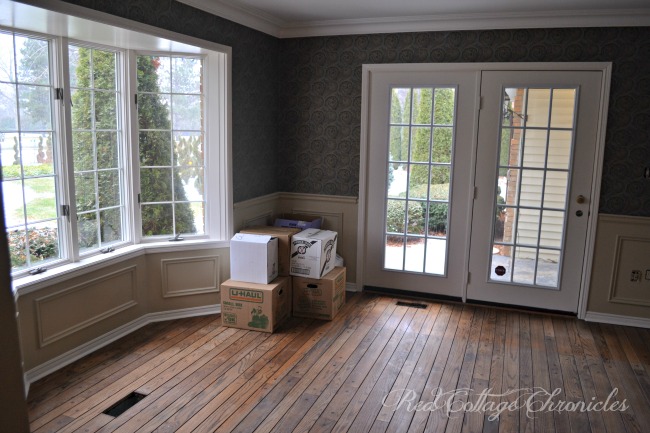
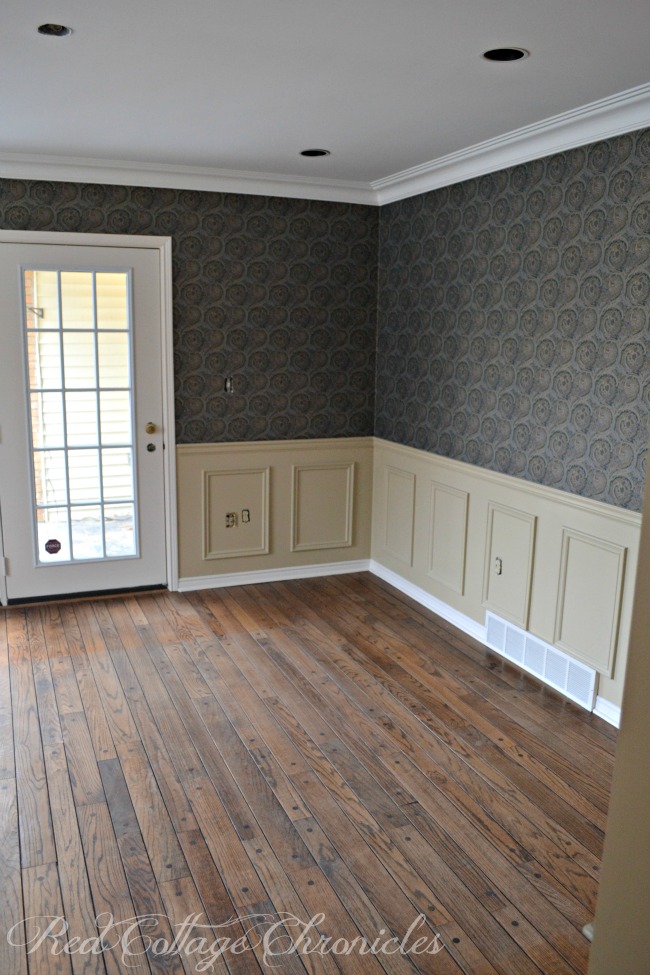
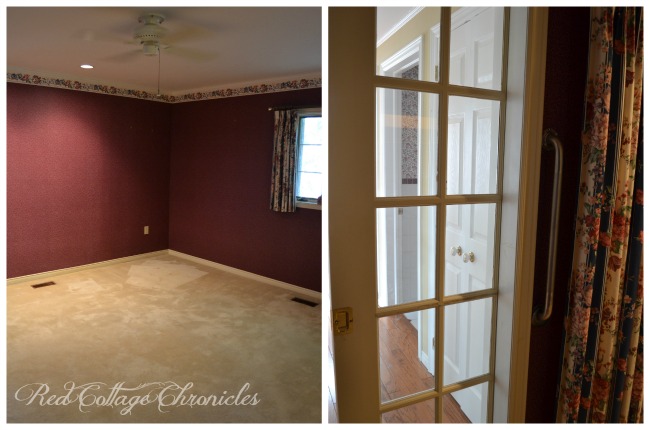
You might remember the dark and dated dining room.
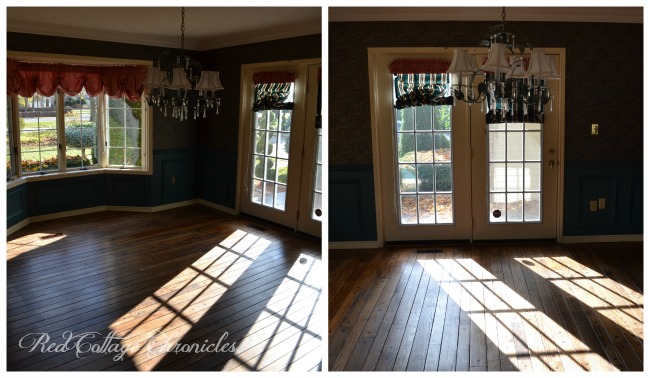
A fresh coat of paint on the wainscotting and trim, ditching the old draperies, and getting rid of the dated chandelier made all the difference. She has a gorgeous chandelier in her old home that will be coming with her to be installed here in the dining room. All of the stucco ceilings were removed in this room and throughout the house.
Still in love with those pegged hardwood floors!
I think the light paint on the wainscotting really highlights the lighter colours in the wallpaper.
The living room was a whole lot of wall to wall off white carpet and blue paint! Oh, and dated pinch pleated drapes.
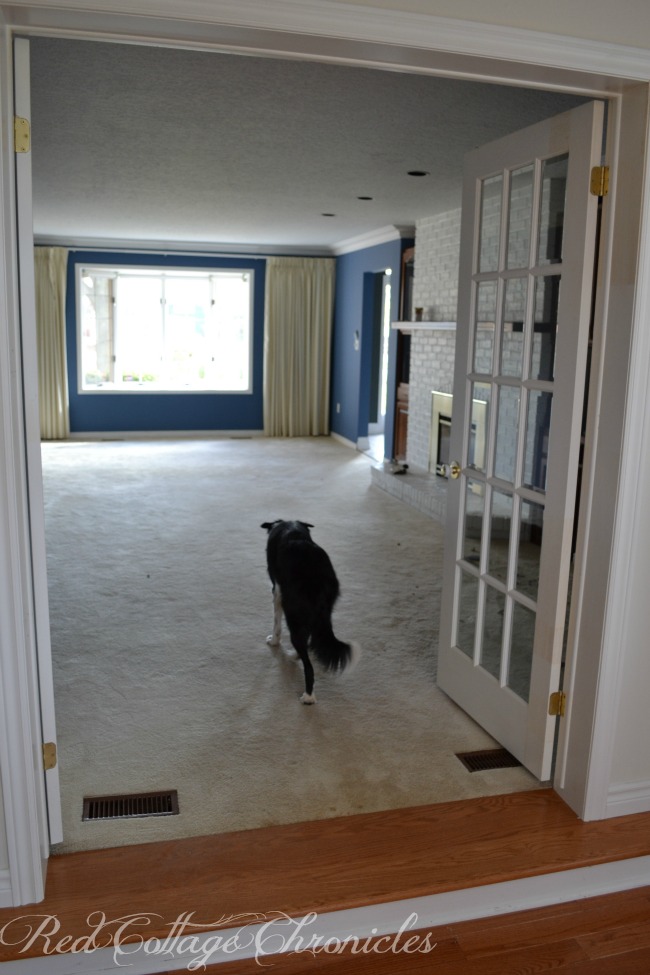
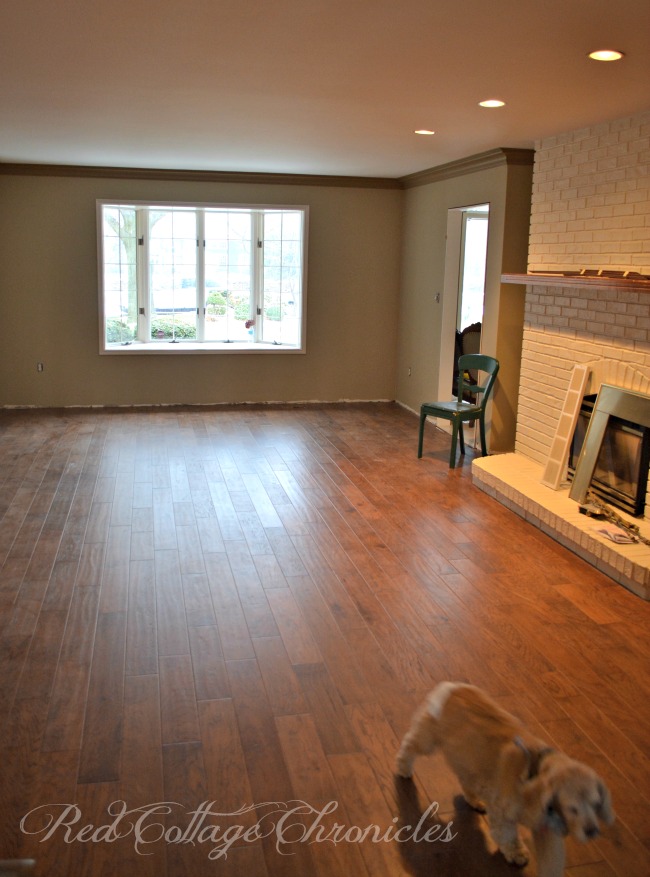
We ripped out the carpet to prepare for the new hand scraped engineered hardwood floors. The blue walls were traded for more neutral and calming colour. The drapes, well they were gone in a flash! I think they have decided to go with California shutters with drapery panels flanking the window.
The baseboard trim will be the same colour as the fireplace I believe, and she is toying with the idea of having the painter switch the crown molding to the same lighter colour. It was the recommendation of her designer to paint the crown this darker colour, but it just isn’t sitting right with her at the moment. We will see how she feels after she has lived with it a week, or so.
The built in cabinets that flanked the fireplace are now gone and will be replaced with floating shelves. The fireplace itself is waiting to be serviced, and may even need to be replaced. If that’s the case she hopes to find a surround that follows the curve of the brick.
Two new doorways were cut out to make the flow from the kitchen to the family room easier, without having to go all the way through the front foyer, through the living room and then through the office.
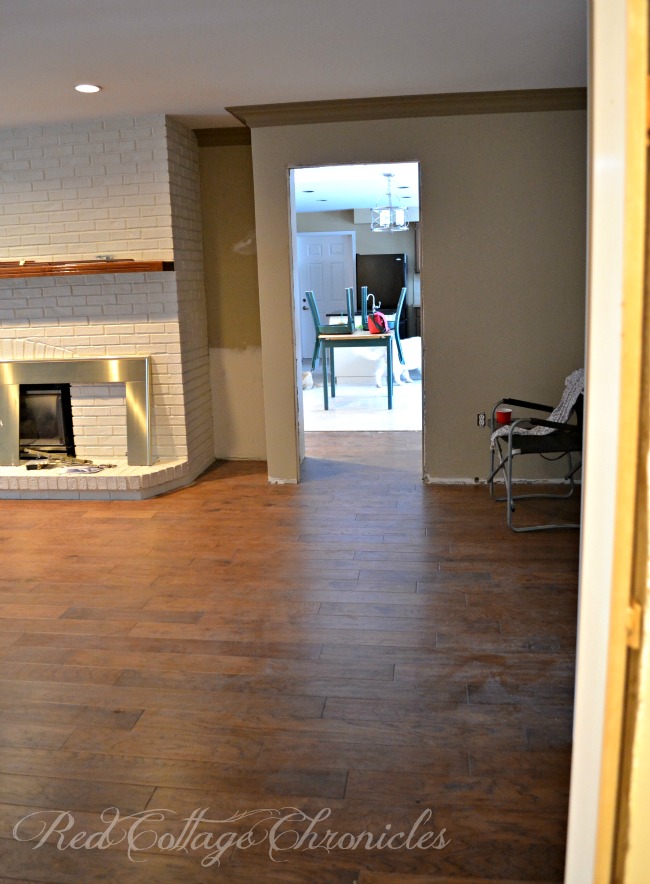
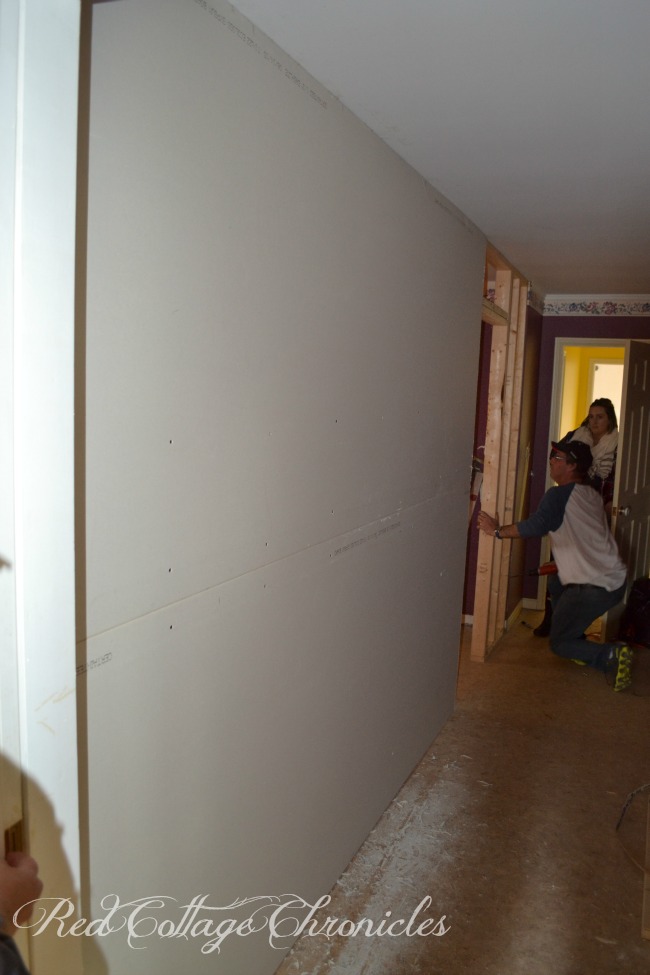
In this photo above I am standing in the hallway that leads to the family room. The half bath off the kitchen was actually halved in size to create room for the new doorway into the living room.
The kitchen, which I will share next time when it is all finished, has a 7 foot patio door leading to the deck, opening up this doorway really adds tons of light into the living room.
The master bedroom was wall to wall carpet and floor to ceiling wallpaper.
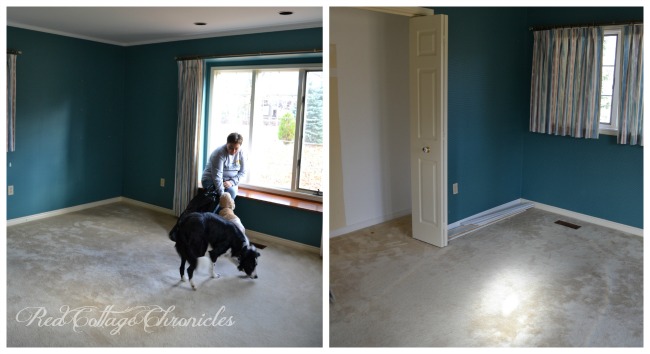
It is now bright and cheerful and I just love the contrast of the warm wood hand scraped floors against this wall colour.
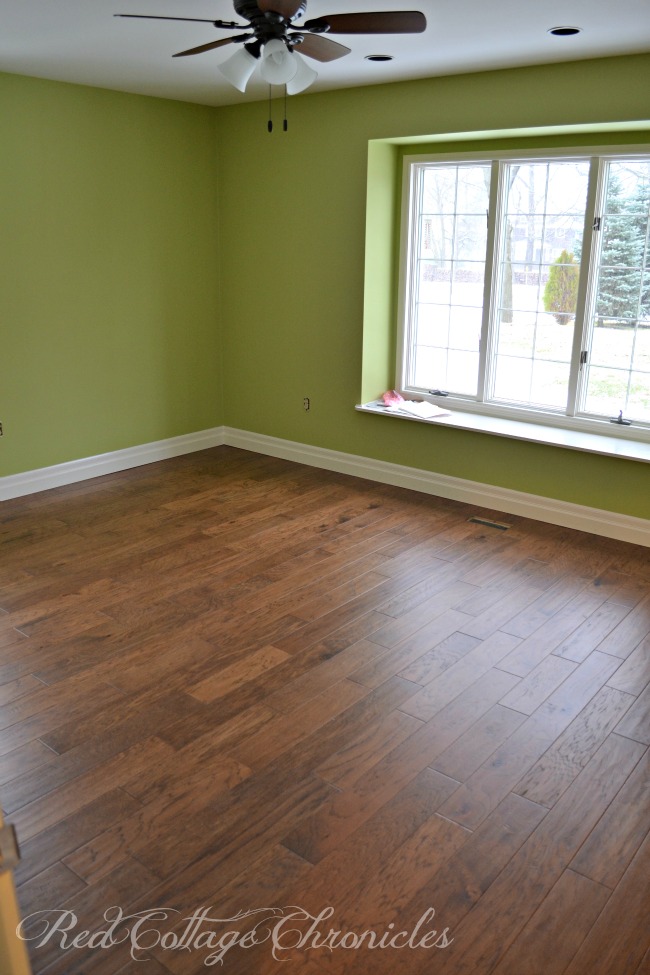
A ceiling fan was added and the popcorn ceilings were scraped down and painted.
Oh, who could forget this yellow hallway!
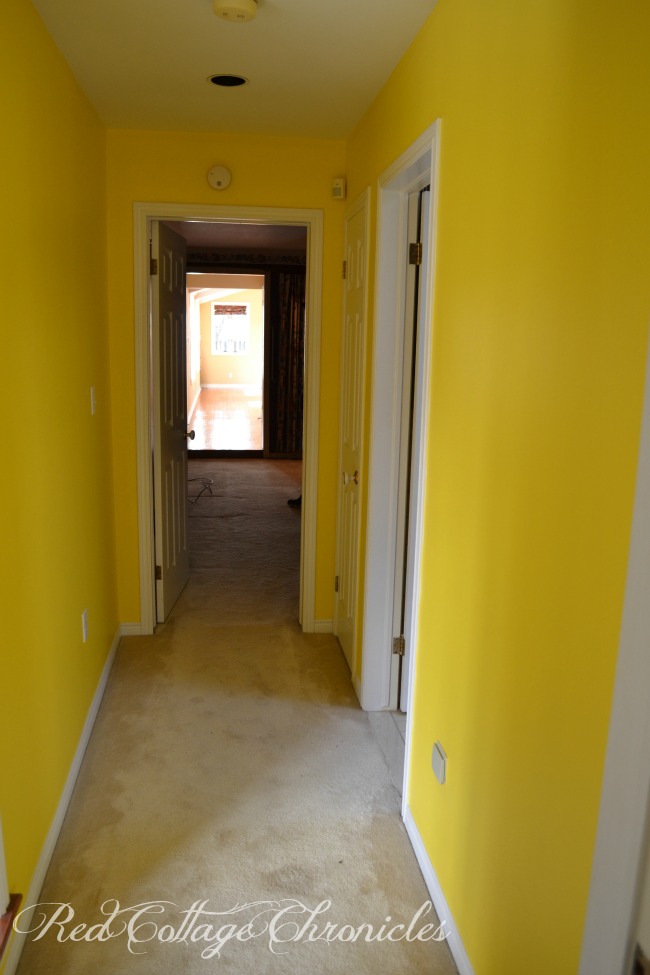
There used to be a door to the left (you can just see the threshold in the bottom left of the photo) that came from the living room to this hallway, but this was closed off to create a master suite. The doorway to the right is the master bathroom.

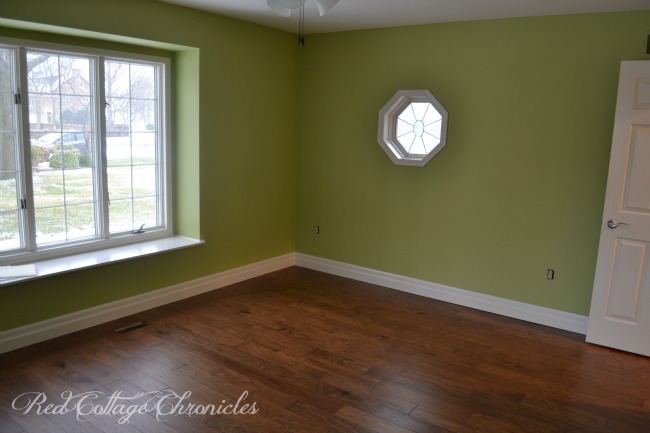
Just beyond that first door straight ahead used to lead right into the second bedroom.
The awkward second bedroom that could be accessed from two doors now has one door off the newly created hallway and is so much brighter and private!
The wallpaper in this room was almost the death of us. It was just plain nasty and did not want come off those walls for anybody!
It was a dark cavernous space that was lit by a two pot lights and a window.
The new wall was added to create a proper bedroom instead of a room with two entrances.
Ahh! So much better now.
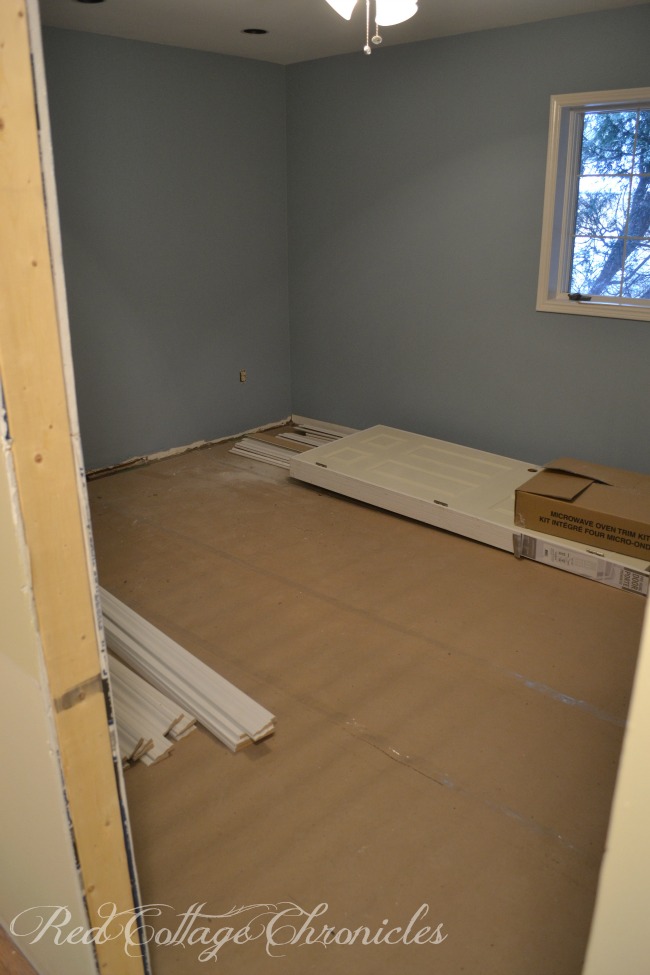
This photo really doesn’t show just how big the space still is despite having added the wall. It will easily fit a queen bed and everything else one would need in a bedroom. An additional pot light and a lighted ceiling fan makes the room 10 times brighter than it was before! The new hardwood floors will stay protected until all the trim work and paint touch ups are finished.
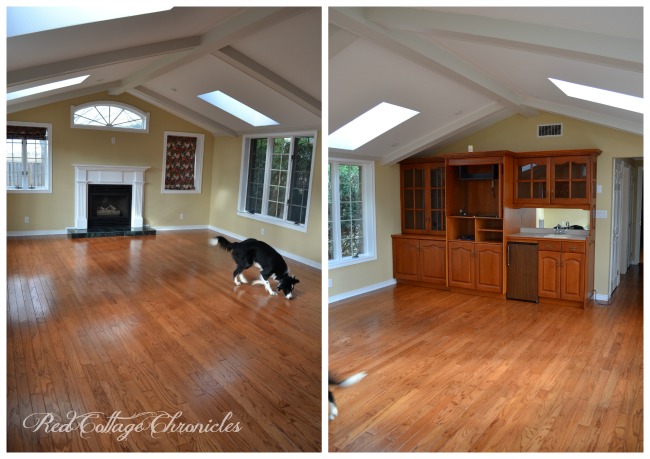
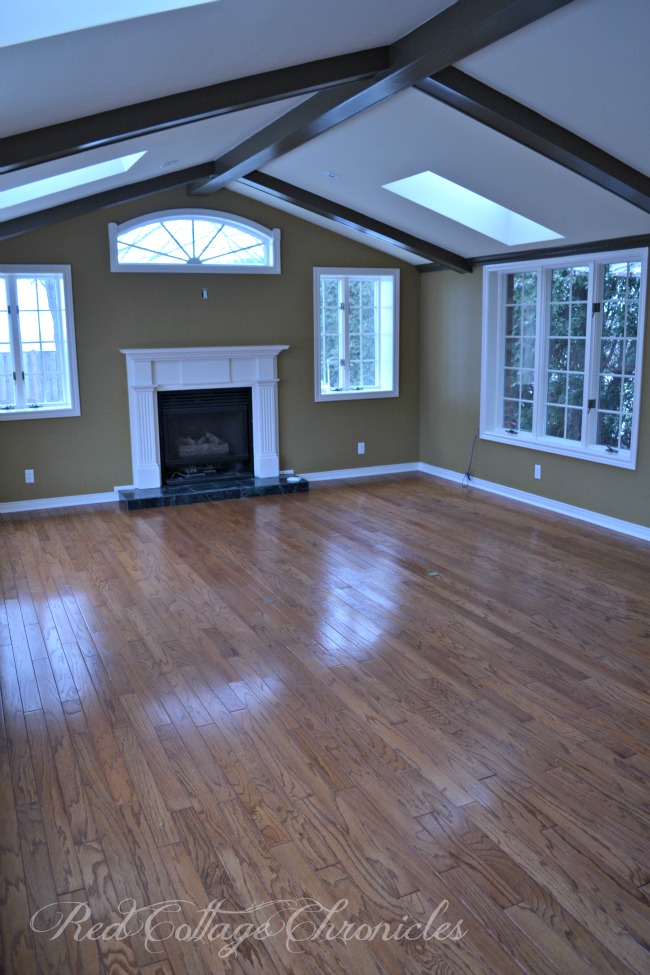
The family room will be a hub of activity. It was really just fine as it was, but a fresh coat of paint makes it feel new.
Just look at the shine on that floor! Two thorough vacuums, a hand washing, and a once over with the steam mop brought back the shine after being coated with drywall dust! My body is aching in places I forgot I had!
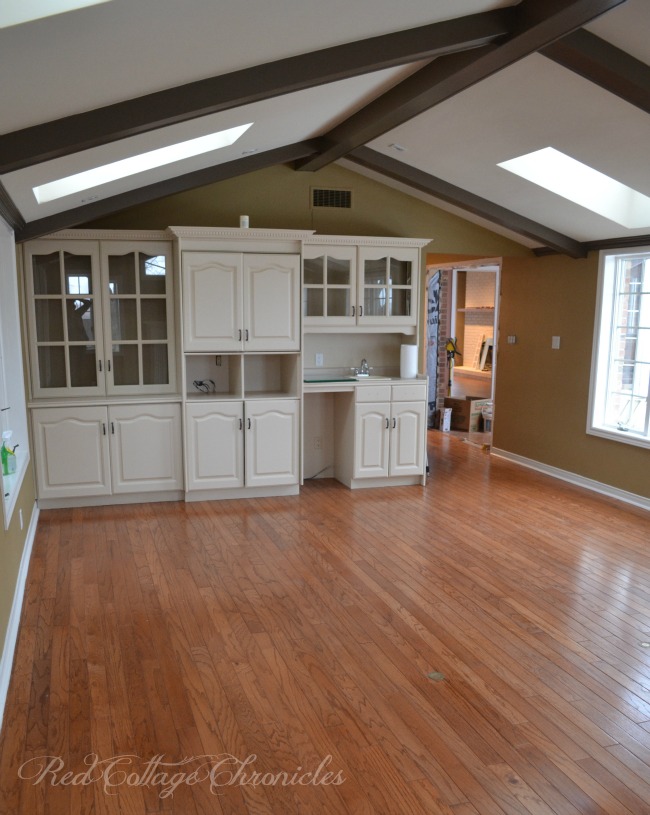
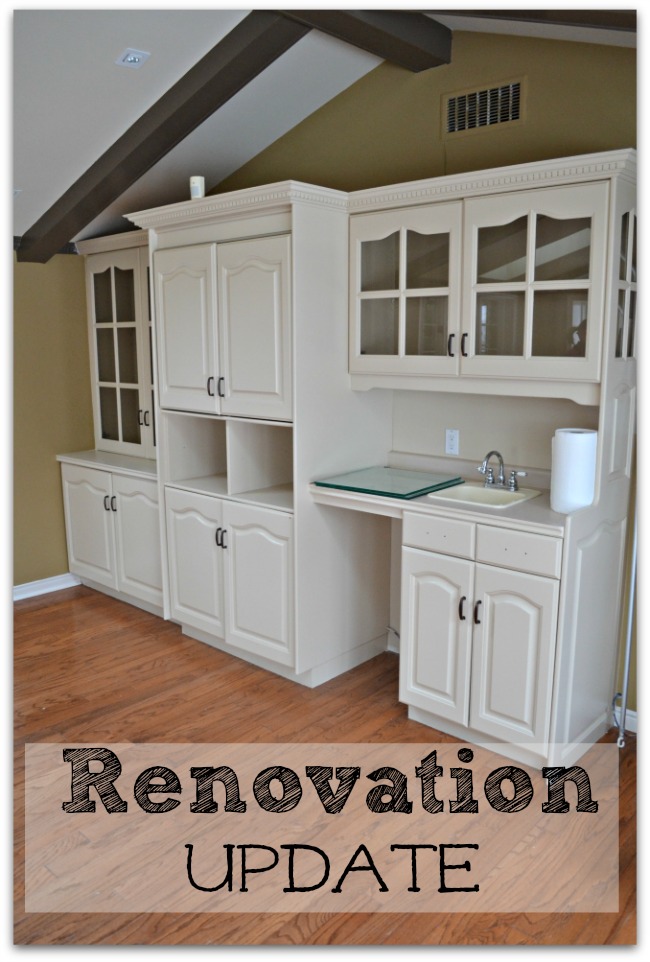
The cabinets are completely transformed with a fresh coat of paint! The smoke glass doors and old bar fridge won’t be returning. A new wine fridge will fill the space and a dart board will be added behind the wooden doors in the centre.
The beams were painted out adding an element of warmth to this big space.
I hope you enjoyed some highlights of the reno!
When they are all moved in I will share the beautiful kitchen transformation and show you how the whole house comes together!
I can’t forget to share the highlight of the weekend! Me, the only claustrophobic in the family, got locked into the bathroom I was cleaning because the door handle had been removed and the door somehow got shut. To add insult to injury, they were laughing hysterically as they took photos of me through the hole as I tried to keep my composure while they worked to get me out.
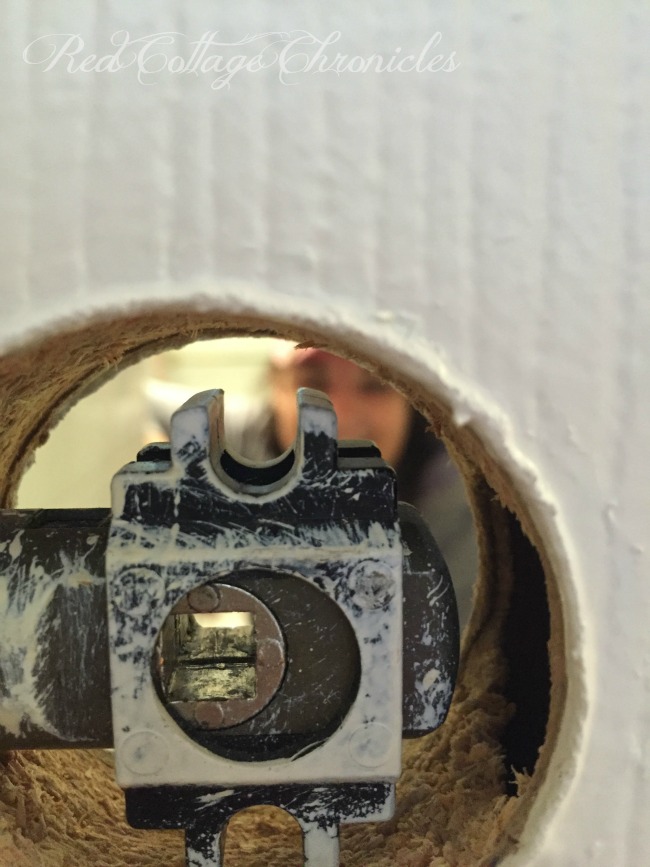
Not funny!
In case you missed the original post you can see all the before’s here.
Until next time….
Maureen


