
My Favorite Spring Wreath Yet!
Hi there! Today I am going to show you how I made my freestyle spring wreath. I can honestly say this is my favorite spring wreath yet. This one is a close second!
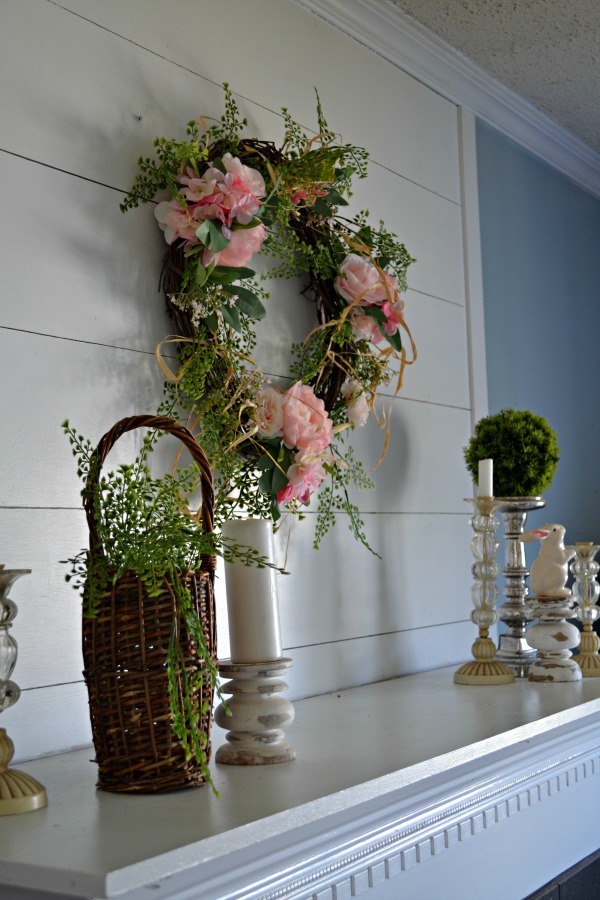
Since spring has not sprung yet where we live, I have the wreath hung above the mantel. When the weather warms up and the snow finally stops I will hang it on the front door. I think it is going to look fantastic against the black door.
For once I remembered to photograph the whole process and I am happy to show you just how easy (and inexpensive) it was to make.
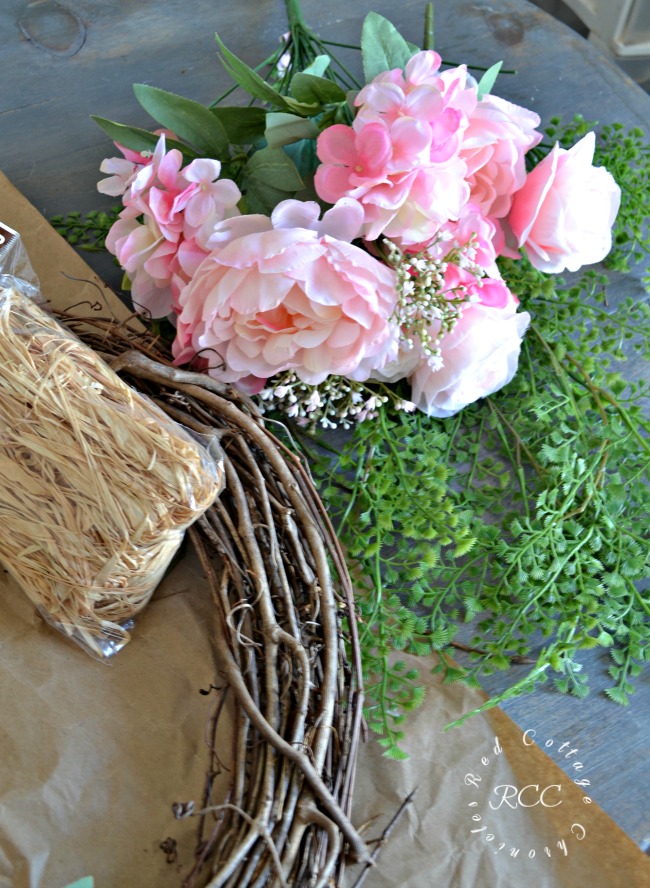
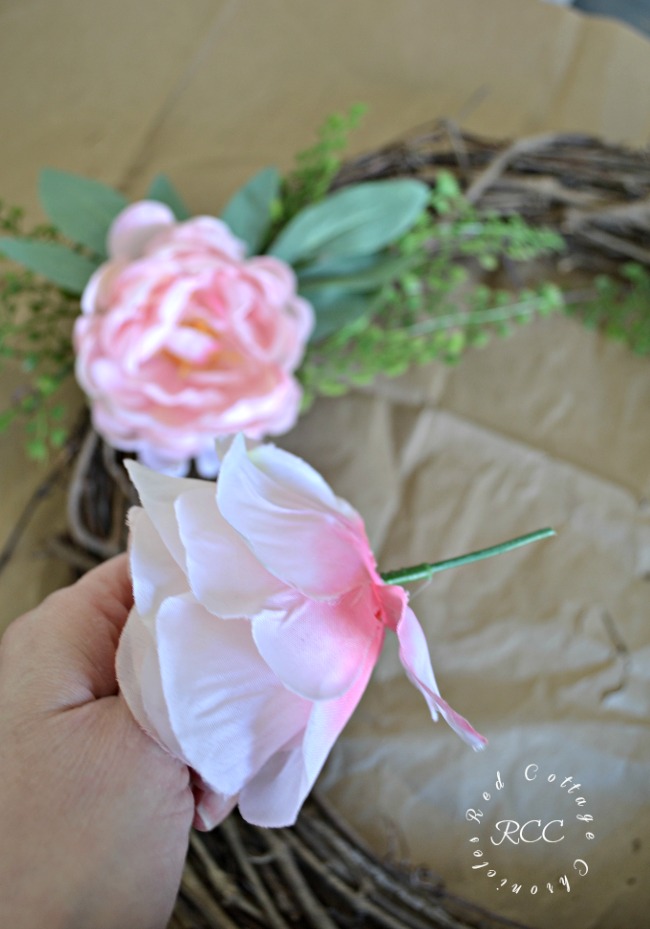
It all started with a trip to Michael’s. I already had a clear vision of how I wanted the wreath to look including. The faux spring flowers are really gorgeous this year and they were on sale for 50% off. To get the most for your money I highly recommend choosing flower “bushes”. The one that I choose had roses in two different sizes, a couple of hydrangea blooms and some tiny white blossoms. After discount I paid $12 for the entire bunch.
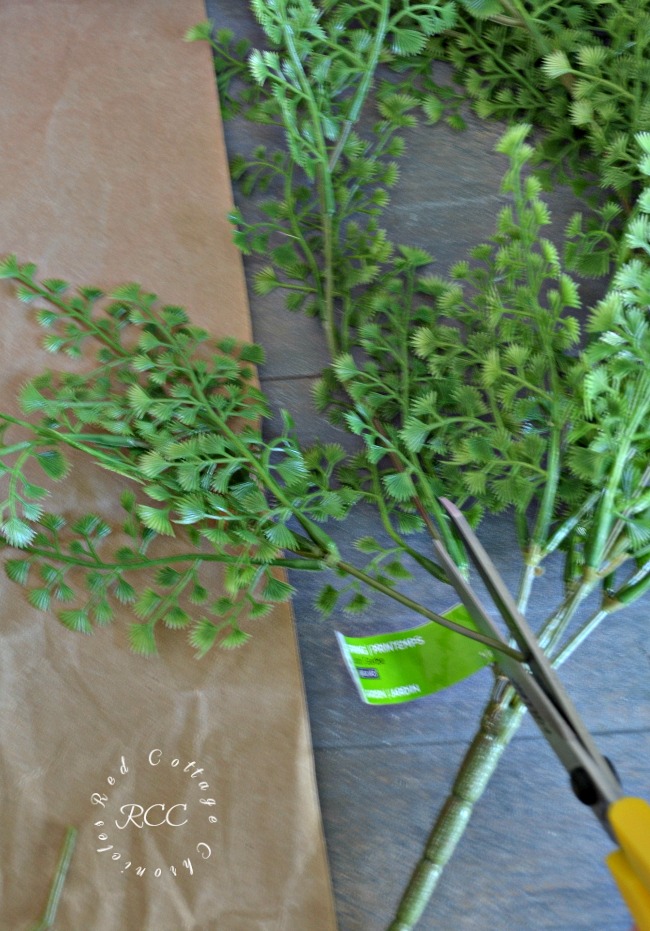
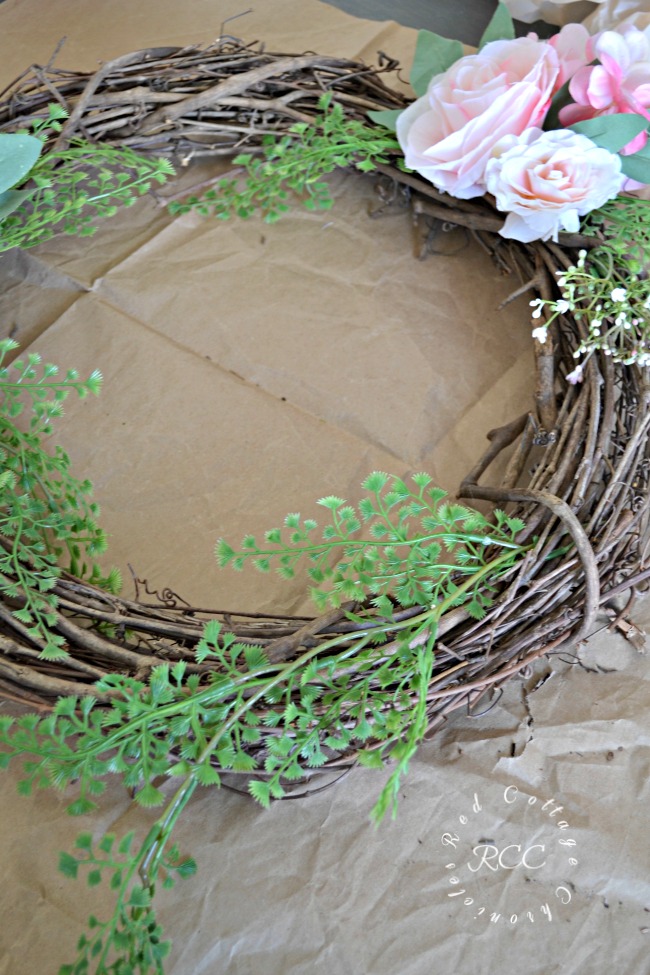
Something new at Michael’s this year are these cascading faux greenery “bushes” that are meant to be hung in a hanging basket. They are made up of several stems that are very loose and relaxed as opposed to stiff and rigid. This is exactly what I had in mind for this years spring wreath. I simply snipped off each stem keeping it as long as possible.
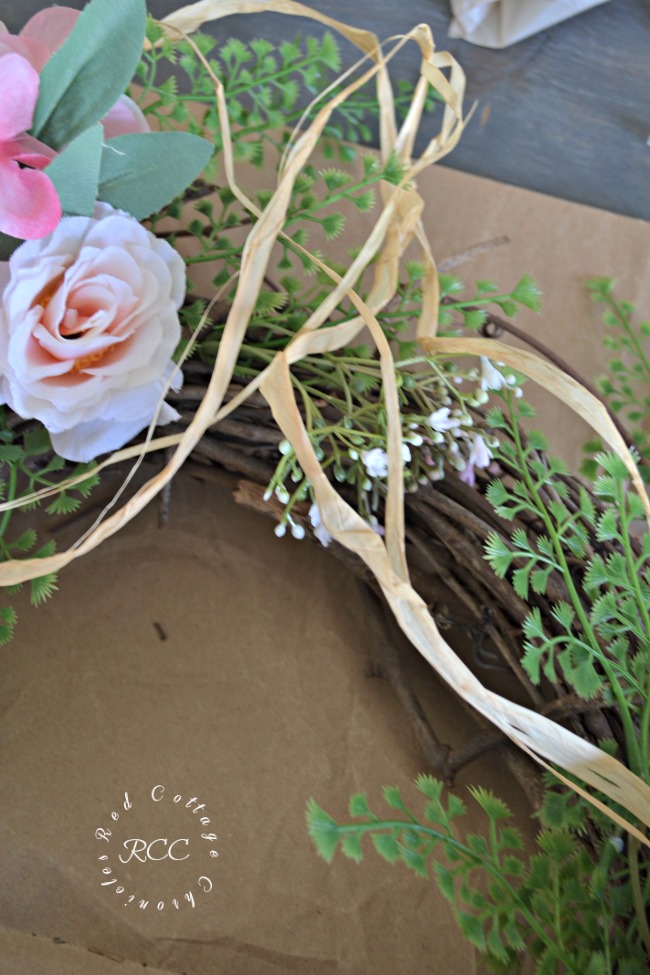
The grapevine wreath and raffia I bought at the dollar store.
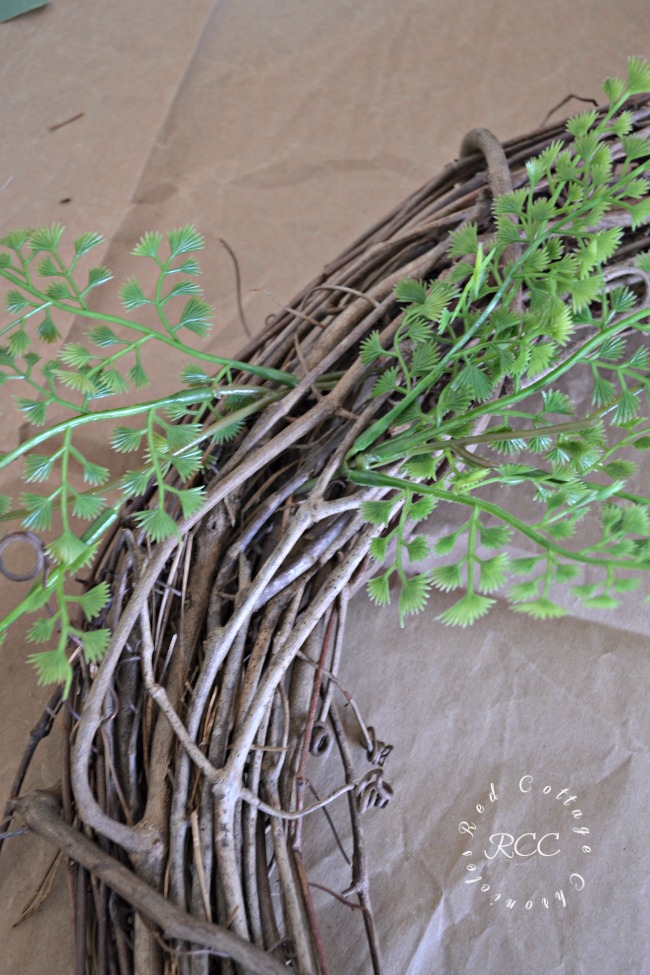
I created three clusters of flowers and greenery around the wreath, working one section at at time. I tucked the faux greenery into the grapevines.
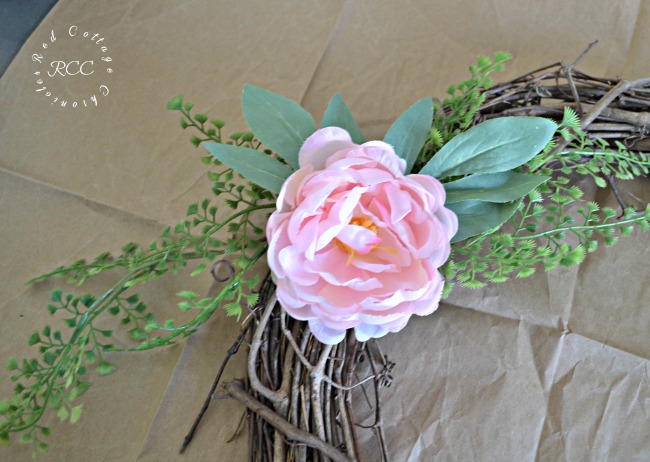
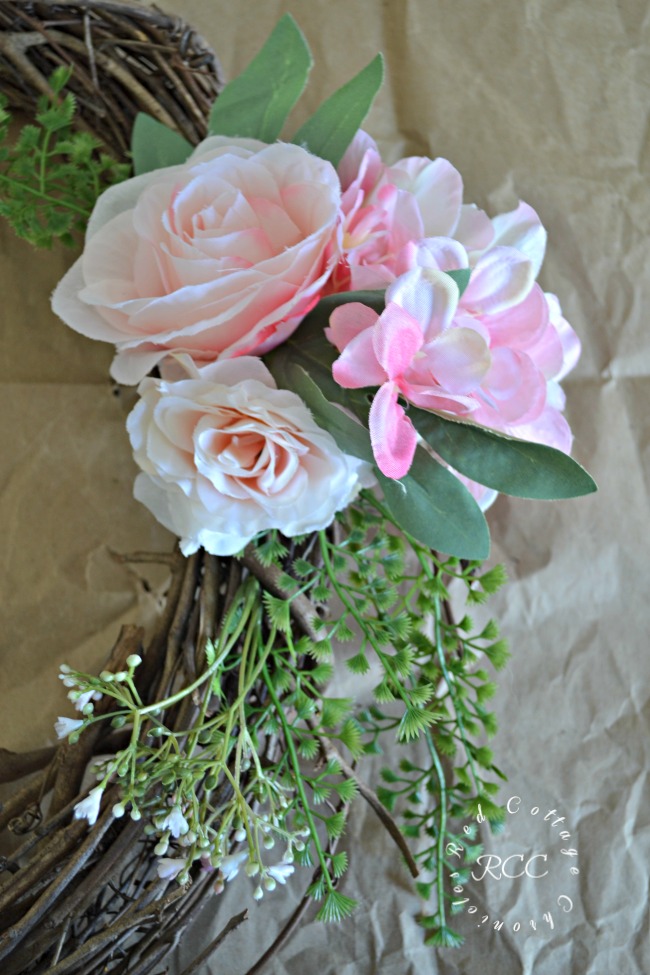
I snipped off the blooms from the bunch leaving a couple of inches of the stem and a set of leaves. I tucked the stem into the grapevines the same as I did with the greenery.
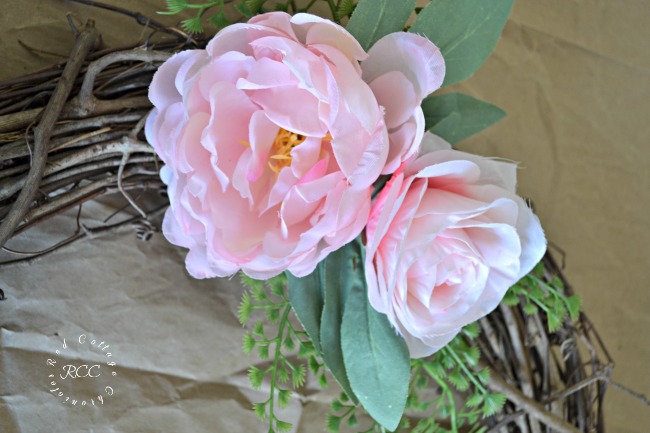
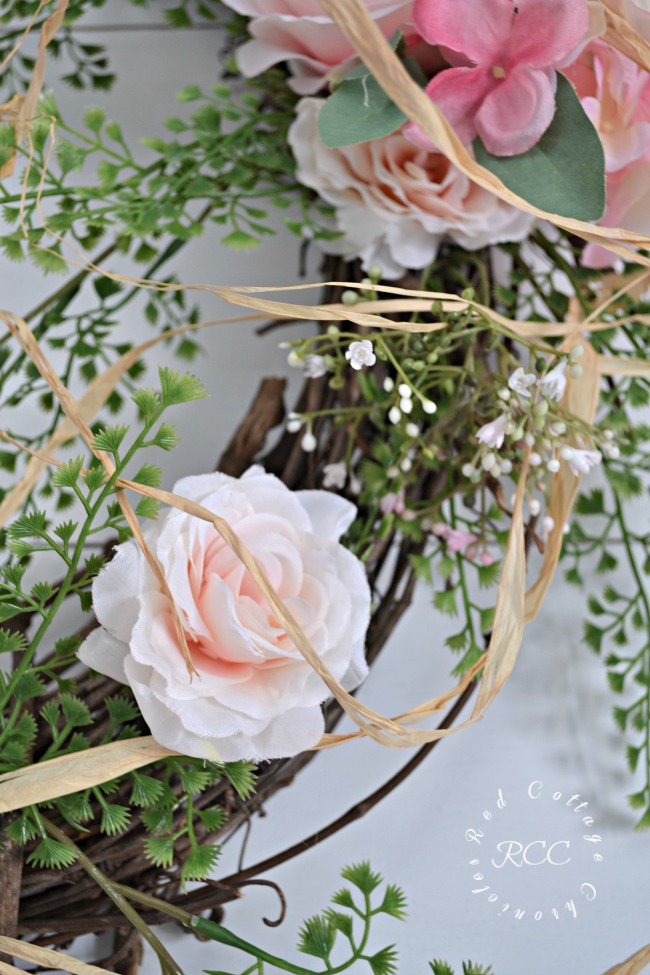
Each cluster of flowers has a three blooms. All of which came from the same bunch of flowers. After I had placed the largest rose, I added a smaller bloom and a hydrangea bloom (including the leaves).
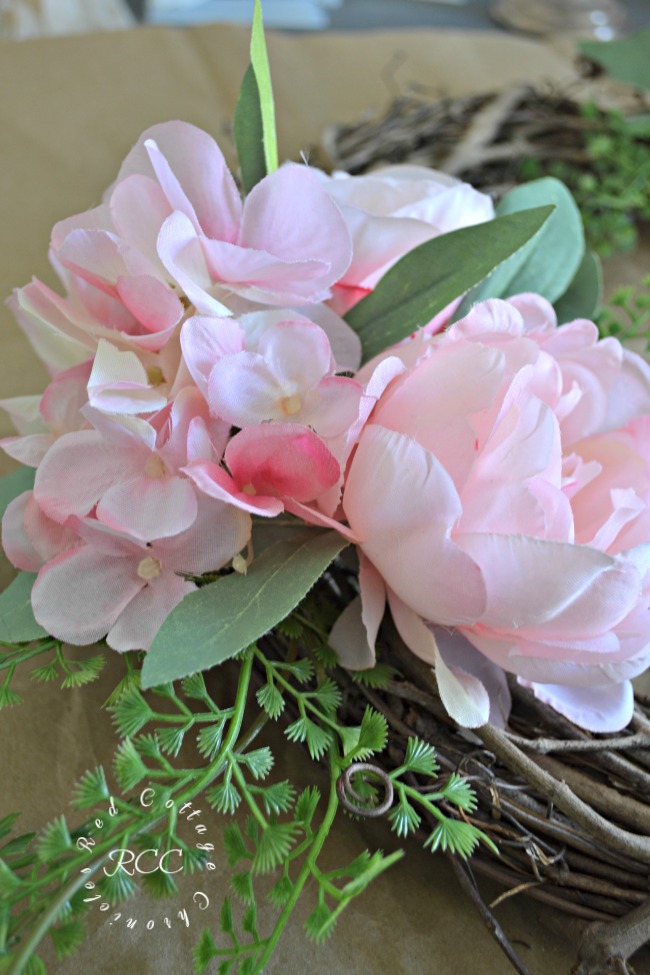
I also randomly stuck in a branch of the tiny white flowers in each cluster.
Again, I made three main clusters of flowers randomly spaced around the wreath. Beginning each with the greenery and adding layering in the blooms in no real pattern. Just clustered them loosely together.
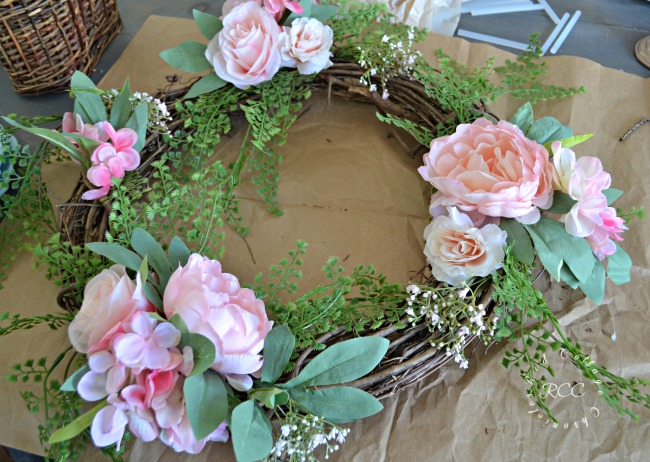
After the main blossoms were in place, I stuck in a few of the tiny hydrangea blooms and white blossoms, and some extra greenery to fill in any empty spaces.
I did use a few dabs of hot glue when necessary to secure the flowers and greenery in place, but for the most part they were quite secure within the grapevines.
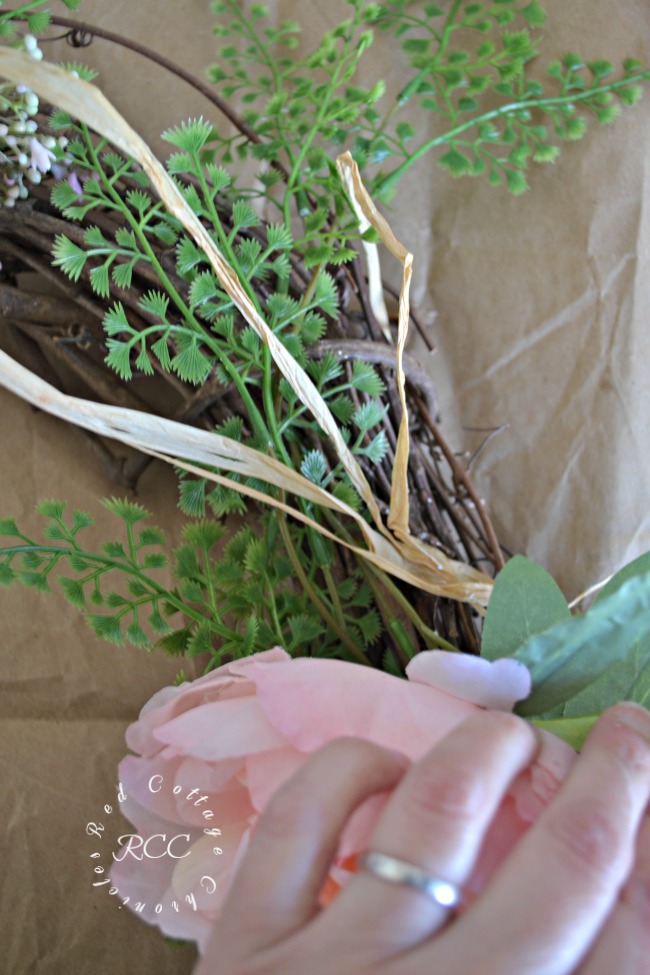
I finished it off by hot gluing some threads of raffia, looping and winding them throughout the greenery and over the blossoms.
I am really pleased with the kind of wild and unkept look of my new spring wreath. When it is hung up, the greenery just kind of shoots out in all different directions, creating a really casual yet romantic feel.
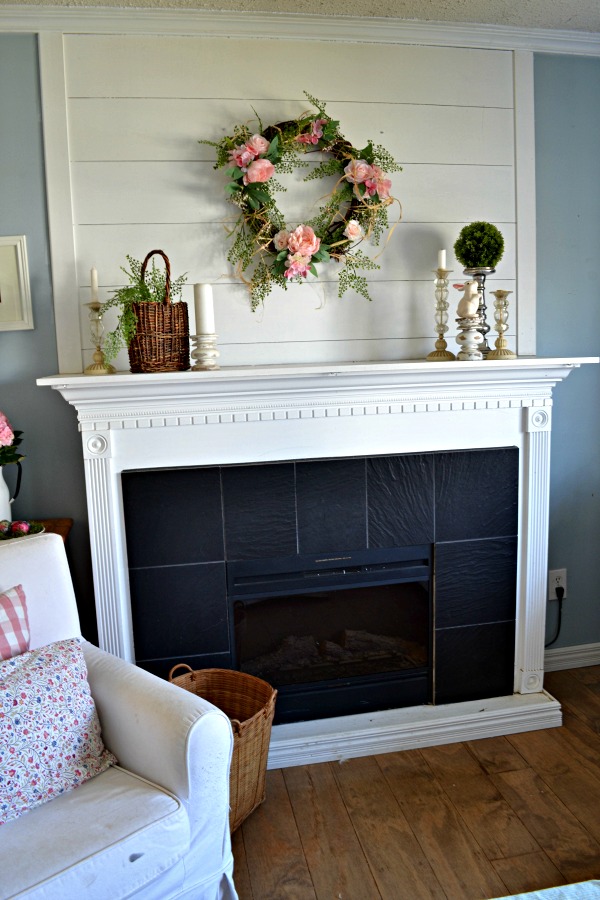
I even had enough of the faux greenery left to tuck into a wicker wine bottle basket to decorate the mantel for the spring home tour!
Now, I just have to wait for spring to get here. Since it is taking so long, I may even leave this wreath up all summer!
Until next time…..


One Comment