
A Beginner’s Guide to the Cricut Maker
Since I am a Cricut beginner I thought I would share with you an absolute beginner’s guide to the Cricut Maker! Today I am going to show you that this is one amazing machine that goes way beyond crafting and scrapbooking projects. Although, it is a must for either of those two activities.
When it arrived at my doorstep I couldn’t wait to open it up. It comes with everything you need to get started:
- a fine point blade (installed)
- a power cord
- lets get started box with a your supplies for a project and the URL for your machine set up
- rotary blade with drive housing
- Cricut fine point black pen
- usb cord
- system hand book
- two cutting mats
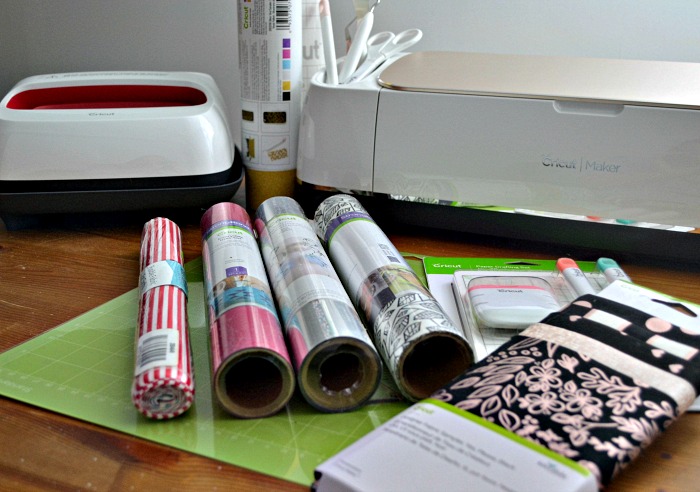
When I first unboxed my Maker, I was impressed at how substantial it is. It really has some weight to it, and it is obvious that this is a quality constructed machine.
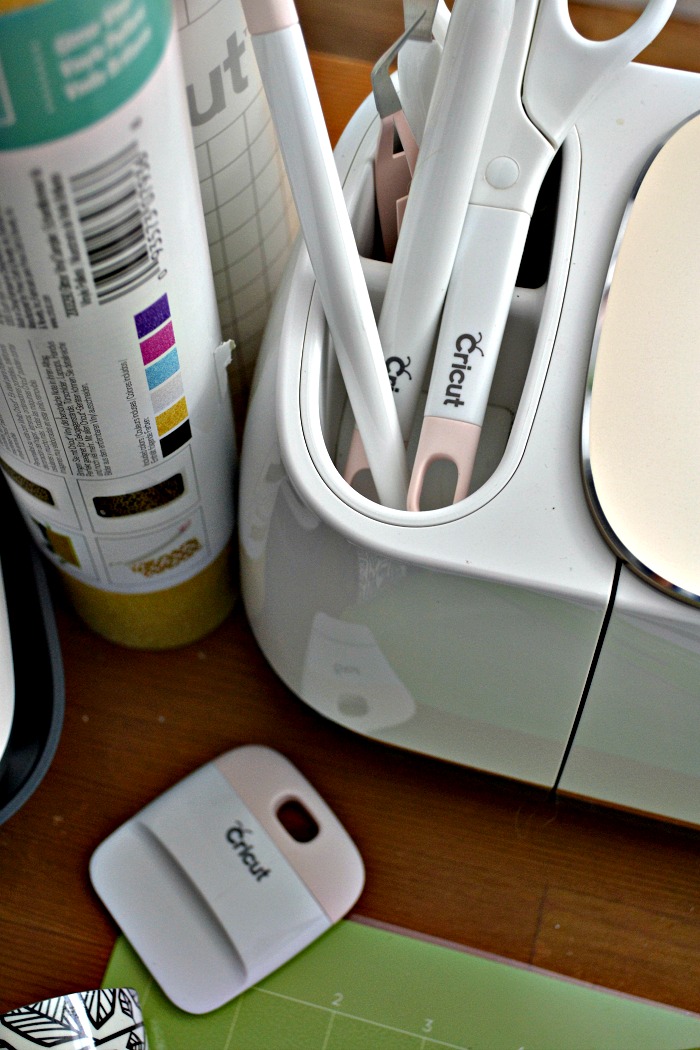
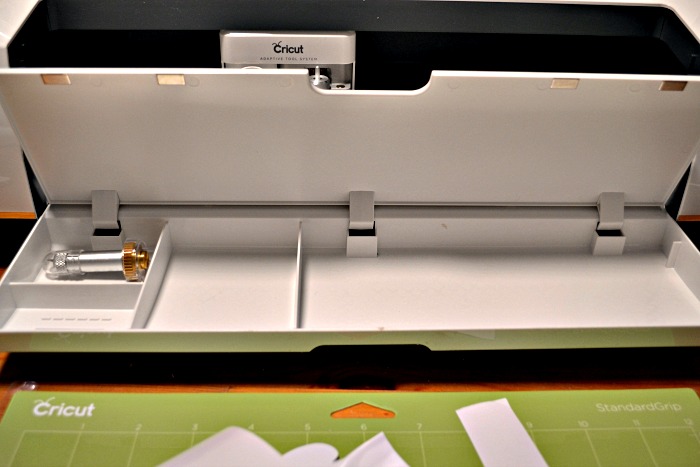
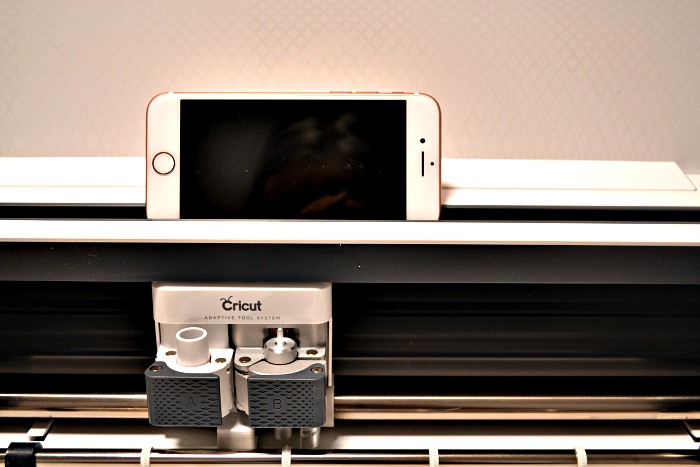
If you are anything like me you love your “pockets”. The maker has 2 “pockets” to hold accessories at your fingertips, plus one hidden tray, and even a slot to hold your phone or tablet (and it has a docking port where you can charge your device too)! You can download the Cricut app to your ipad or iPhone, but I went ahead and used the USB cord to connect my laptop directly to the machine.
Since this is my first Cricut machine, I am not all that familiar with the older models so I can’t compare it to them. However, what I do know is that this latest machine can cut 100’s of materials to help you create a endless number of projects! It has an expanded range of cutting blades that give you the ability to even more materials than earlier models. In other words, it can really up your game if you are a creator of any kind!
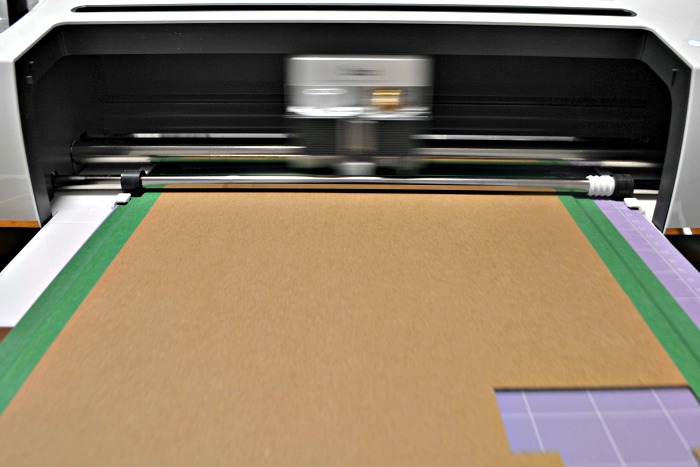
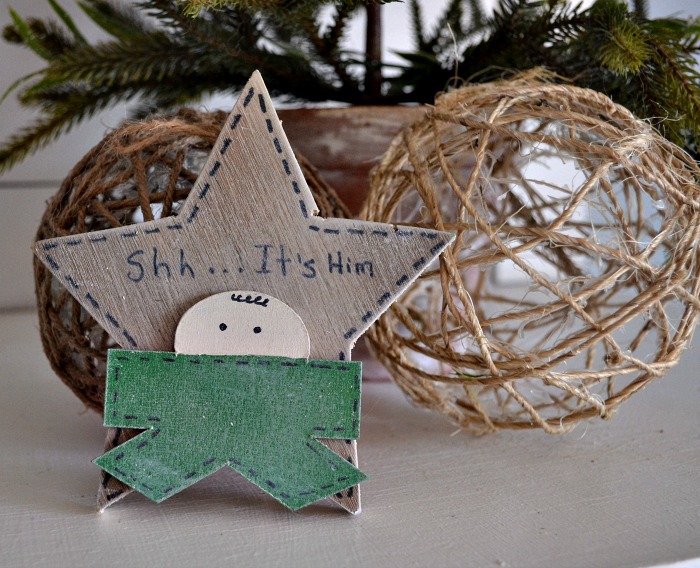
The Cricut Maker can cut through heavier materials like heavy cardstock, leather and even Balsa wood with amazing percision. I have already put the knife blade to the test to create this Christmas ornament, and I can tell you it cut through that heavy chipboard like butter. Yet it also cuts more delicate materials like fabric and delicate papers easily and accurately. Not to mention all of the vinyl materials that these cutters are known for.
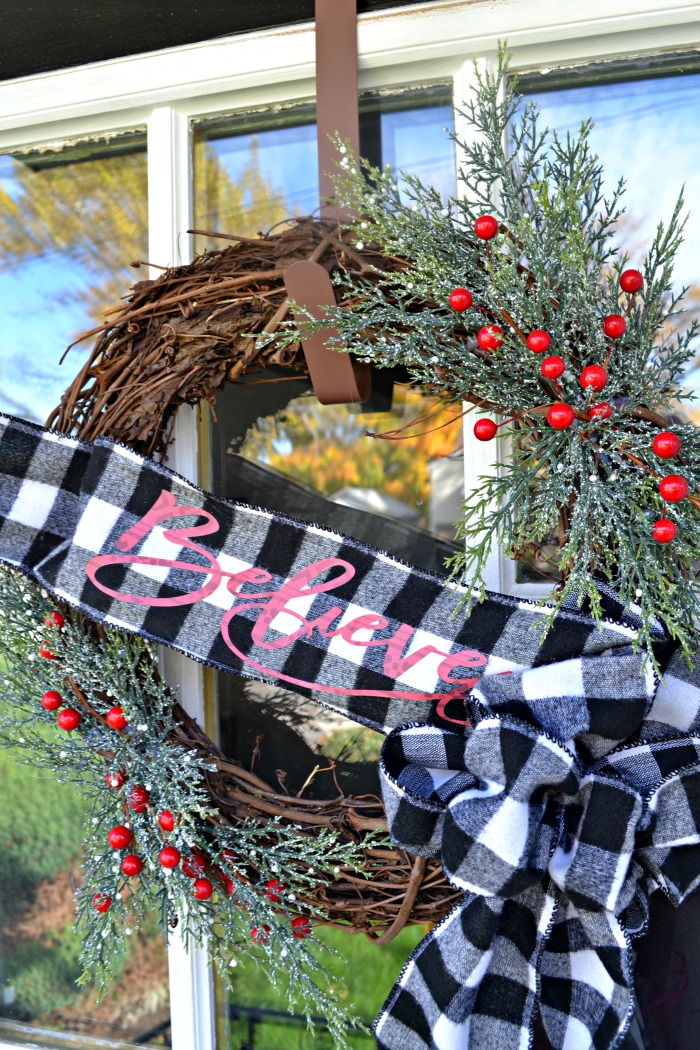
Oh, did I mention the iron on materials? I have already used a patterned iron on to put the finishing touches on this Christmas wreath.
I really am so impressed by the shear volume of things that this machine can do. The possibilities are endless.
I have to admit that I was a little intimidated at the thought of learning all of the things this machine can do. My worry was all for not, as it is really easy to navigate thanks to the Cricut Design space and the numerous tutorials available at Cricut to easily guide you through anything you might want to know.
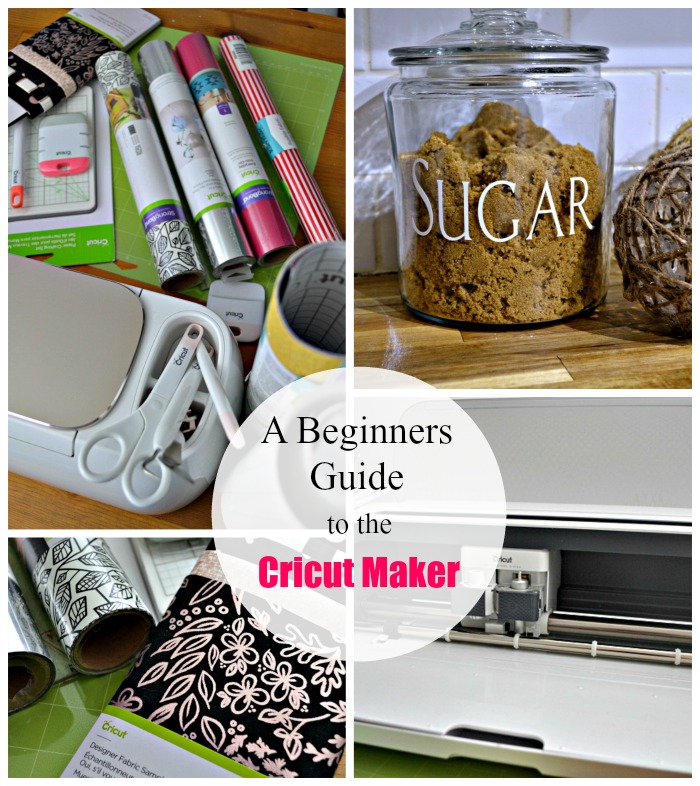
While I am an absolute beginner I have already learned so much. For example, I didn’t think I could wrap my 53-year-old brain around how to use transfer tape to put vinyl letters onto my clear canister jars. Well, I am happy to report the project below took me less than 10 minutes.
Now, let me, as a Cricut beginner, show you how easy it was, and how this intuitive machine and software guides you through the whole process.
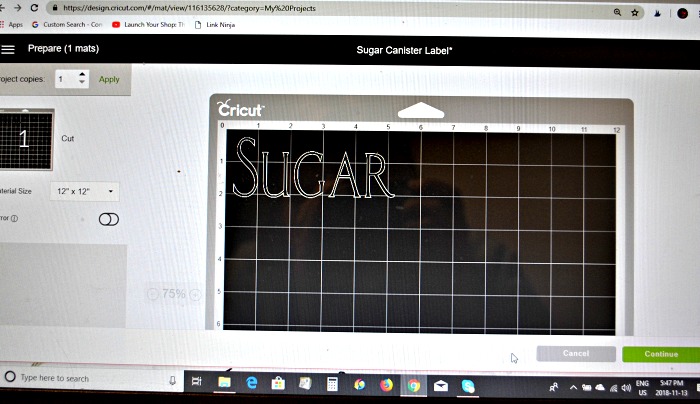
- I signed in to design space and selected create new project. I spelled out the word Sugar in the Design Space project page, and selected a font I liked from the drop down at the top.
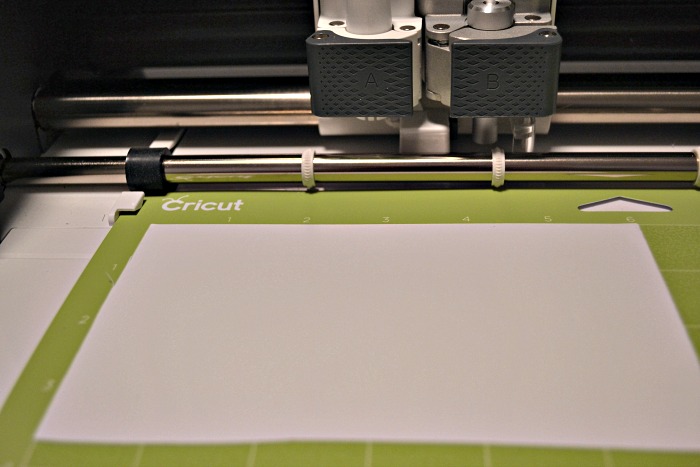
2. I secured a piece of vinyl (vinyl side up) to slightly larger than the size of my project to the green standard grip mat that came with the machine.
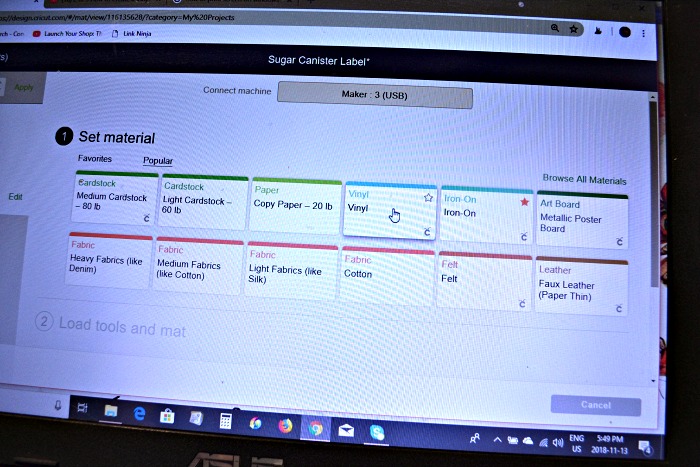
3. Using the prompts at the right lower corner of the screen will navigate you through the steps to set up the Maker to create your project. On this screen you are asked to choose the materials you are cutting. I clicked on vinyl.
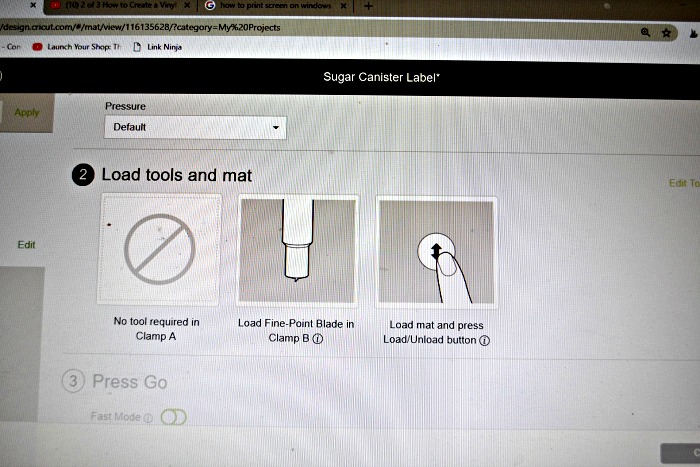
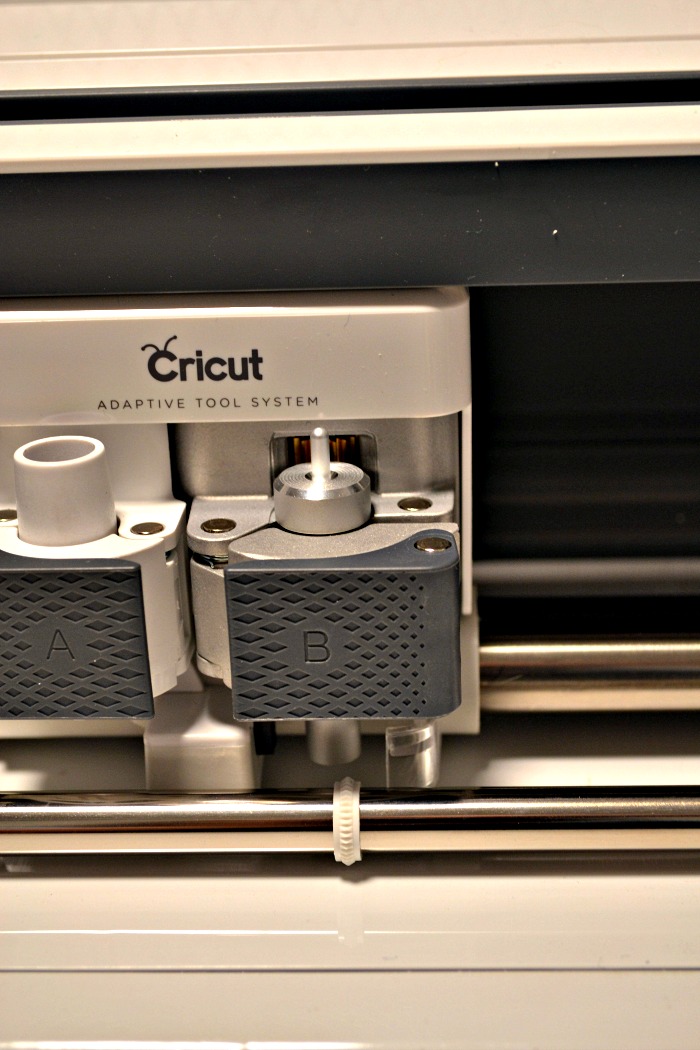
4. The next screen will guide you in choosing the correct cutting blade to use and which clamp it will go into. It also directs you to load the mat into the machine. Simply line it up and press the flashing up/down arrow near the power button.
5. When the little Cricut icon beside the up/down error begins to flash, simply press it and watch the machine go to work.
6. It will also prompt you when the cutting process is finished and to unload the mat from the machine.
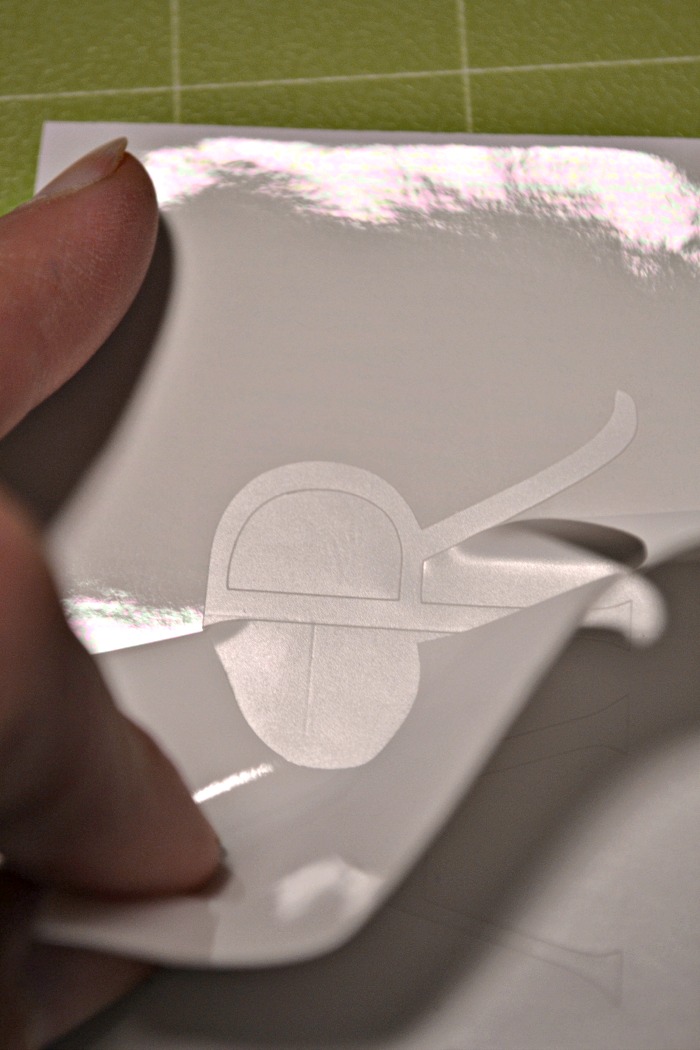
7. Carefully pull the negative vinyl away leaving your design in place. In this case, I left the letters spelling SUGAR in place but pulled all the surrounding vinyl off.
8. You may need to use a weeding tool to get out any pieces behind that should be removed, such as the inside of the letter A and R in my design.

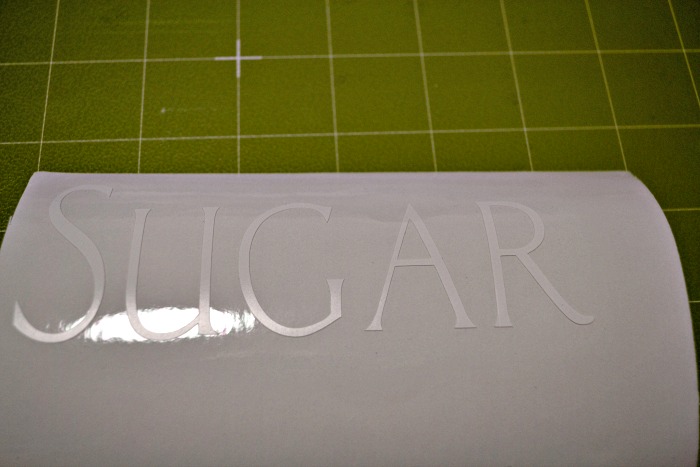
9. Cut a piece of Cricut transfer tape to the size of your project. Remove the backing and carefully lay it in place over your design. Use the scraper tool to smooth out any air bubbles and to ensure your design is adhered to the tape.
Remove the backing off the vinyl. Your letters will now be adhered to the transfer tape.
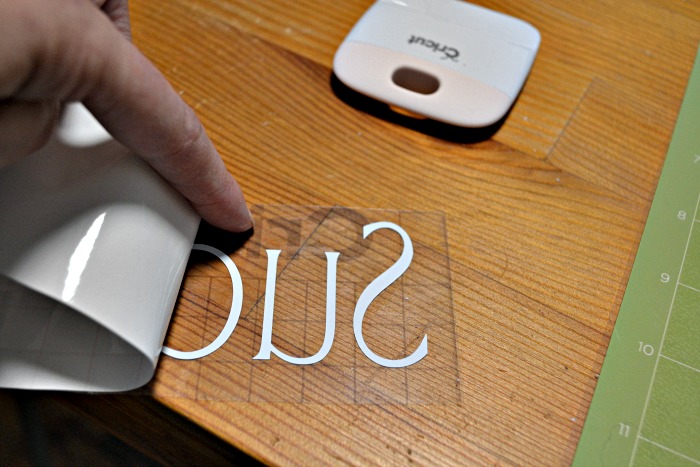
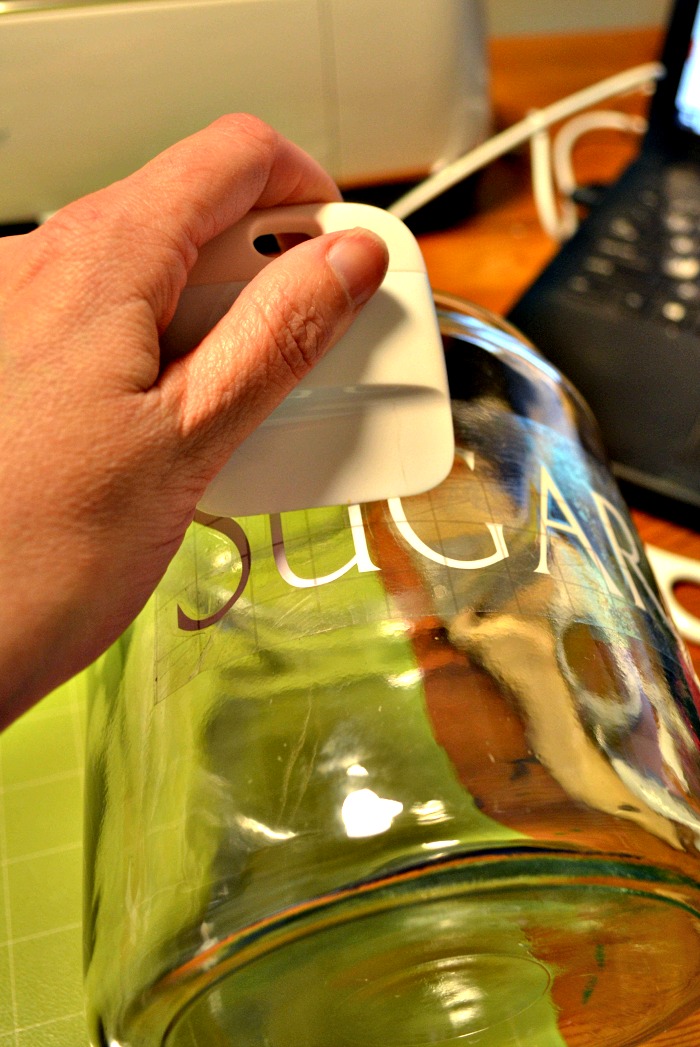
10. Position the transfer tape with your design onto the jar and use the scraper to secure the letters. Slowly pull the transfer tape away from the jar and reveal your vinyl attached to the jar!
I find that peeling “low and slow” works best. In other words, don’t pull the transfer tape up off the jar, but rather peel it back slowly.


How easy was that!
Whether you are a Cricut Beginner like me, or a seasoned user who is looking to upgrade to the Maker, this is just the tip of the iceberg and I recommend you visit cricut.com for more details on what this marvelous machine can do!


Cant wait to see what you do Momo!
Maureen I am so excited for you! I know how much you wanted one. Welcome to the Cricut family. Can’t wait how to learn how to use the Maker together.
Thank you Michelle! I have been inspired by your fun t-shirts for my next project!!
The Maker sounds amazing, thanks for walking through all the cool things it can do. I’m looking forward to seeing more Cricut projects here!
Welcome to the Cricut Family! I am so happy for you! And look at you go already! You’ve become a pro in no time. I am pinning!
I love love love that this machine can cut fabric! It’s a total game change for sure. Looks like you got the hang of it pretty quickly, I’ve always loved how user-friendly the Cricut machines are.
And how cute and clever are these jar labels?! I think I might have to make some myself!
The projects are truly never ending with Cricut. Love your beginners guide post Maureen!
Thank you Michelle! You are right, the projects really are endless 🙂
What a fun way to make something extra special! Love the wreath – thank you for this post! 😀
Lori Jo – 50 With Flair
I just got my Cricur Maker yesterday, haven’t even set it up yet. My plan is this afternoon after church. Will probably have millions of ???? I enjoyed looking at your site.
Thank you Joyce! You will love your Cricut! I am having so much fun discovering all the things it can do! Lots of projects planned 🙂