
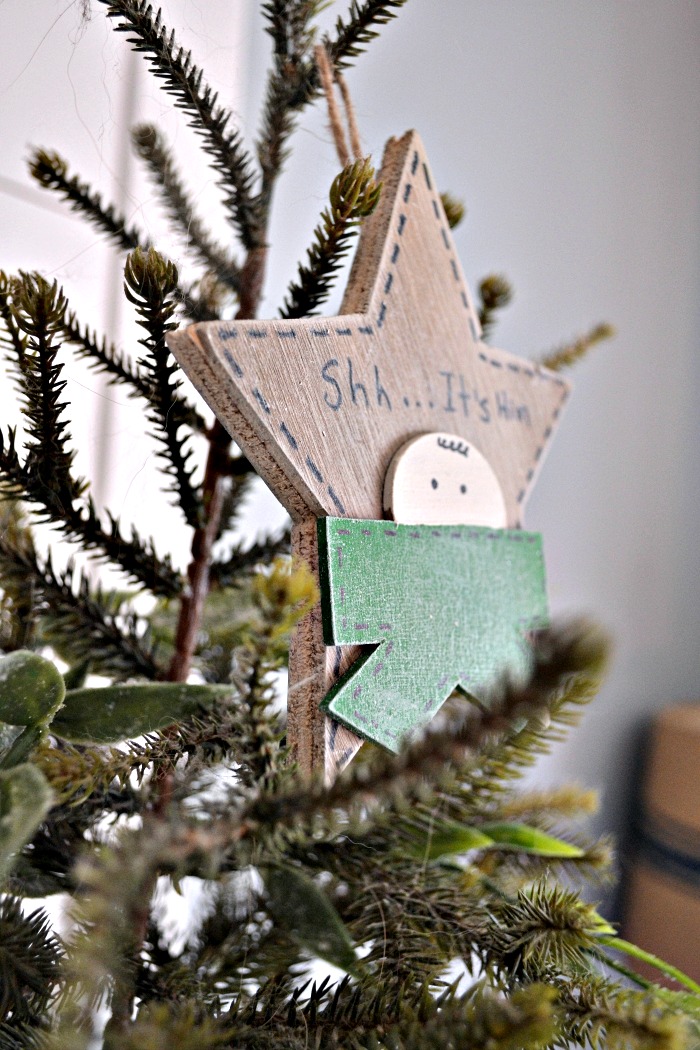
Shhh….it’s Him Christmas Ornament
Welcome to week two of our Christmas DIY Home Décor Blog Hop! This weeks theme is wood, so I can just imagine all the wonderful projects that we will see.
If you have seen this post, you know that I am no stranger to wood projects at Christmas time. But, this time I am going on a smaller scale and making a DIY Christmas ornament using wood. I have actually had an ornament similar to this for years, and there is just something about it’s simple charm and the message that makes it one of my favourites. I wanted to re-create it and share the tutorial with all of you.
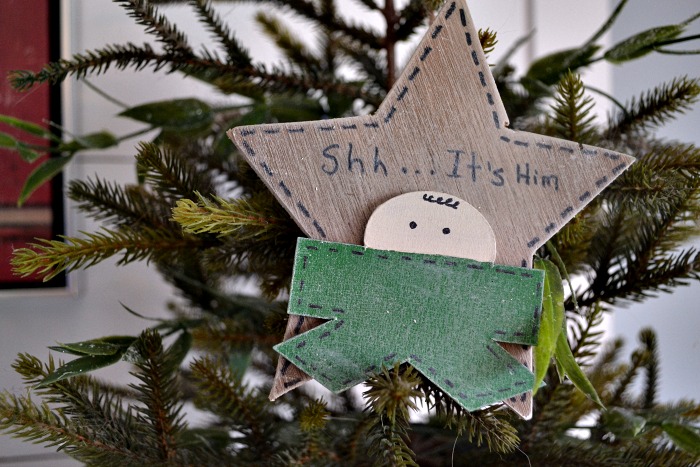
Isn’t the cutest! I used 1/4 inch plywood for the star because I had a little piece of it lying around. The little Jesus I used my Cricut Maker to design and size perfectly. The Maker can cut 100’s of materials and I used heavy chipboard for this project. It was the perfect thickness to add the three dimensional effect without being too bulky. The Maker cut through it like butter leaving clean sharp lines.
This post contains affiliate links, which simply means if you should follow a link and decide to make a purchase, I may receive a small commission with no additional cost to you!
So, are you ready to see how I created this little DIY Christmas ornament?
Lets get started!

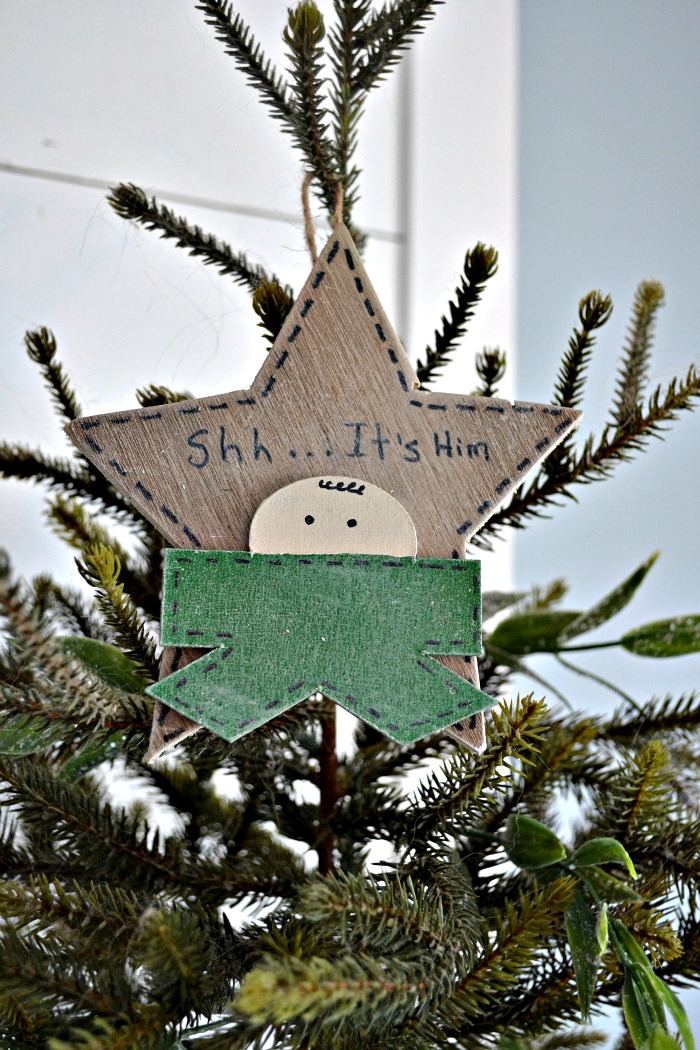
As I mentioned, we Tim used a jigsaw to cut the star out of a little piece of 1/4 inch plywood we had left over from another project. It was already stained with a colour I liked. I gave the whole thing a good sanding giving extra attention to the edges.
He is such a trooper because I forget to mention I needed it the evening before!
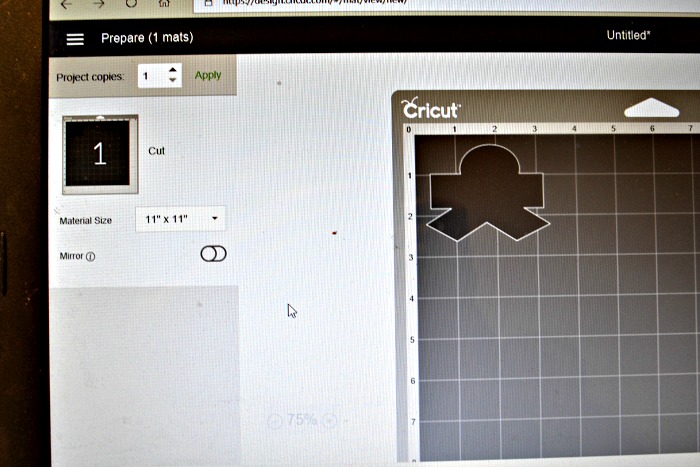
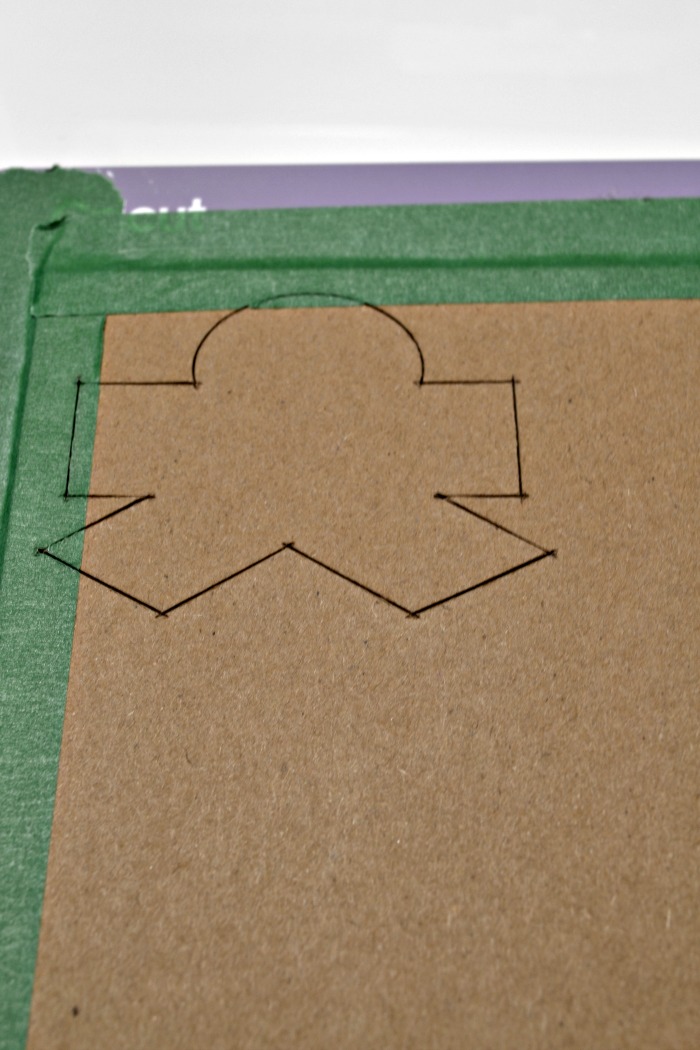
I went into Cricut design space to create the baby Jesus. I simply used a circle for the head, a square resized to a rectangle for the body, which I then duplicated and rotated for the legs. After I had all the shapes overlapped to create the overall shape I wanted, I simply “welded” it together so it would cut as one piece.
Since the chipboard comes in 11″ by 11″ pieces, I set the material size accordingly.
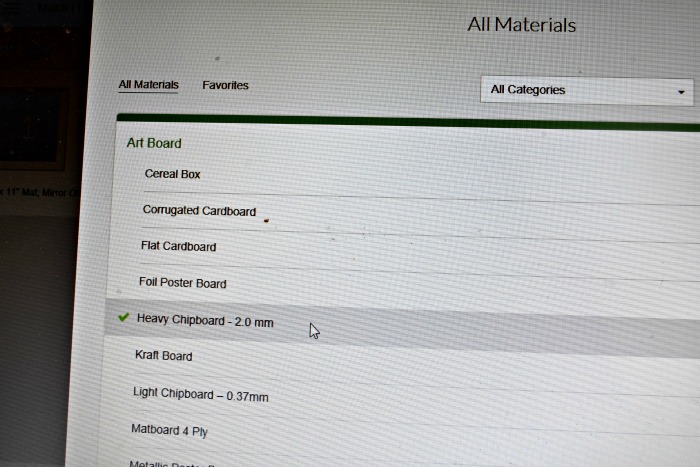
I searched the materials list for heavy chipboard and selected it.
*Quick tip – you will want to connect your laptop to the Cricut Maker using the cord that comes with it when cutting heavier materials such as this chipboard as I was not able to find it in the materials list when using the app on my Ipad. I have also learned that by keeping it connected with the cord will prevent any interruptions if your wireless connection cuts out for any reason.
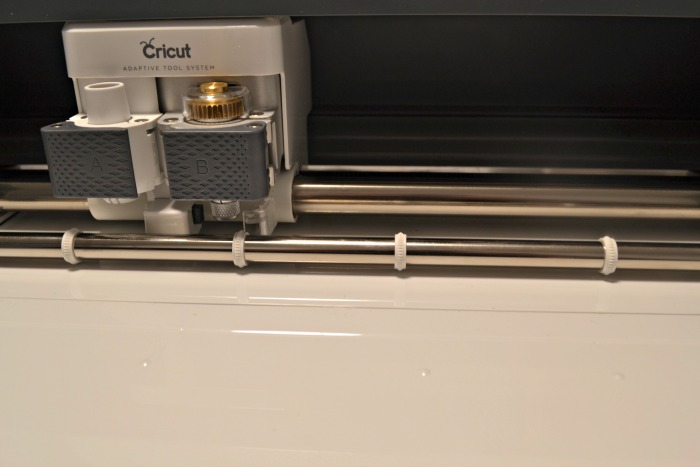
I loaded the knife blade into the tool port and slid the white guide rings you see in the photo above over to the far right which is recommended when cutting thicker materials.
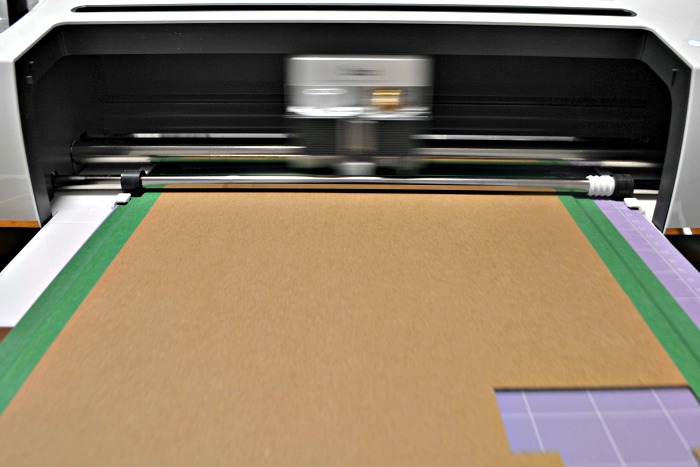
I used the strong grip mat and also secured the edges with painters tape. Given the pressure that the knife blade uses to cut the material, you want to ensure it doesn’t shift at all during the cutting process. The knife blade will take several passes until the material is cut all the way through.
 It took about 20 passes to cut this heavy chipboard for a total of around 4 minutes. I am super impressed with how precise the cuts were. Perfectly straight with no jagged edges!
The painters tape was easily removed.
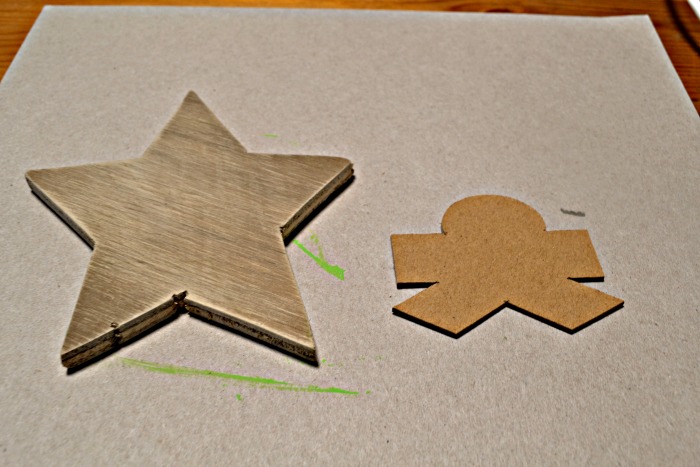

I used a black Sharpie to make “stitch” lines around the perimeter of the star. No ruler, just free hand for that rustic, hand-stitched look.
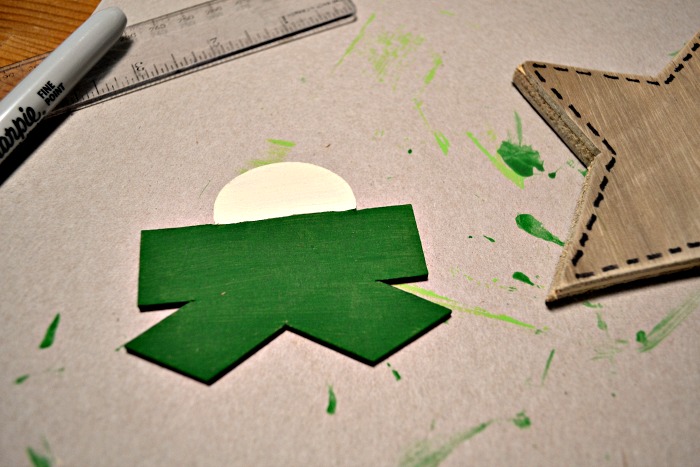
Paint baby Jesus with craft paint. I used holiday green for he body and legs and a bit of Fusion paint in an off white color for the face. Allow he paint to completely dry.
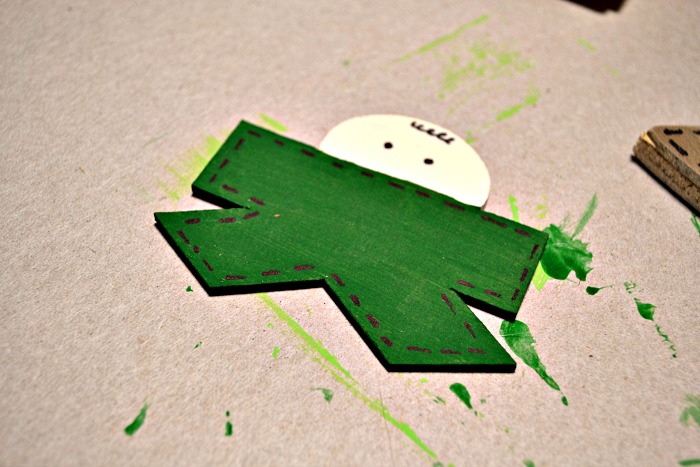
Again, use the black Sharpie to make stitch lines around the perimeter of the body. Add two simple dots for eyes and a curly-cue for hair.

Add the message Shh….It’s Him free hand using the black Sharpie. I positioned the baby first to get an idea of where to write the words, and then removed it to make it easier to write.
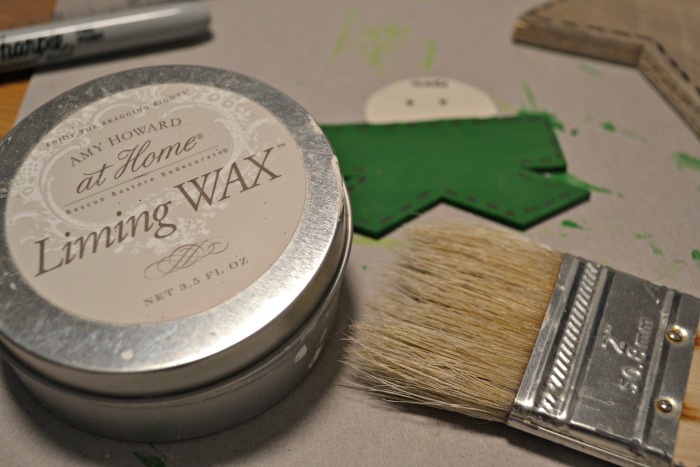
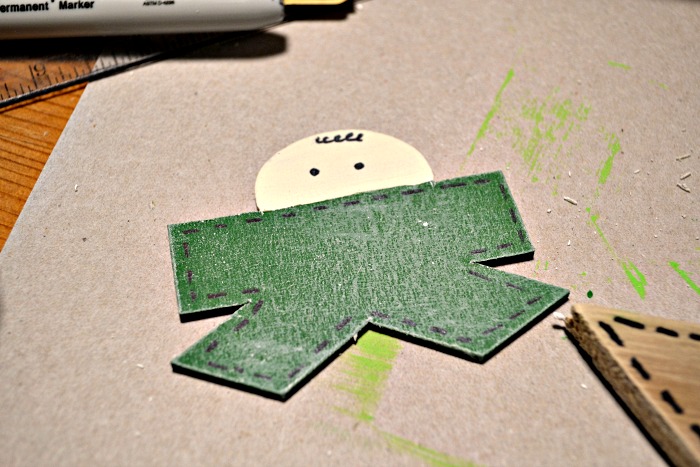
To set the paint and marker in place, and to provide a protective coating I first brushed the baby with Liming Wax. I like the look that this type of wax gives wood. A slightly aged patina with just the slightest it of sheen yet a nice smooth finish.

Then, using a dab of hot glue, I attached the two pieces together. After letting the glue set, I used the liming wax to finish the star too.
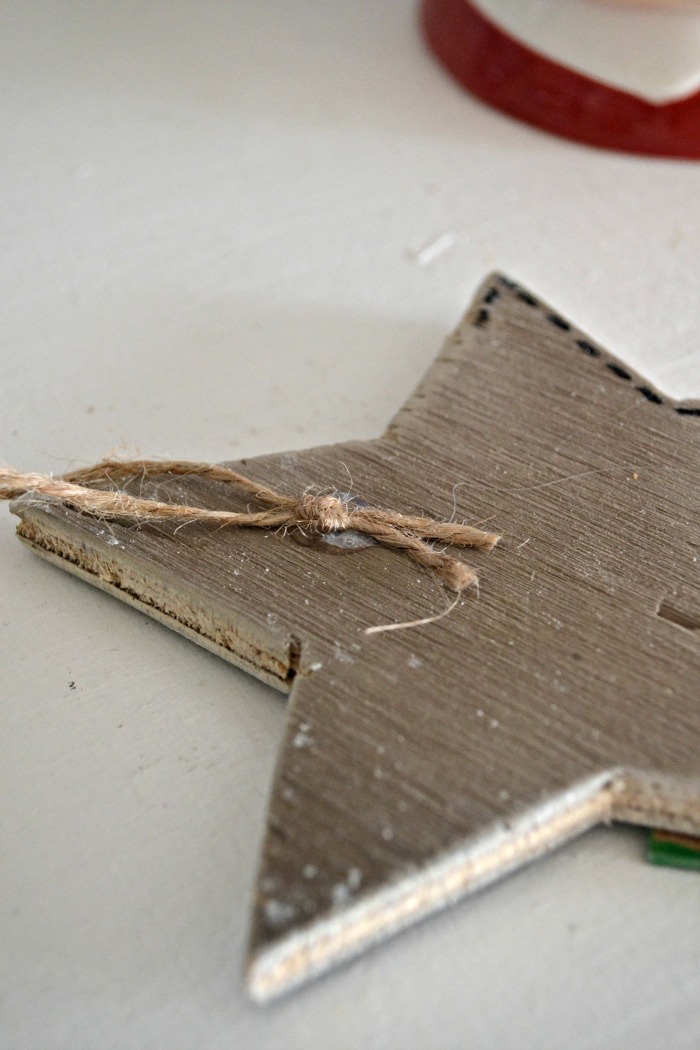
Using a simple piece of twine fashioned into a loop, I glued it on the back of the star to allow for easy hanging on the tree!
So simple and cute! Since I have a similar one already I will be gifting this one to someone else. I hope they love it just as much as I do!
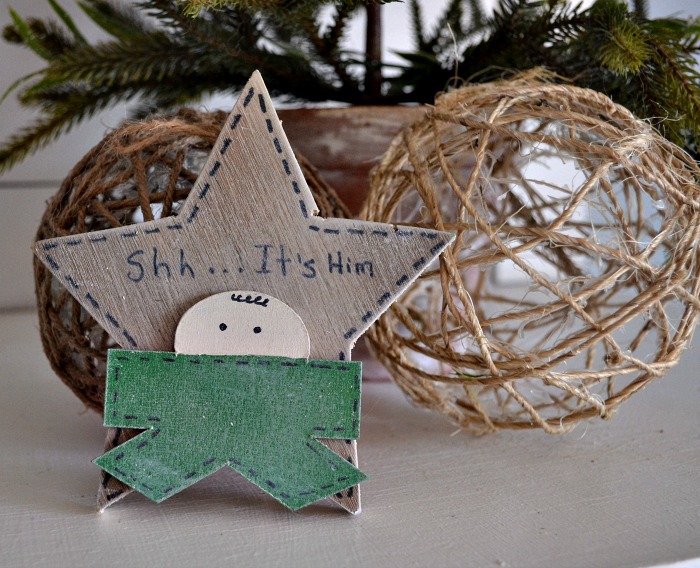
The star measures about 5″ by 5″ in total height and width, so it is a nice size. I think it would look great decorating a wreath or just displayed as part of a Christmas vignette too!
If you have been looking for DIY Christmas ornament ideas be sure to pin this project for later!

Don’t forget to check out all the links below for more festive DIY Home Decor projects made with wood! This Friday I will be rounding up a some favorite DIY wood Christmas projects from around the web! Plus, Tuesday I will be featuring my Thanksgiving tablescape and Thursday I will be featuring a gorgeous (if I do say so myself) DIY Christmas ornament that I have sent off to my ornament exchange partner!
You won’t want to miss all the inspiration happening this week, so be sure to subscribe to receive timely email notifications whenever a new post goes live!
Until next time….


This is so cute!! Awesome job!
Such adorable ornaments. Super cute!
I have never seen anything like this, but like you said – the simple message it brings is great. SO charming and so sweet. I really REALLY like this!
So cute! I need to try more projects like this with my Cricut!
I love this sweet little ornament, great job!
What a fun Christmas ornament!!
This is too adorable! I love it!
Thanks Jessica!
So original and cute! I love this. I want a Cricut so bad but I don’t know much about them, I just always see all the cute things created from them…
Thank you Kenya! I am amazed at the endless list of things I can create with my Cricut!!
So cute, Maureen! I do have a Cricut but have only cut stencils with it… My hubby did just mention that it has been languishing… 😉 Cutting little baby Jesus would be fun! Thank you for the tutorial. Pinned and tweeted for you!
Thank you Barbara! I have only had my Cricut for a couple of weeks and have barely had it shut off!!
This is just adorable! I didn’t know you could cut material that thick with a Cricut, how cool!
This is so adorable!! And, I love the tips about using Lime wax on wood. Thanks
Aww, I love this little Baby Jesus ornament. I just got a Cricut but I already want the Maker. I love your project!
Oh m y goodness! This ornament is so perfect. You are so talented and creative. Thanks for sharing and for the tutorial.
This is so cute. I’m putting “learn to use the jigsaw” on my list of things for 2019.
Oooohhh he is so sweet!!!!!!
Very cute! I love the stitch lines 🙂
I love how you cut out the thicker materials with your maker… it turned out so good! Plus your ornament is so adorable! Love it!
Thank you Betsy! It makes me want to make all the things!!