
7 DIY Dining Room Projects
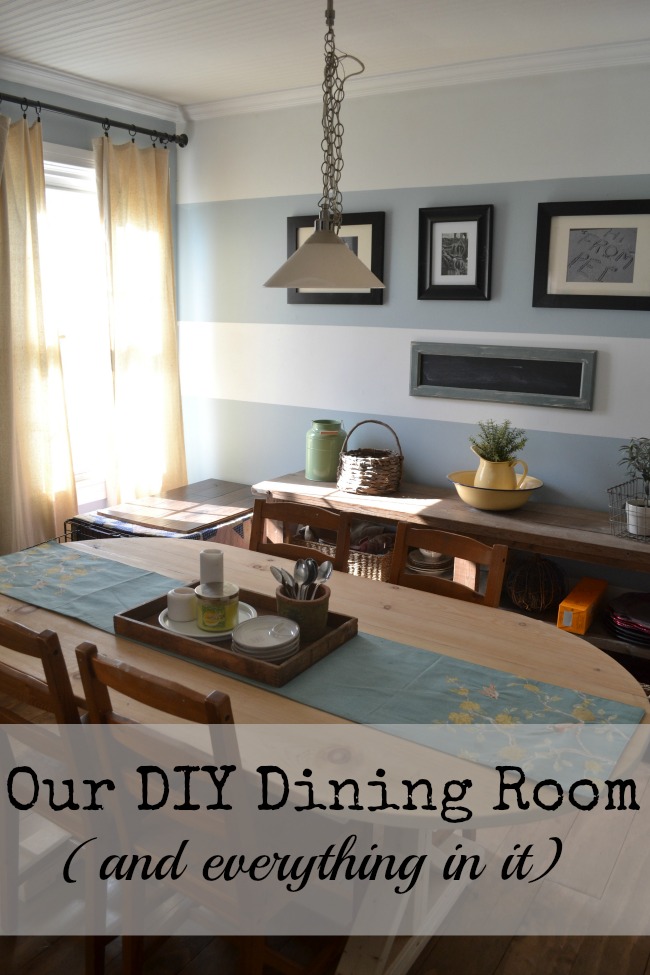
While I was sitting at the dining room table the other day doing some blog work, it suddenly occurred to me that we have DIY’d almost everything in the room, including the room itself!
Here at the Red Cottage we created the dining room by opening up the wall between the living room and what once was a bedroom. The room measures all of 8 feet by 10 feet. Still, not a big dining room by any stretch of the imagination, but certainly fits our needs. Once everything as all opened up and finished, there were 7 DIY dining room projects that we did to make it a complete space to break bread with family and friends!
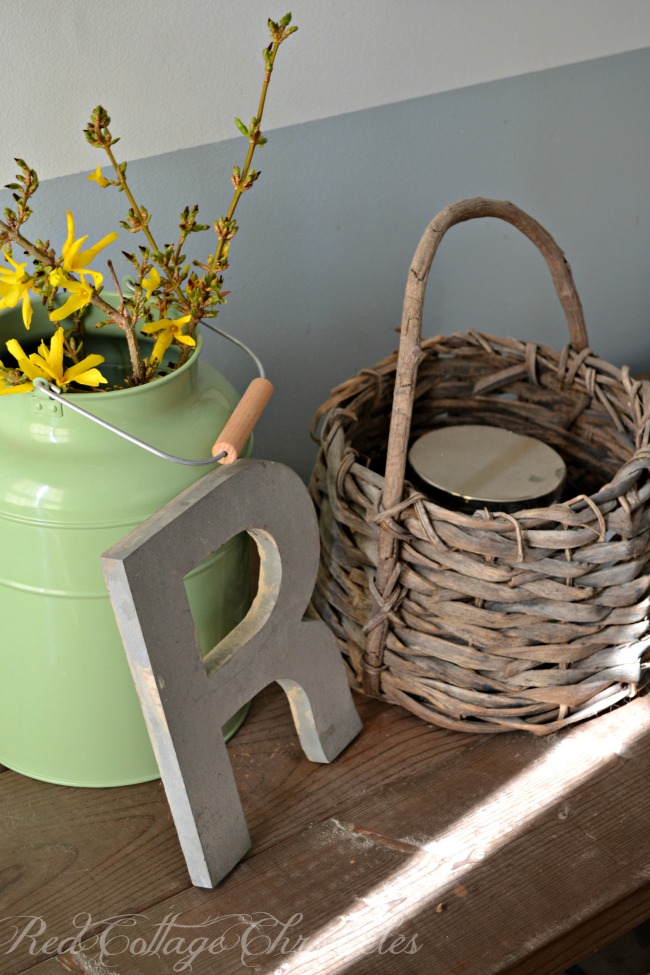
Our very first d0-it-yourself project was this buffet (or side board). We choose this open style not only for its rustic appeal, but also the additional storage it would provide with its’ long open shelves. I like the look of wicker baskets to store things at easy reach, but keep them out of sight when not in use.
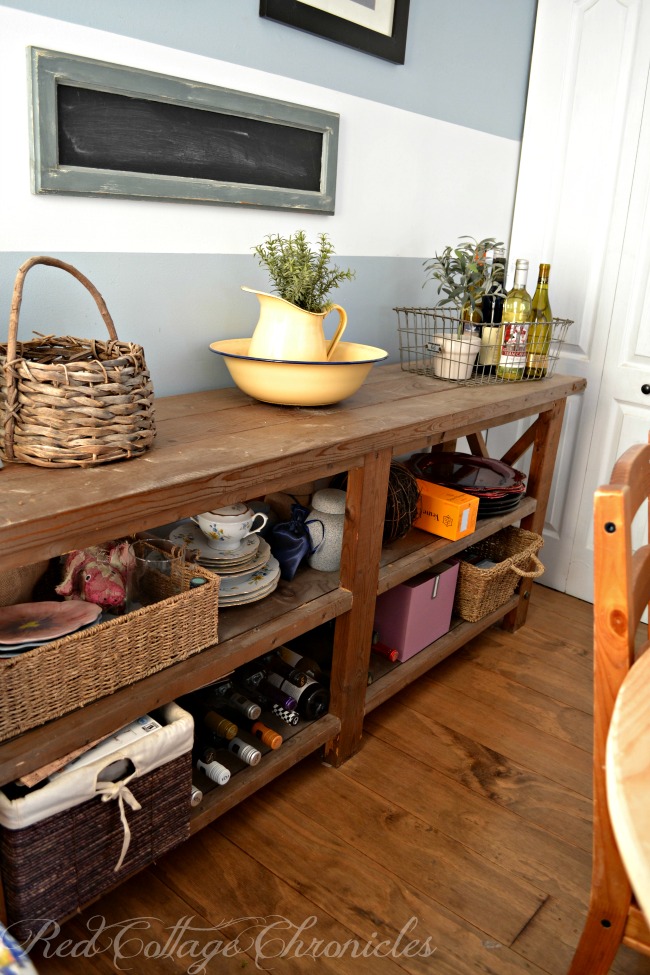
We keep the top fairly uncluttered, so it is easily cleared when we need to use it for it’s original purpose, a buffet table!
The lower shelves hold baskets that corral magazines, stationary supplies, extra plates and even craft supplies.
The next project was a biggy. We decided to DIY plywood plank hardwood floors and I have to tell you I love them as much today as the day the went in almost two years ago! I would do it again in a heartbeat! Honestly choosing the colour was the hardest part!
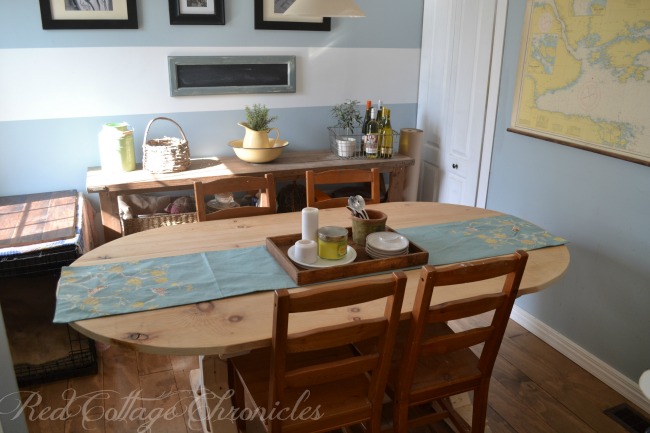
I made the “vintage classroom” map by using an old Mariners map that belonged to my grandfather, a couple of dowels and string.
The chalkboard above the buffet I made at a chalk paint class out of an old cupboard door. Even the photo’s hanging above it I took in Prince Edward Island and had them printed in black and white.
We also DIY’d:
- Beadboard Ceilings – An easy project using only 1 roll of beadboard wallpaper. We even papered over old ceiling tiles, and it is still holding strong 3 years later. We used Martha Stewart bead board wallpaper we purchased at Home Depot. It was under $20 a roll at the time, plus the cost of wallpaper paste as it isn’t pre-pasted.
- No-Sew Curtains – made from drop cloths! Make sure to pre-wash and dry the drop cloth first. I cut the panels so that the bottoms lined up with the finished edge of the drop cloth and then hot glued a rod pocket at the top. They have been washed and dried several times with no problems at all.
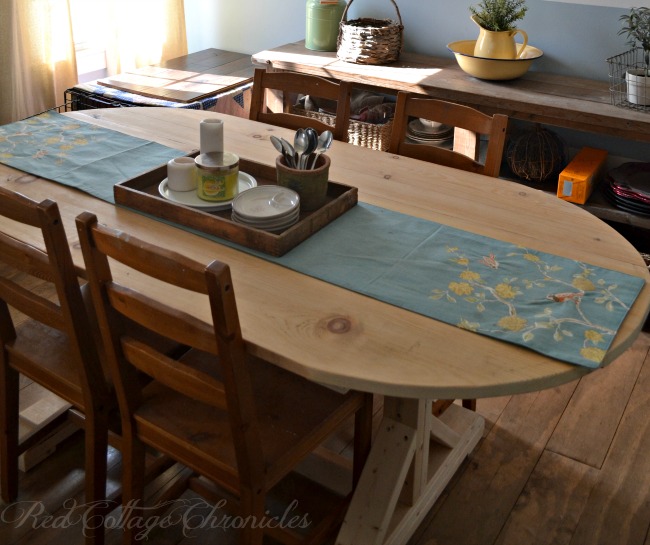
The final DIY project (that isn’t even complete yet) is the dining room table. I am patiently waiting for the arrival of some stain and liming wax to give it the exact finish I want. The table top is made from rough sawn pine and after it has been treated with the stain and wax the character for all the saw marks is going to look amazing! I can’t wait to share the tutorial start to finish when it is all finished. Stay tuned! UPDATE! The table is finally finished!
While not a DIY project Tripper’s dog crate is a fixture in the room. We have tried to move it, but he gets way to stressed out. The door is always open and it is his favorite place to hang out for some peace and quiet. The top actually also serves as a place to photograph a lot of my recipes given the big window to provide lots of natural light!
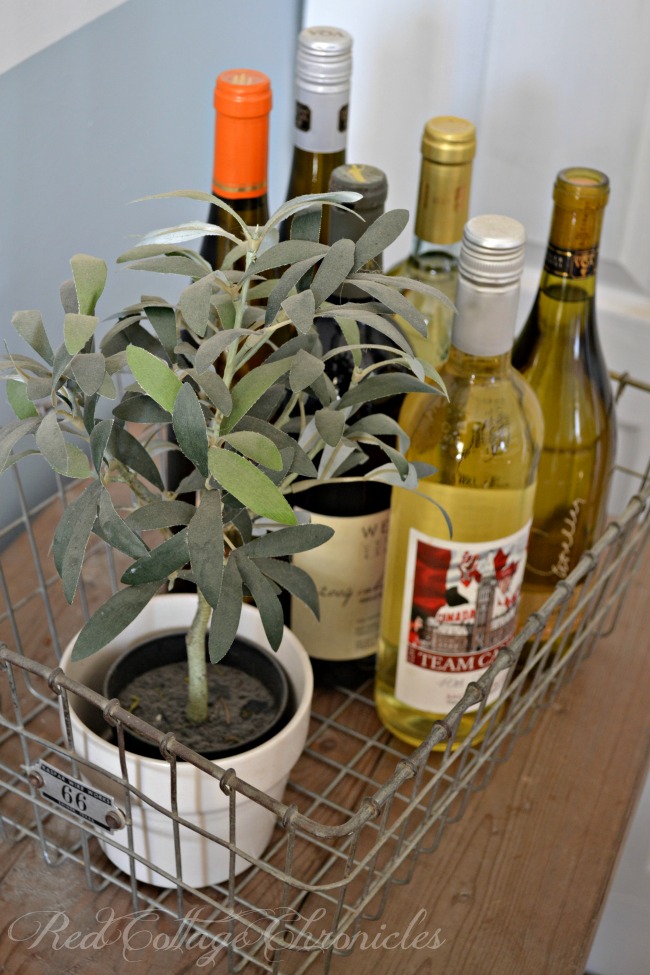
I also have my sights set on a DIY Riddling rack! You may have seen them around. I really want an authentic looking one that leans against the wall. Since we live in wine country we do tend to always have a lot of wine on hand, and it would be fun to have a vintage looking riddling rack to store it all. My daughter has one on display in her office, but it is too big to fit in my purse 😉
We didn’t start out intending to do all these projects on our own and it wasn’t really until a few days ago that I realized just how much of the dining room we created ourselves. It always came down to budget! If I had to add everything, I would guess that we have spent less than $500 on everything we DIY’d in that room. More importantly though is that we have really gained the confidence to expand on our projects and embrace this whole do-it-yourself thing!
Until next time…..
Maureen
Don’t want to miss how the table turns our? Subscribe to Red Cottage Chronicles and you won’t miss a thing!


Hi Maureen!
I have to ask a question. You mentioned staining your dining table using stain and lime. Is that the technique known as cerusing? I’ve only seen the results of cerusing in one other blog. It is a beautiful effect, if that is what your ‘ingredients’ will be used for.
I live in a cottage-sized house,too. By choice, I might add. I had what might have been referred to as a ‘honking big’ house that never quite seemed like home, especially once my 3 kids flew out the door to houses of their own. That left me and 2 small dogs on my own, since my husband frequently needs to travel. To make it more ridiculous, I was an hour’s drive to my workplace and my friends!
My cottage is my happy place now since I’m within walking distance of both my friends AND my school. Can’t complain there since I’ve saved myself 2 hours a day.
The size of the house is perfect! My dining room? I ‘ran’ to check its dimensions (well, really stood up from sitting on the couch and walked two steps over). It’s 9′ X 12′ and you’re right, not huge but everything fits in just right!
Your dining room is indeed beautiful and I love that shade of blue that you have used on your walls. Would you share its name?
While I didn’t know it was called cerusing, yes that is essentially what I am doing! I won’t need to open the grain much to take the liming wax given it is already rough sawn with lots of “nooks and crannies” for the wax to settle into! The blue in the dining room is called East Coast Blue and it is a colour I choose from the Rona Home and Garden paint collection. I like it because in some light it has more of a soft blue gray tone.
Thanks Heather!
Hi Maureen! I’m in love with you dining room and will probably be “borrowing” many of your wonderful inspirations very soon! 🙂 I was wondering if you could tell me what stain and top coat you did on your plywood planks? I am wanting to this as well in main living areas and adore the color of yours!!!!! Thanks for your time and God Bless!
Thank you so much Angela! The stain colour is called Special Walnut and the top coat is Varathane Diamond Polyrethane Water Based coating. I am pretty sure we used a satin finish!