• Red Cottage VIP Printable Library
    • Email
    • Facebook
    • Instagram
    • Pinterest
    • Twitter

Red Cottage Chronicles

All Things Home

  • Home
  • About
    • Work With Me
    • Contact
    • Legal Stuff
  • Recipes
    • All Things Sweet
      • Baking
    • Appetizers and Dips
    • Mains and Sides
    • soups & salads
    • vegan/vegetarian
  • Around the Home
    • Housekeeping/Homemaking
    • Home Decor
    • Tablescapes
    • flowers and wreaths
    • gardens
    • Seasonal, Holidays & Special Occasions
  • DIY
    • One Room Challenge
    • Thrift Store Upcycle Projects
    • Seasonal, Holidays & Special Occasions
    • DIY Renovation Projects
  • Lifestyle
    • Explore Niagara
    • Family
    • health and well being

Around the Home DIY frugal living

Faux Cast Iron Address Plaque

Address Plaque

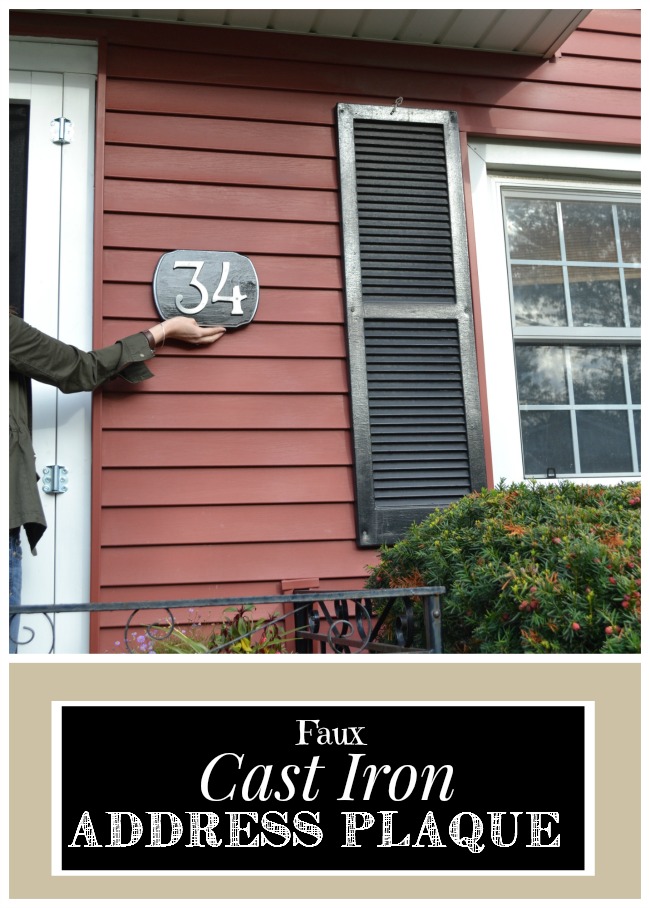
Having bold, easy to read house numbers are essential to every home.  But that doesn’t mean they have to be ugly or plain.

I have always wanted a cast iron address plaque, but the frugal side of me just can’t pay the price.  I knew if I thought about for a bit I could recreate the look for way less.

It took me no time at all the decide on a wood plaque, paint it black and add brushed nickel numbers I picked up at the hardware store.

I am really happy with how it turned out, so I thought I would share a quick tutorial with you today.

Faux Cast Iron Address Plaque

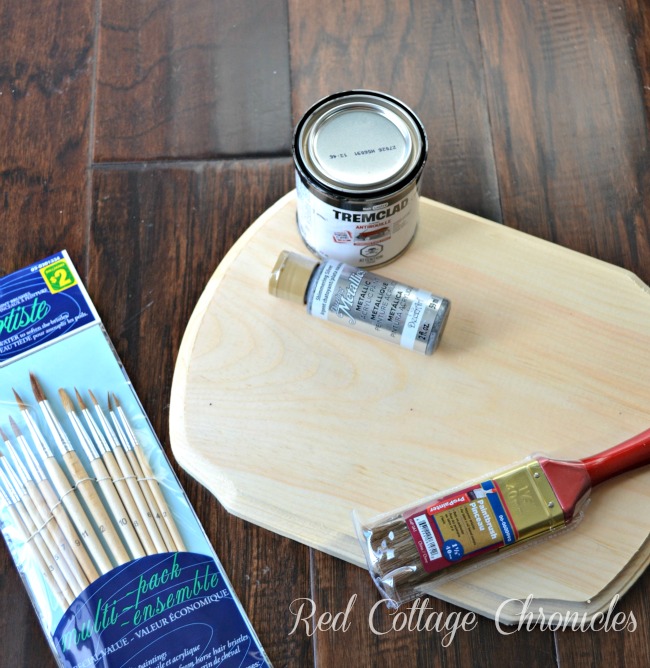
The wood plaques come in various shapes and sizes at Michaels and I picked up this one with a 40% off coupon.  I also picked up some brushed nickel metallic craft pain, and some brushes from the dollar store.

We already had some leftover black Tremclad outdoor paint that would work well to protect the wood from the elements.

Here are the simple steps I followed:

DIY Faux Cast Iron Address Plaque

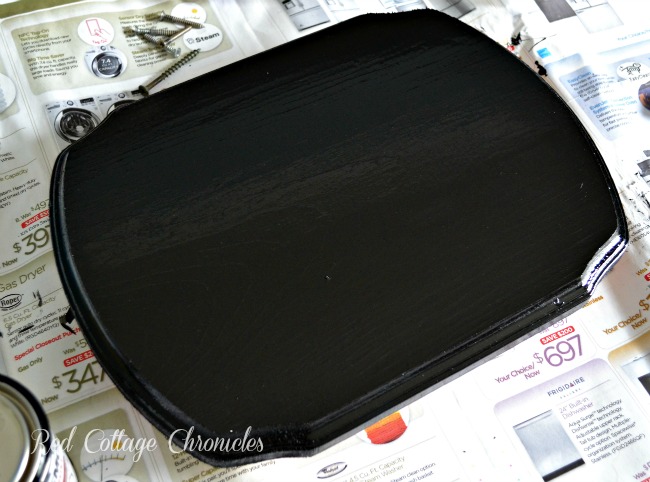
Working in a well ventilated area, apply 2 coats of outdoor paint, letting each coat dry overnight.

Faux Cast Iron Address Plaque
DIY Address Plaque

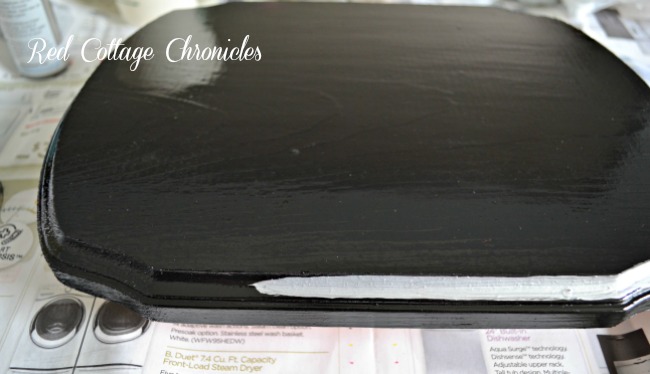
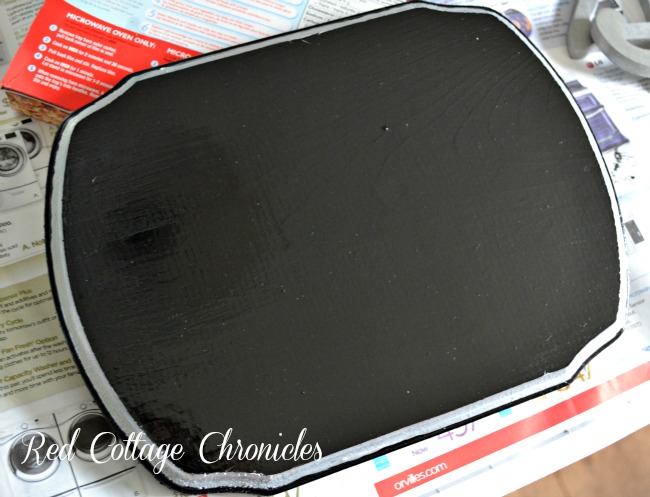
Using a fine brush, paint the beveled edge with brushed nickel metallic craft paint as shown.  Allow to dry completely.

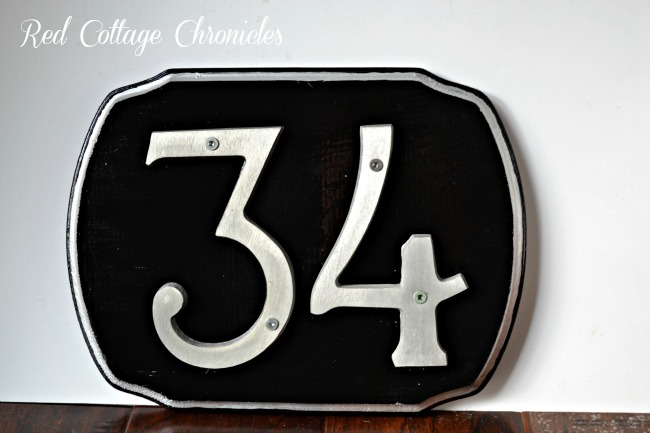
Dry fit your house numbers to the board prior to screwing them in place, being sure they are centered correctly, then fasten on with screws provided with the numbers.

DIY address plaque

You can then predrill screw holes on either side of the wood plaque and using long screws, fasten the address plaque right into the house.

DIY Address Plaque

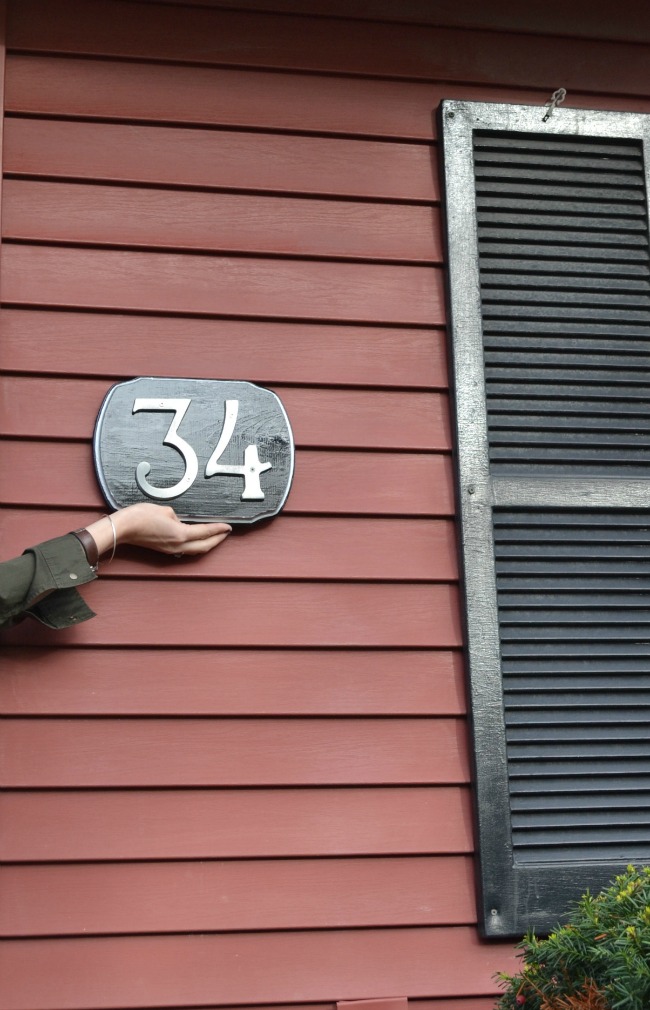
This one is not for me, so I didn’t attach it to my house.  (Special thanks to my hand model, Samantha!)

DIY Address Plaque

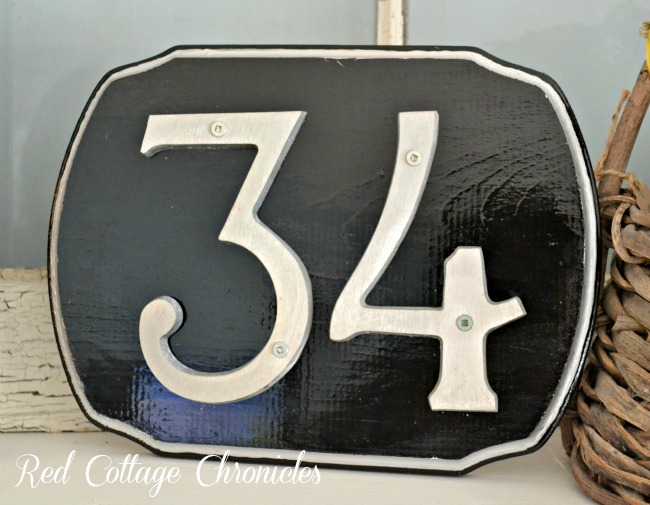
The whole project was less than $20, but you could easily do it for under $10 if you can find the brushed nickel house numbers at a dollar store!

Sometimes being frugal just makes sense!  You can find other examples of frugal DIY projects here and here!

Until next time…..

Red Cottage Chronicles


5 Comments

Subscribe

Get all the latest news from our little red cottage straight to your inbox!

« The ‘Art’ of Preserving Memories
Fall Décor for a Small Porch »

Comments

  1. Alison says

    October 3, 2015 at 11:28 am

    Handy! That’s so cool and it looks great

    Reply
  2. Laura Snow says

    October 3, 2015 at 7:59 pm

    I love this! Great idea. I look forward to reading more of your posts!

    Reply
    • Maureen says

      October 4, 2015 at 7:05 pm

      Thank you Laura!

      Reply
  3. Jessica @ Just a Mum? says

    October 5, 2015 at 11:55 am

    That looks great! I did something similar for my parents a few years ago, but just painted the numbers. I like the effect of the brushed nickel, very classy. 🙂

    Reply
    • Maureen says

      October 5, 2015 at 9:17 pm

      Great idea to paint the numbers on! Never thought of that 🙂

      Reply

Leave a Reply Cancel reply

Your email address will not be published. Required fields are marked *

Red Cottage Chronicles

Oh, hi there!

Well, hello! I am Maureen, and welcome to our little Red Cottage. Married to my high school sweetheart, I am a passionate baker, accidental DIY'er and love all things home! Read More…

Follow Us!

  • Facebook
  • Instagram
  • Pinterest
  • Twitter

Stay updated!

Get all the latest news from our little red cottage straight to your inbox!

Categories

Instagram

[instagram-feed]

tablescapes

tablescapes

STAY UP TO DATE

Get all the latest recipes straight to your inbox

Disclosure & Privacy Policy

Disclosure & Privacy Policy

More From Red Cottage Chronicles

Butter Tarts

alfresco tablescape

A Simple Summer Luxury – Dining Alfresco

DIY Christmas Ornaments

DIY Two Turtle Doves Christmas Ornament

21 Day Sugar Detox

Frozen dessert recipes - Limoncello ice cream

Boozy Frozen Limoncello Dessert

Copyright © 2023 · Site by Pretty Pink Studio

Copyright © 2023 · Divine Theme on Genesis Framework · WordPress · Log in