
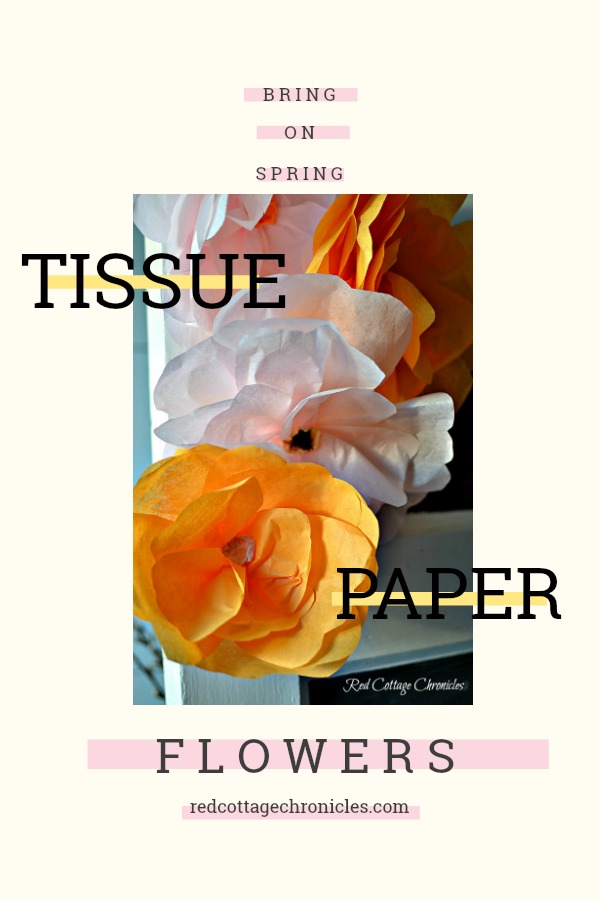
DIY Tissue Paper Flowers
When I got to thinking about my Spring tablescape this year I immediately knew I wanted to use large flower blooms to create a table runner for the centre of the table. I also love the idea of displaying them on the wall.
There is so much satisfaction to be had when you can DIY home decor that can be used in multiple ways.
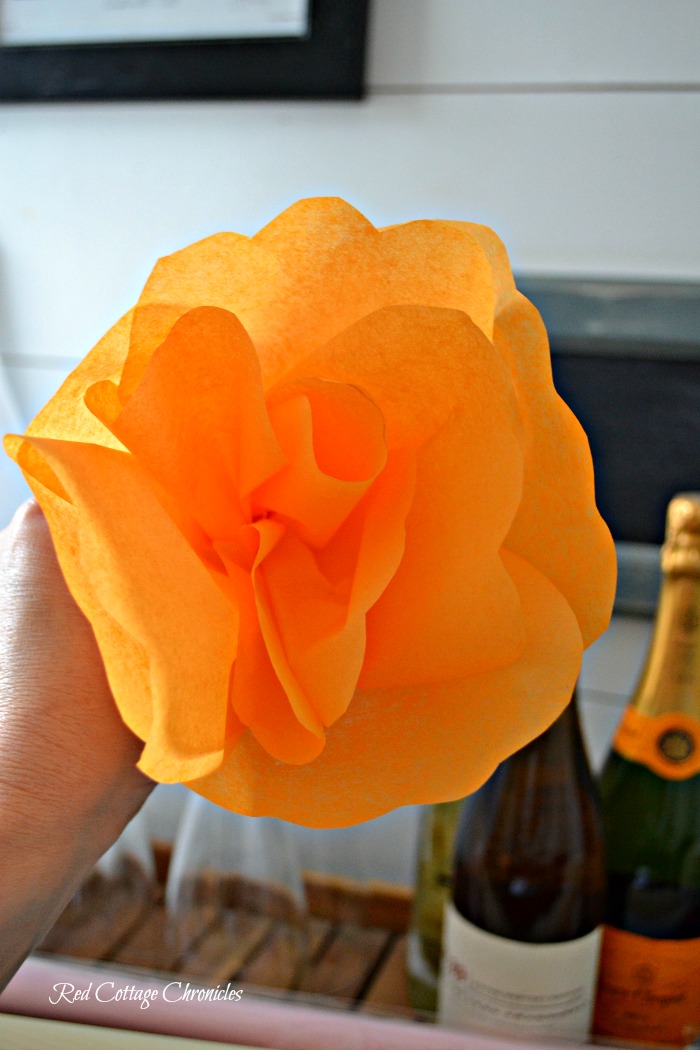
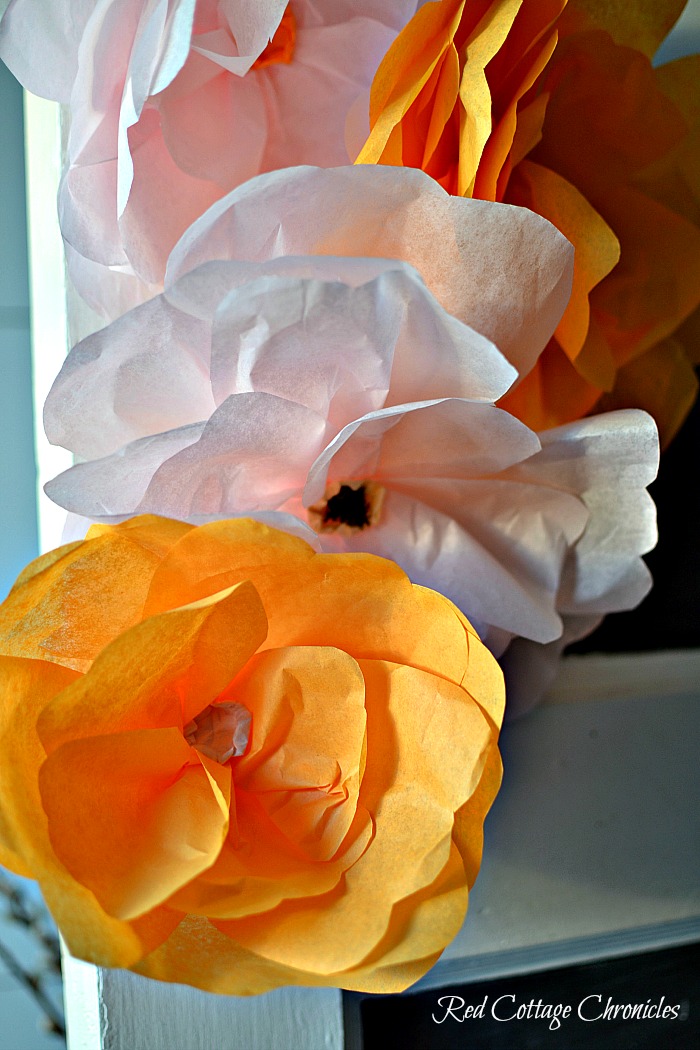
I was able to do just that with this super easy DIY tissue paper flowers. I love the combination of orange and pink and the really had some “happy” to the room.
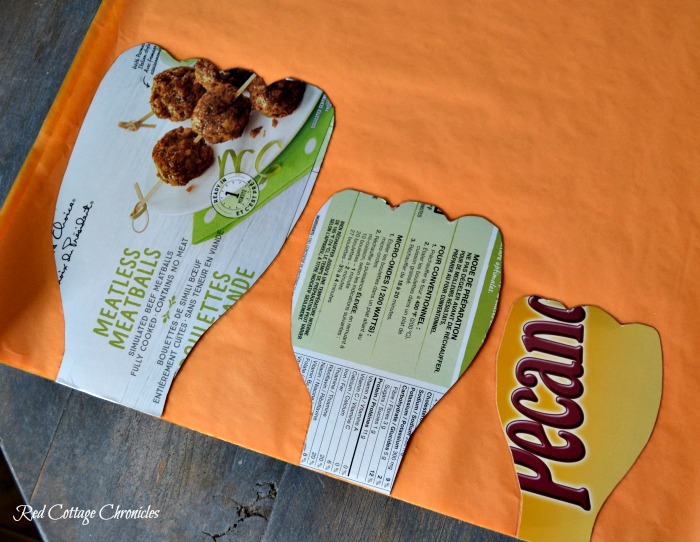
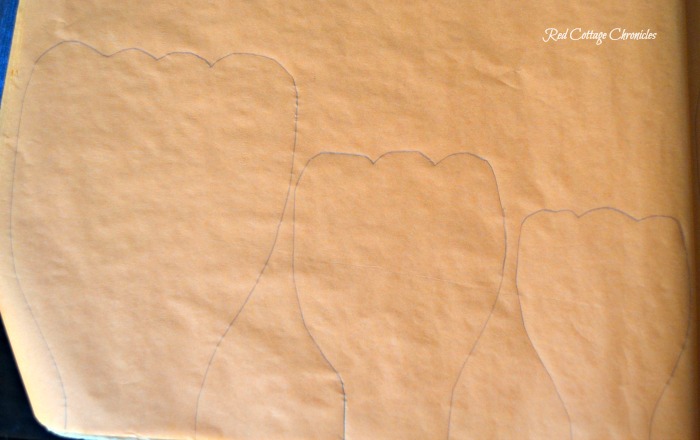
I started by creating a stencil out of a boxboard. Actually three stencils. The same one in three sizes. I drew them free hand, cut them out and then used them as a template to cut the tissue paper. Each one representing one size of petal.
My flowers are about 8 inches across when finished. You can cut your petals according to whatever size you want your flowers to be.
The tissue paper I purchased came in packages of twelve sheets. I cut through all twelve sheets of tissue paper, which gave me enough petals to create 3 flowers. I repeated the process on the other side of the tissue.
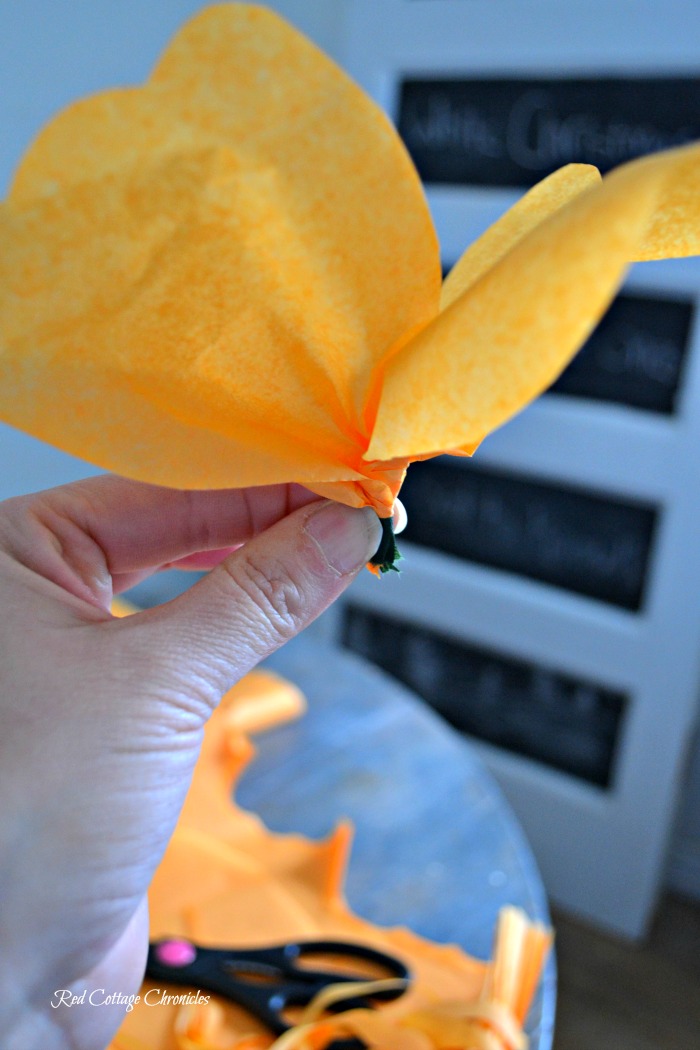
Beginning with 4 of the smallest petals, create a little “bouquet” pinching the bottoms together and taping with floral tape.

first layer – small petals
Next, using 4 of the middle sized petals, add them to the smaller petals, layering them behind and again pinching and taping the bottoms.
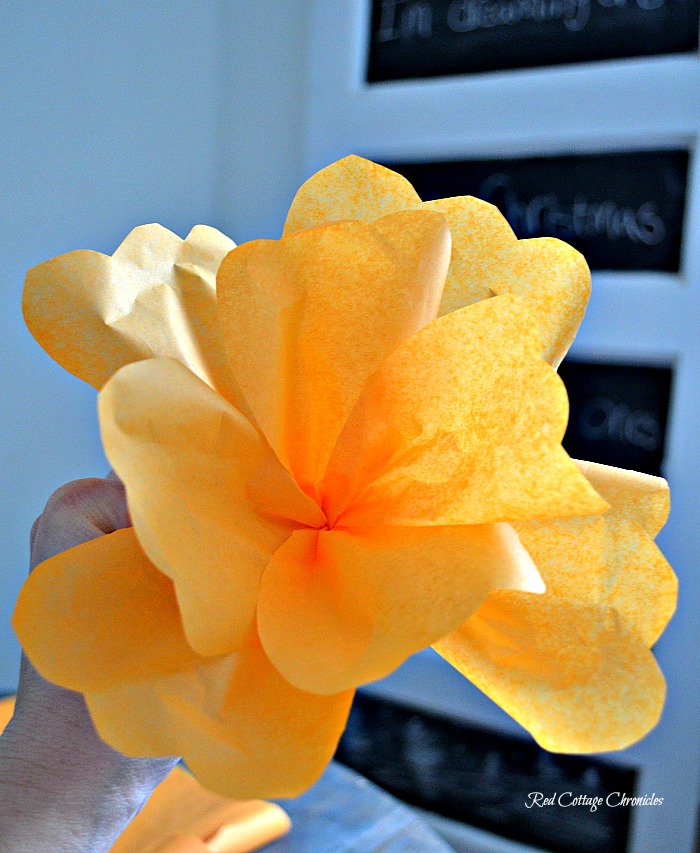
second layer – medium petals added
Finally, add the largest petals, again pinching and gathering the bottoms together and then taping them in place with floral tape.
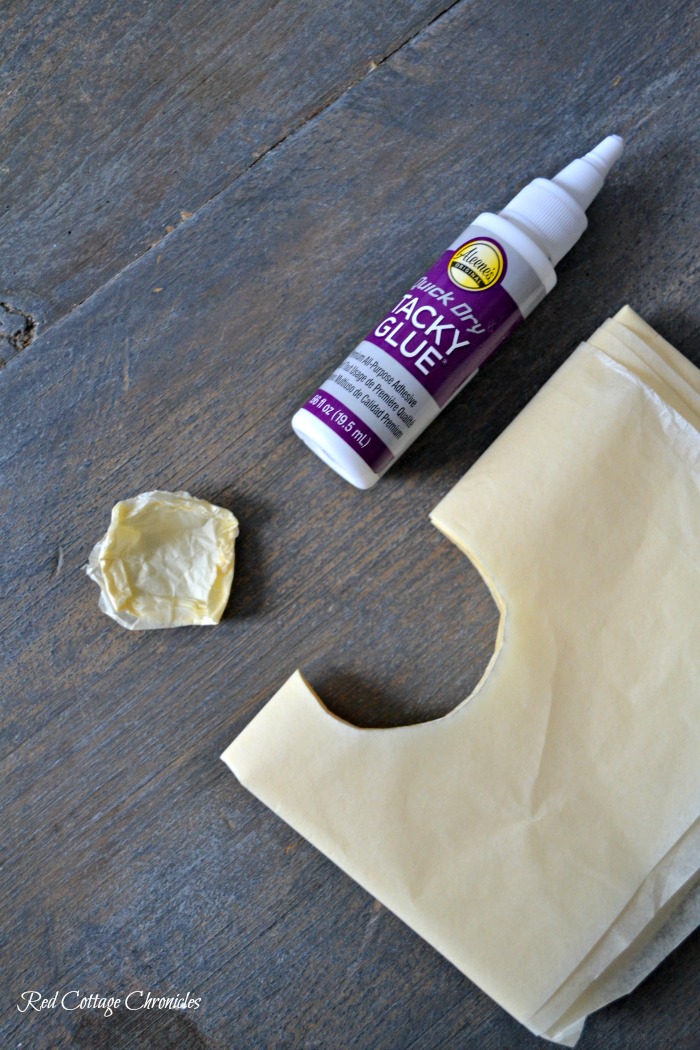
To create the centres I cut small circles from an ivory colored tissue paper. I crumpled it up and then spread it back out and rolled the edges up slightly to form a little cup.
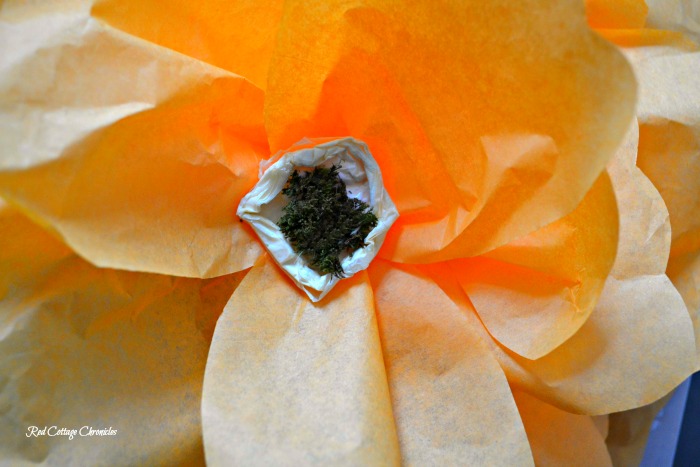
I glued them in place with white craft glue. Finally, I glued on a tiny bit of green moss I had left over from my Ball Jar terrarium. I like how it adds a bit of texture.

That is all there is to it!
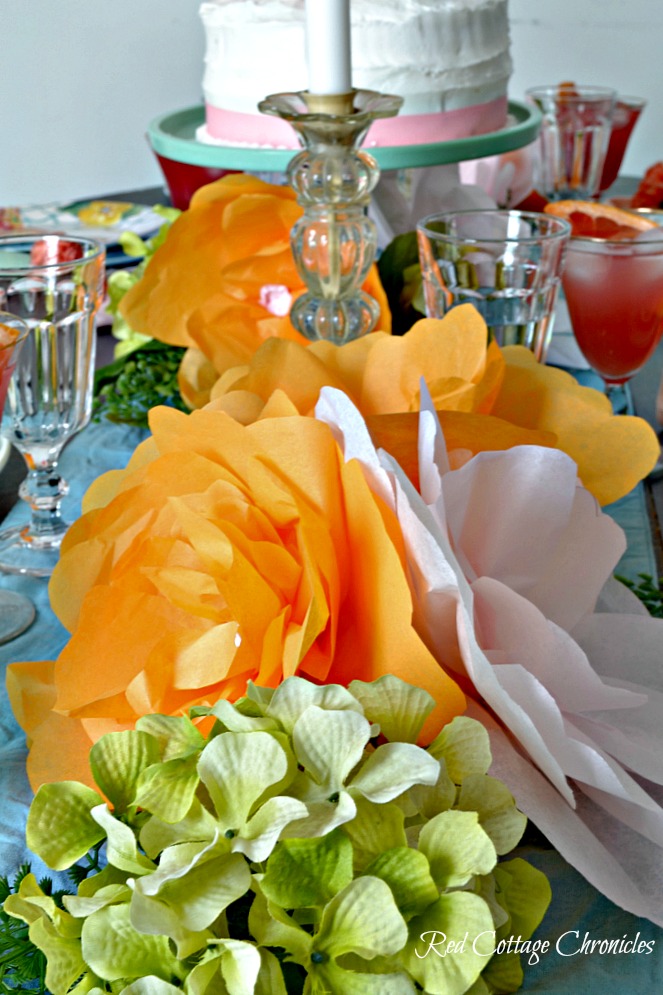
They added so much color and fun to my spring table for so little cost. I simply arranged them down the centre of the table and added some faux hydrangea’s for extra color.
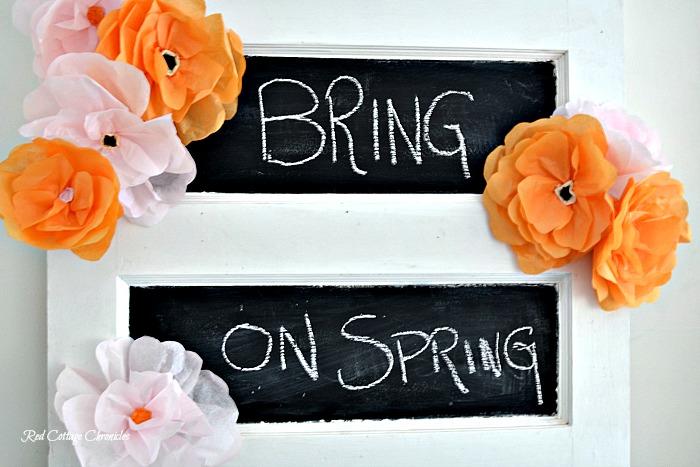
After I used them to style my spring table, I attached them to an old door that I have painted with chalk paint. Currently it is in the dining room and I am so glad to have that pop of spring color to look at every day. Simple Scotch tape is all it takes to hold them in place.
So pretty! And, when I am ready to move on to new seasonal decor I can snip off the tape add these to the recycling bin. The best part is I won’t feel guilty because they were so inexpensive!
What a fun week this has been! Spring is definitely starting to show itself as the temperature shows promise of going above the freezing mark! It could even reach 10 degrees celcius by the middle of next week!
Before you know it, I will be watching for the first daffodil and tulip bulbs to be pushing up through the soil! I think this will be a great weekend to shop for some summer garden seeds!


These are WONDERFUL!!!!❤❤
Maureen, these are beautiful and they look easy to create. I think these will be beautiful for Spring! I love projects like this.
What a simple and beautiful way to bring a bright pop of color to a table, mantle, door and more!
What a perfect project to bring Spring into your home. And you make it seem so easy!! Thanks my friend.