
One Room Challenge Week 1
![ORClinkingparticipantCIH[1]](https://www.redcottagechronicles.com/wp-content/uploads/2014/03/ORClinkingparticipantCIH11.png)
I was so glad to have come across this One Room Challenge via My Sweet Savannah! I love Melanie’s house and adore her neutral, comfortable style and would love to have those views of the lake that she has!
But instead I have a tiny little cottage. And the nearest water is the Welland Canal that connects Lakes Erie and Ontario!
I have a love\hate relationship with my little home. I love the big yard that we have, and that we have park space directly behind our home where no one can build! I hate that the main floor is less than 500 square feet. I love that we do have a big screen porch on the back that extends our living space in the summer! I hate that it is impossible to find a quiet spot away from everything. I love that maintenance is fairly inexpensive because of the size. I hate that I can’t host a party for more than about 10 people comfortably (although Christmas Eve Brunch draws a bit of a crowd – its a good thing we are all close family and friends!)
I cannot change the size of my home and I am so blessed to have a roof over my head, central heating and a family to love on!
I am tackling our living over the next six weeks. The floors are badly in need of replacing. The walls need to be painted and the décor needs to be refreshed to more reflect my coastal casual living style!
I will be linking up each Thursday at Calling It Home
Some before pictures…
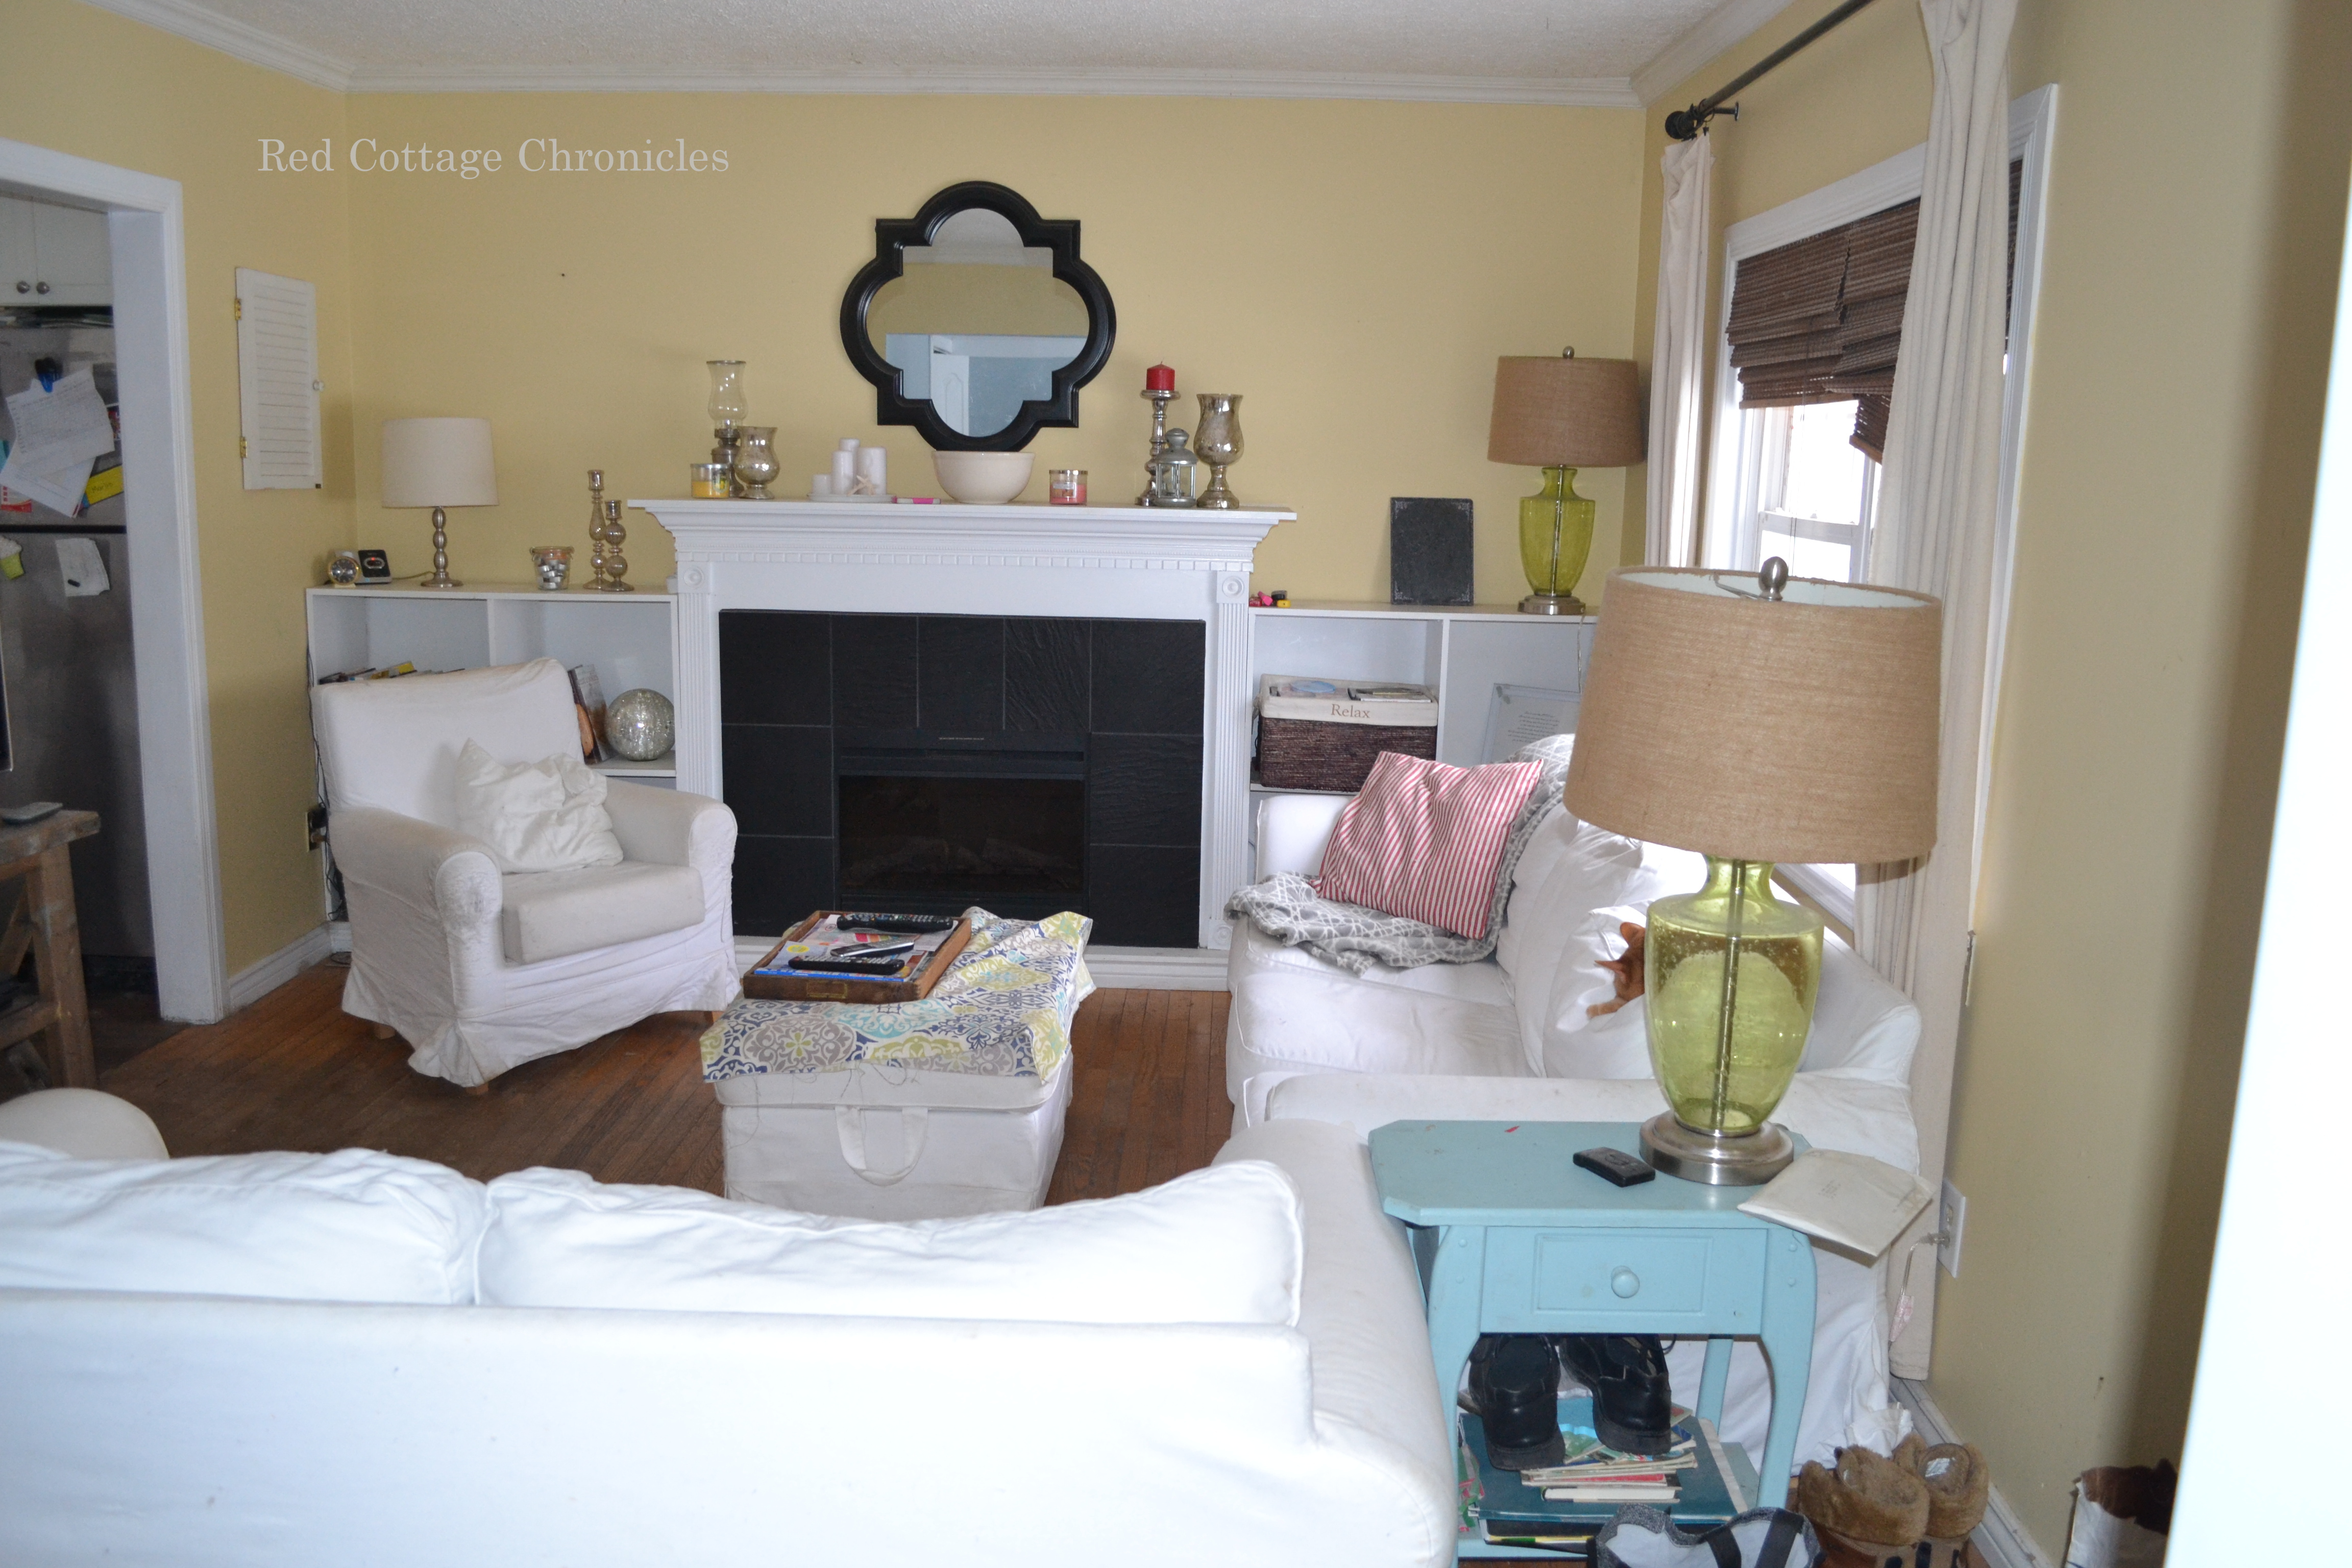
This is the view from just inside the front door. You can see how worn the floors are. That is the kitchen just through the door at the upper left.
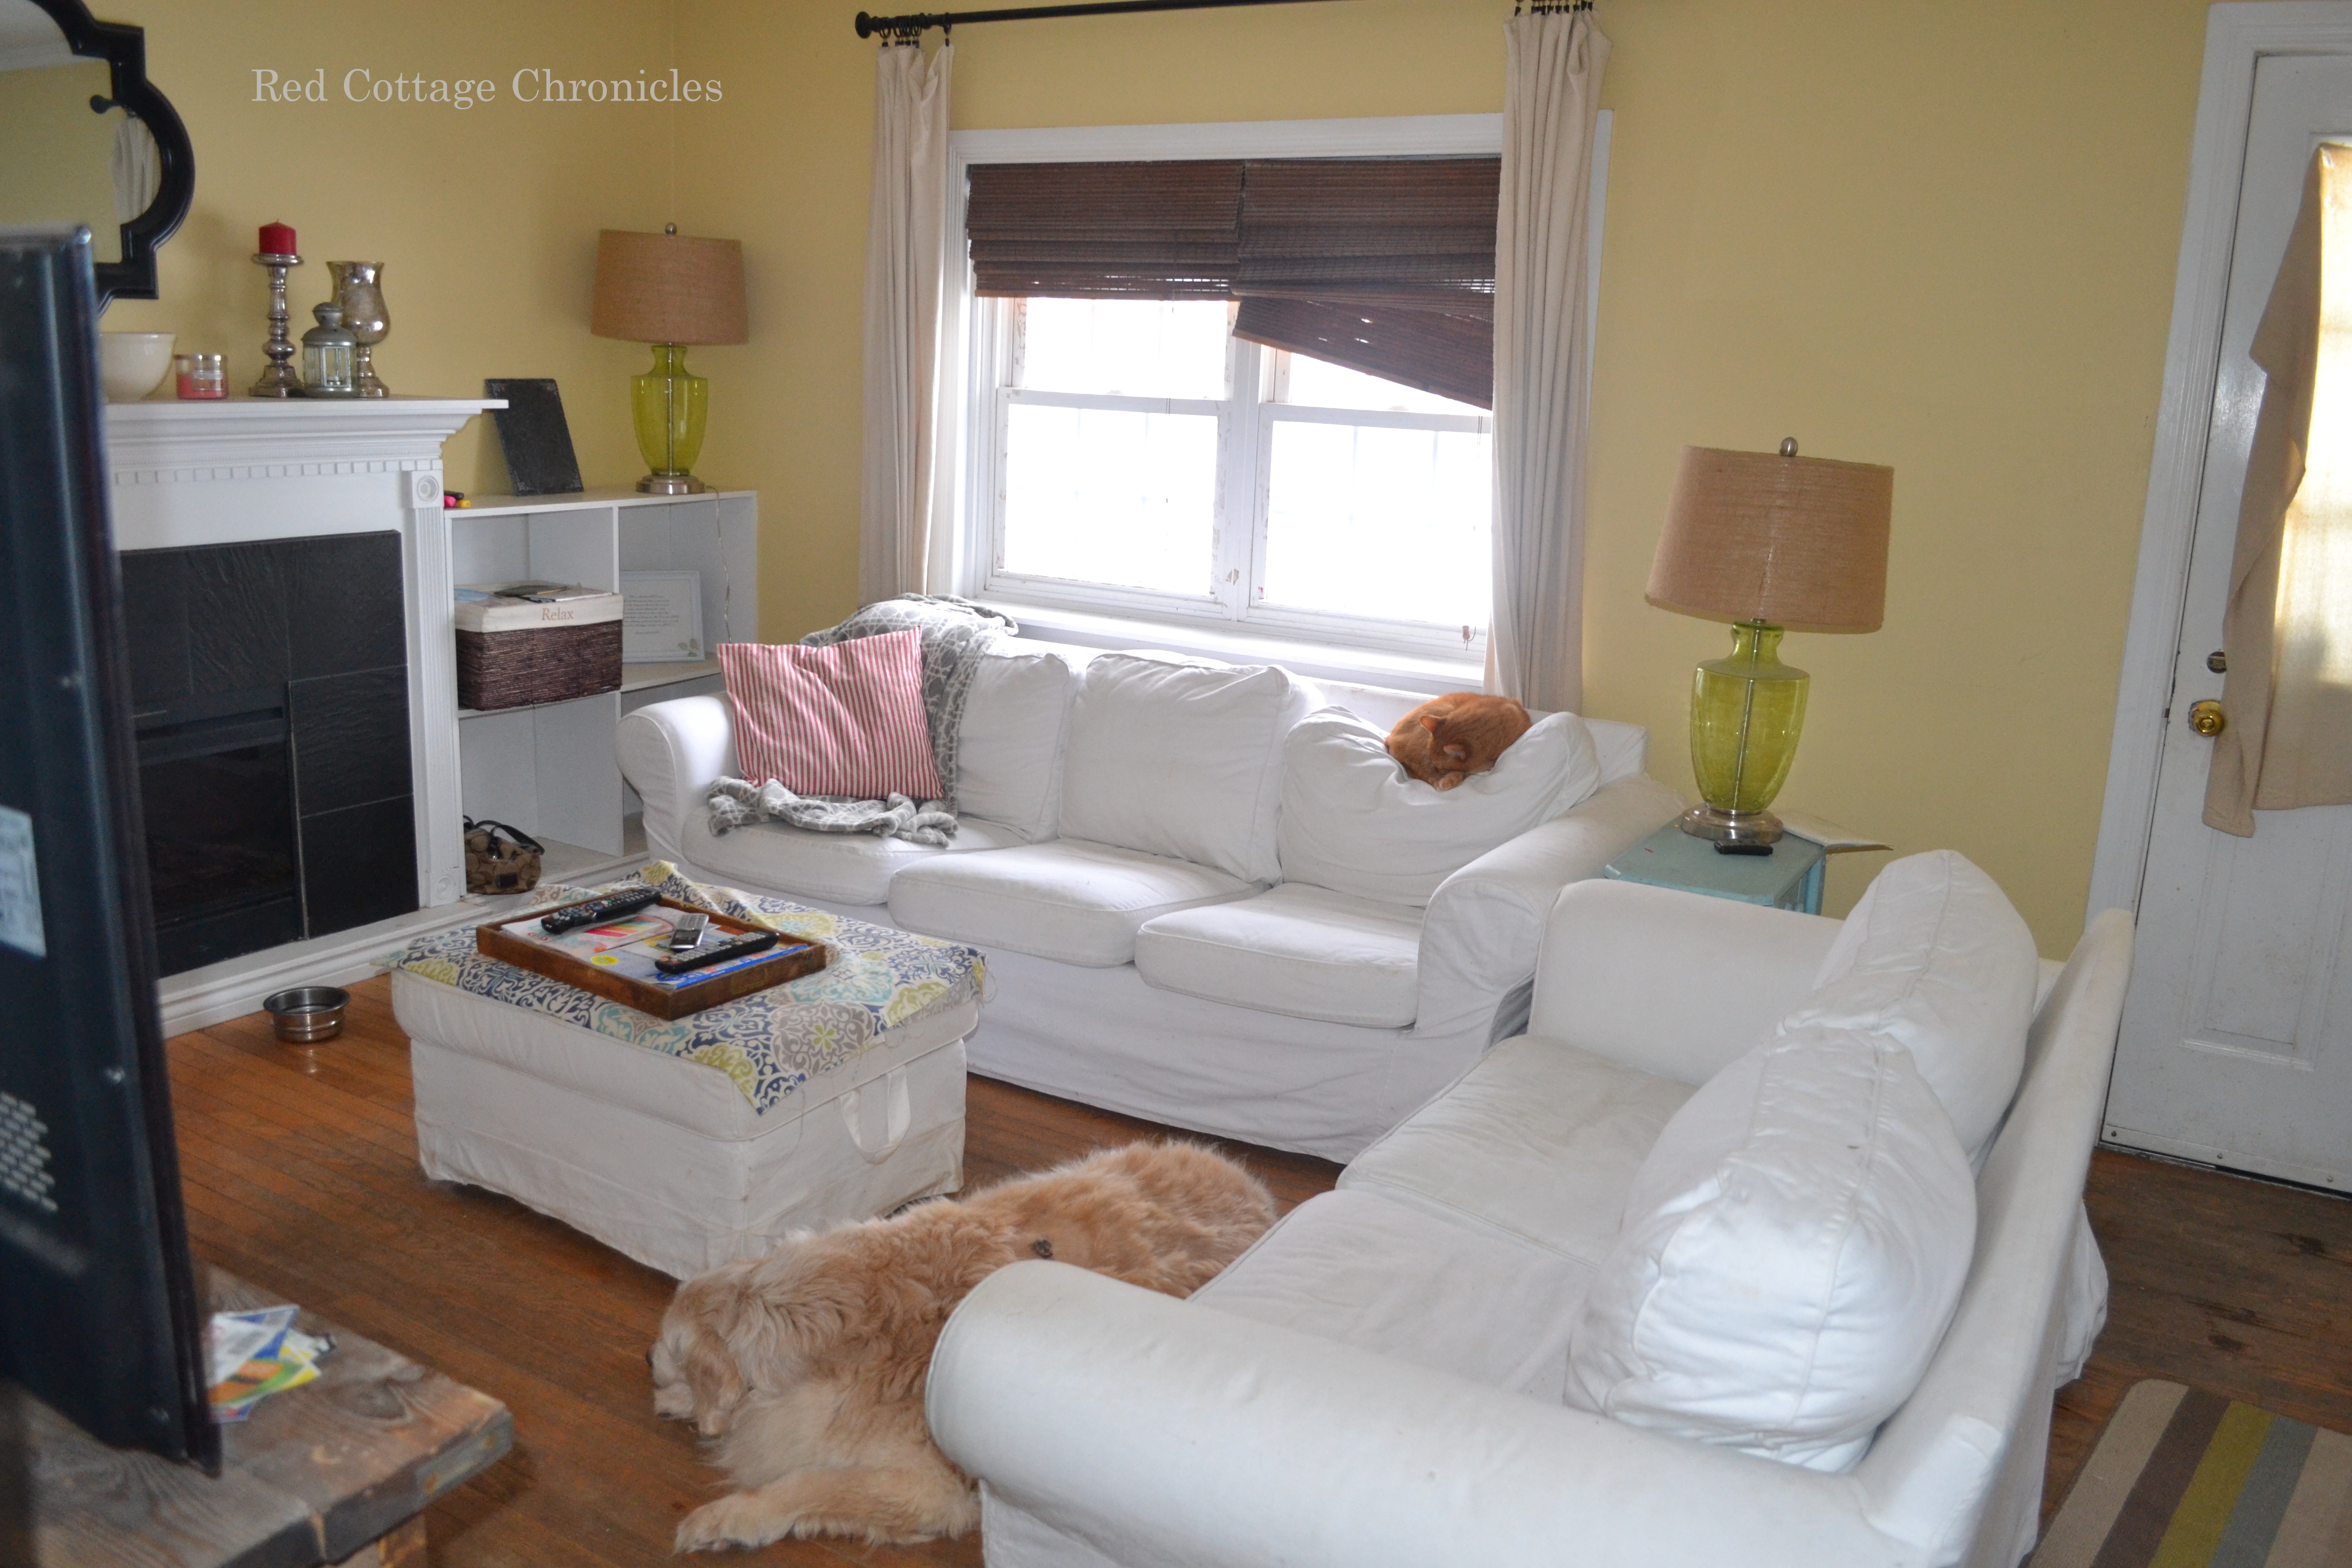
Stepping over about 5 paces, this is the view from near our bedroom door! I really think it is time to fix that blind!! Although it doesn’t show in this picture, the windows are actually two separate 6 over 6 pane windows. They do allow a lot of light into the room.
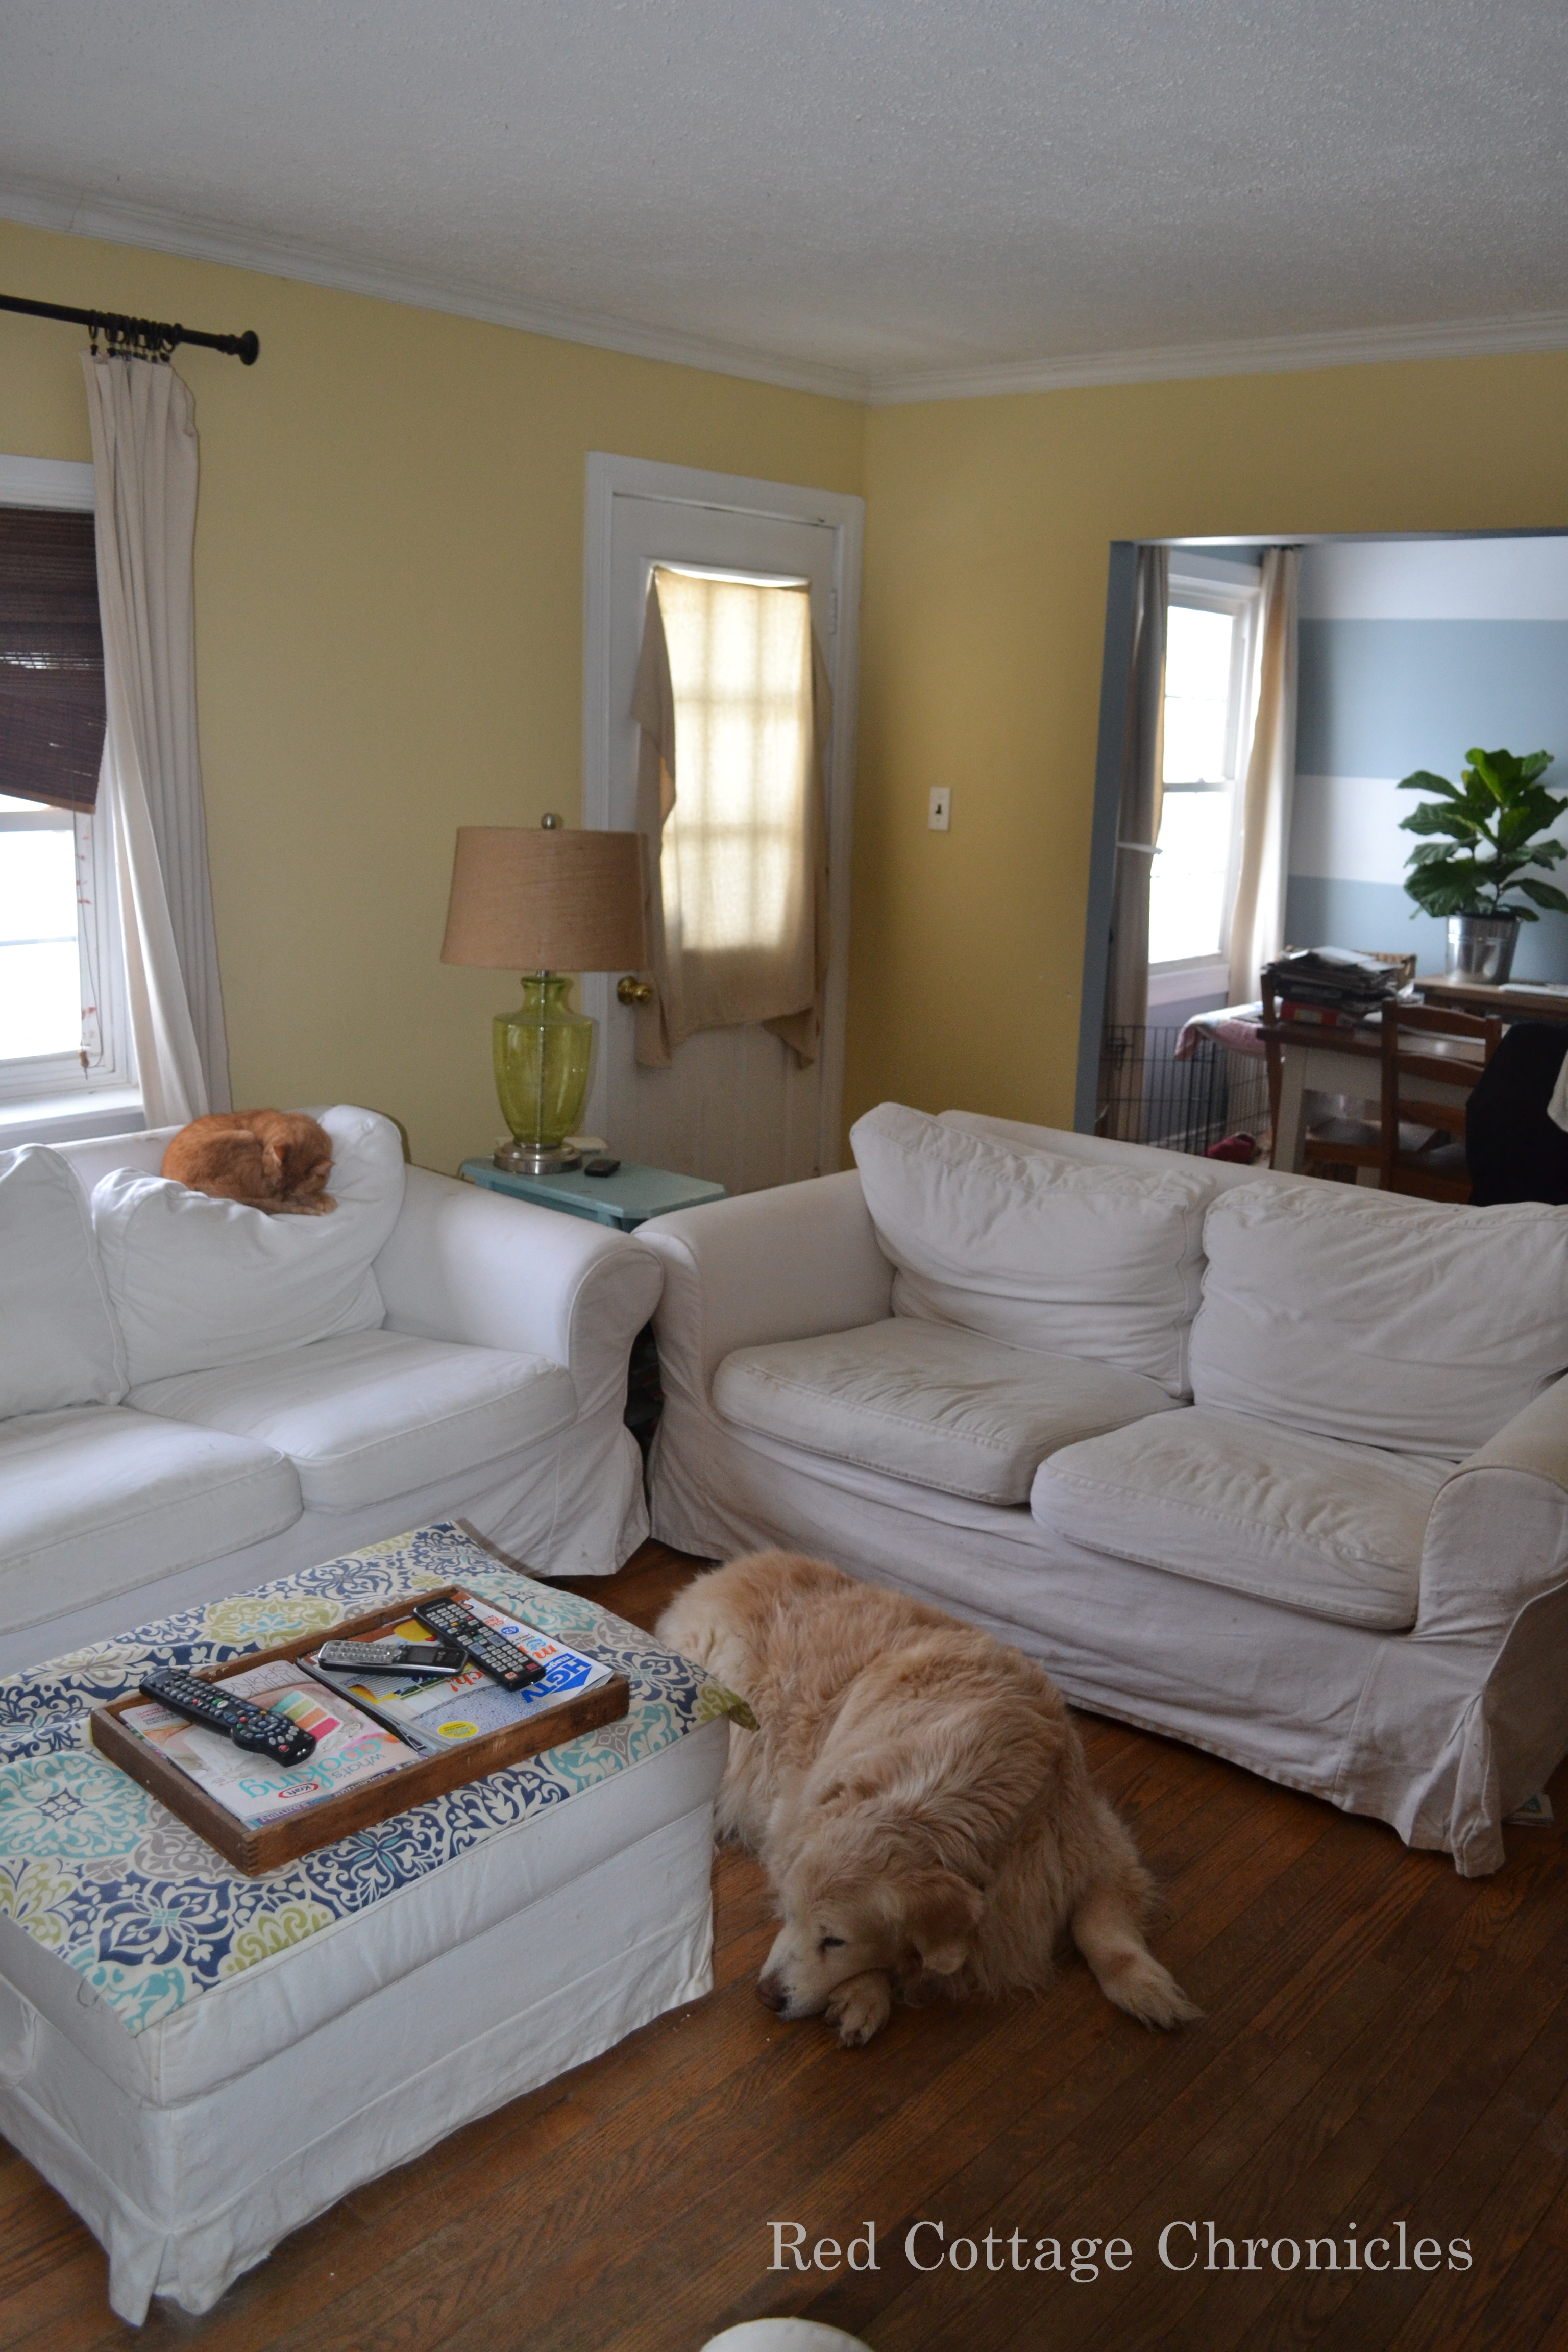
Standing just inside the kitchen door and looking towards the front door (yup, time to actually commit to a window covering on that front door!) and the dining room, which have just recently painted. I am longing for a wide plank wood floor, so that is the first order of business!
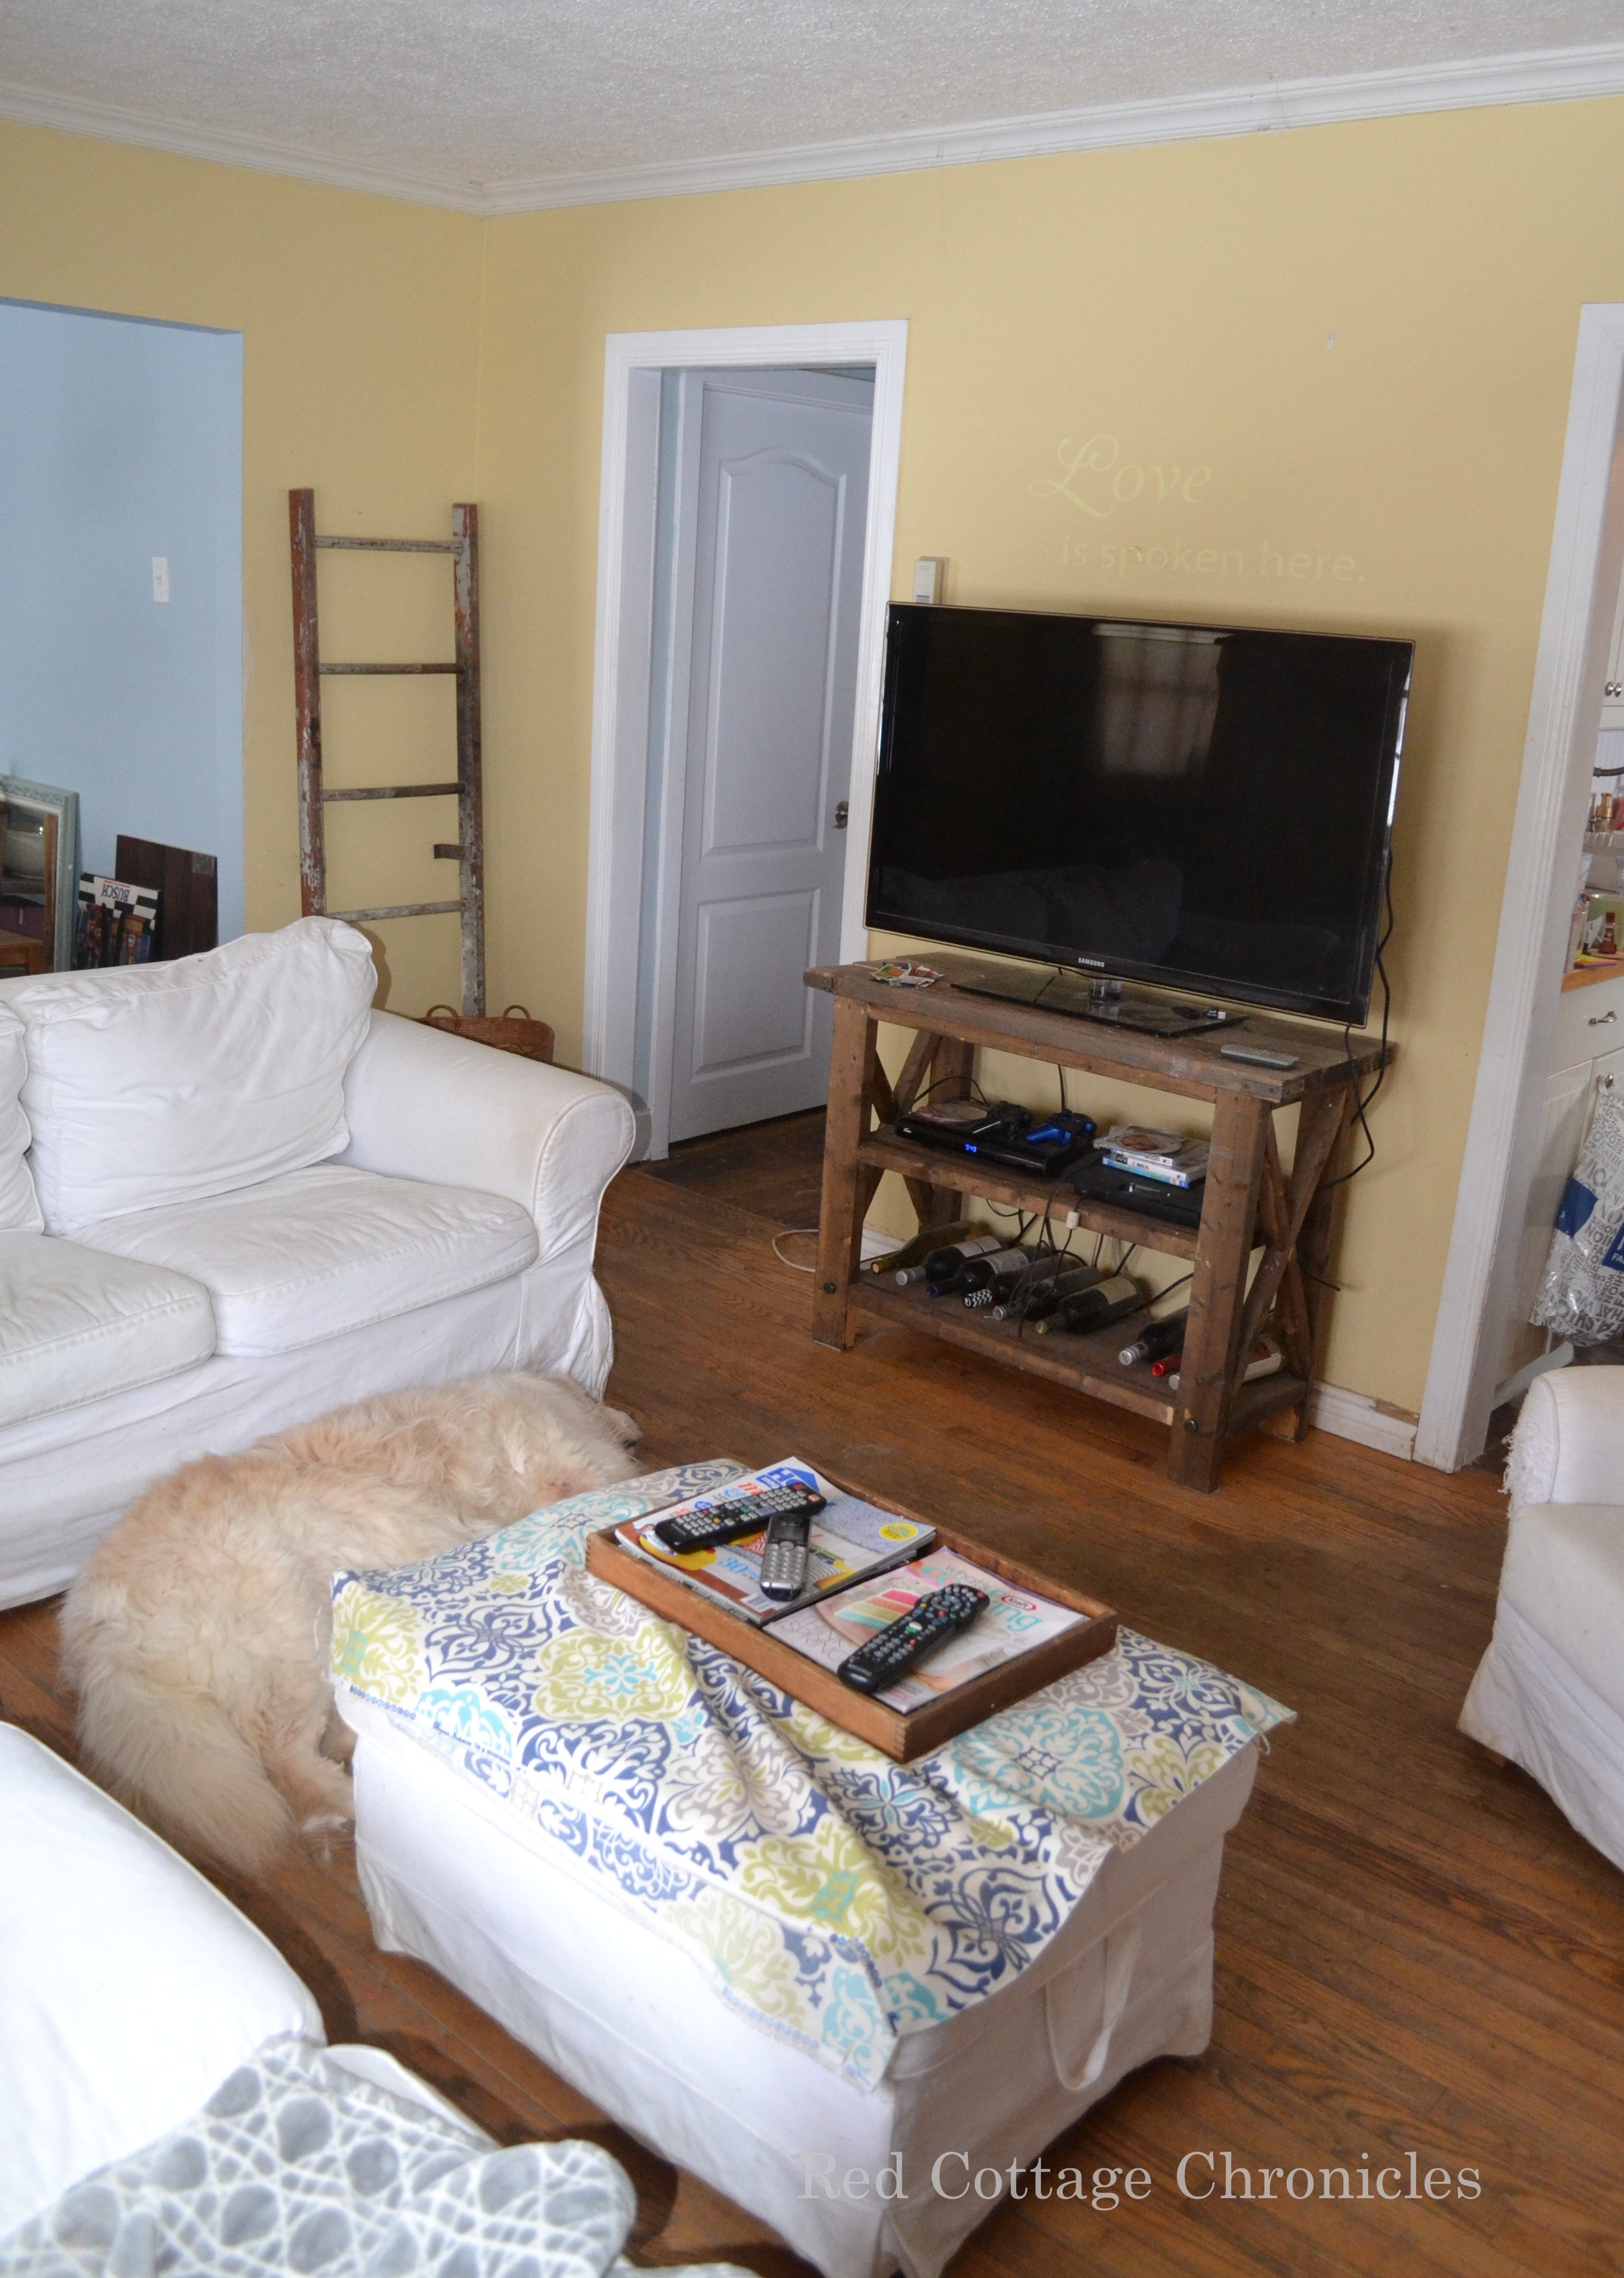
And finally, a view from the front corner near the window. You can see a sliver of the kitchen to the right. The door at the top of the picture is our bedroom door. Just to the right of that, just out of view, is the one and only bathroom! My husband built the tv stand to match this one he made for the dining room. I think it is time for some cord control!
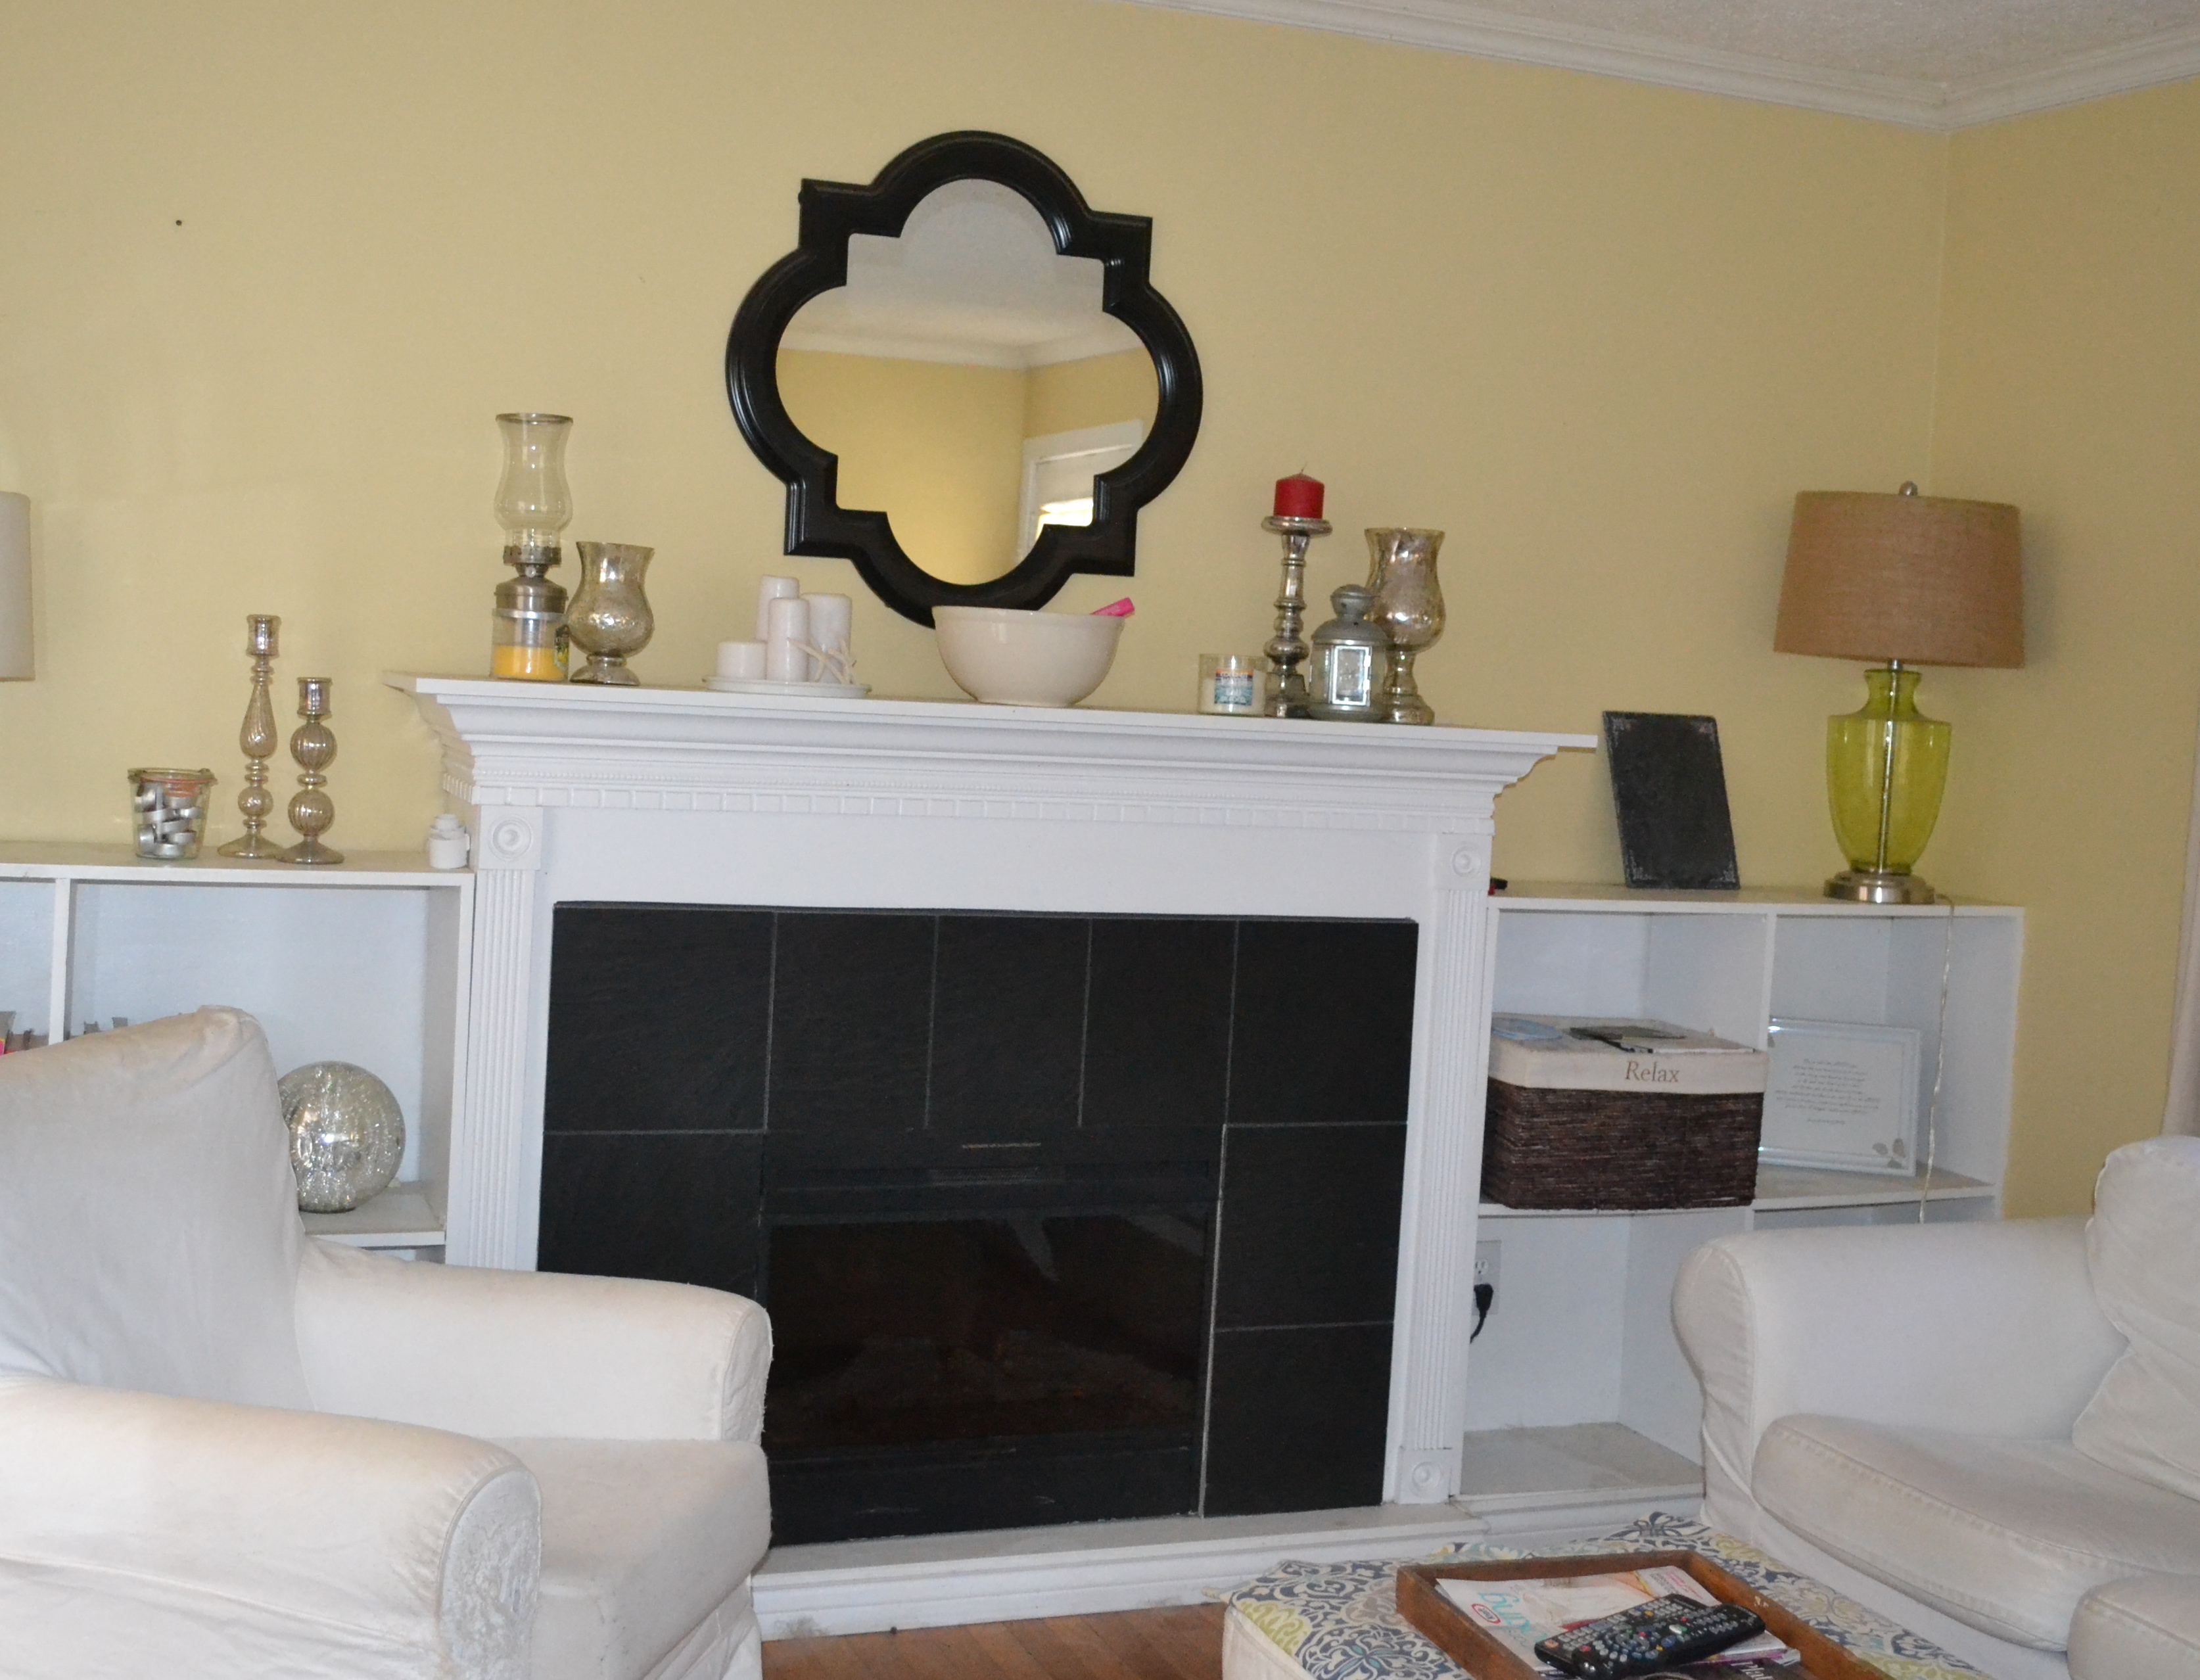
The fireplace my husband built for me a couple of years ago and I love it! Not sure if I am keeping the shelving on either side though! May replace it with some free standing pieces instead. Will have to see!
So their you have it. The sad and tired before!
I am kind of a fly by the seat of my pants girl when it comes to decorating so I will make many choices as I go.
What I know for sure is the floors are changing. We are DIYing it by laying 6″ plywood planks. The wall color we have chosen is East Coast Blue from Rona Collection paints. The slip covers will stay white and I hope to achieve a casual beachy vibe.
Oh, the budget. $500.00! And the work begins now!


Wow, I can’t wait to see the floors!!!!! Good luck, I will be sweating alongside as I do my ugly builder’s kitchen. I’m also your newest subscriber 😉
Oh Carol! Your kitchen!!?? You are brave. That is a big undertaking. Looking forward to following along each week!
Nice to meet you, Maureen. This is a great space to start with. There is so much sunlight. You are ambitious with replacing the floors. Good luck with this and thanks for joining.
So happy to have come across your One Room Challenge Linda! So much inspiration from the talented bunch you have put together, not to mention all the link participants. Thank you so much for hosting 🙂
I love your laid back, coastal style and can’t wait to see how your new floors and the rest of the room turn out!
Thank you Kris! I have to admit I am doing some major nail biting over the floors, but figure they cannot turn out any worse than they are now 🙂
You have some great bones to start with! Can’t wait to see how it comes along!
good luck on with the ORC! can’t wait to see what you come up with!
Hi Maureen! Your home is adorable! I too have a tiny house and my floors are shot! Can’t wait to see what you do with yours. Good luck!
Thanks Rebecca! Sometimes I feel like we are the only ones with a tiny home! Looking forward to following you along!
Love, casual and beachy and can’t wait to see what you do with the floors. Good luck!
Thank you Kate! I will take all the luck I can get. Can’t wait to get those out of the way first 🙂
Looking forward to following the progress of your space!
Thank you Veronica! So much inspiration in all the links!
I’m looking forward to following along to see what you do! I think redesigns of smaller spaces make a big impact. Good luck with your floors! 🙂
Thank you! I haven’t been so ready to dive into a project in a long time!
Your home is lovely as is, but I can’t wait to see how you enhance it further!
Thanks so much Traci! It is a room that gets A LOT of use and really deserves a pick-me-up!
I love the idea of the casual, beachy look! I can’t wait to see the 6″ plank flooring you put down, its going to look amazing!
Thanks Sherry! I hope I don’t disappoint
WOW this looks like a space with amazing potential- excited to see what you do with this sweet little cottage of yours!
Good luck Maureen. Your space has “good bones” to work with.
I too plan to do a little seat of the pants decorating. Looking forward to seeing the transformation!
Look forward to keeping up with your room…..it has good bones so I know with a few changes it will look great!
Can’t wait to see your changes! First time here… I’m tackling our master bedroom in the ORC 🙂 Good luck!
Love your look and that mirror! Shabby chic, French cottage is definitely my style! Can’t wait to see the progression! Good luck from one ORC gal to another!
I just love this floor and would love to do the same in my bedroom but I have a question if you could answer it for me. I walk around barefoot most of the time and I am concerned about the finishing nails working their way up and out of the plywood planks. Have you noticed this happening with your floor? Also did you do any spacing between the planks to allow for expansion and how much space did you use between them if you did? If you left expansion spaces, what did you use to guage them? I love how your stain came out and love the look of it. It has a lot of character to it. Thanking you in advance for your response in advance. Great job on your floor!!!
Great questions Sandra! The floors have been down now for almost 4 months, and so far no nails have popped up. I am a barefoot girl myself! We did have to bang a few down with a hammer prior to beginning the finishing process. Again, I wanted rustic and lived in, so was not concerned about any hammer marks. I actually like the way the stain “settled” into a few of them. We spaced the planks with dimes! We found that they gave the perfect expansion space, not too wide. A few of the planks had to be held tight against the dimes by one of us while the other nailed. I think it depends on the room! There has been no shifting or expansion what-so-ever! We also left about 1/4 inch around the perimeter as the baseboard covered over this nicely. Feel free to get in touch if you have any other questions!
Thank you very much Maureen. I will take your tips to heart and thank you for a very informative article on these floors. I am on a budget and need to save wherever I can and I think this will do the trick for what I want. Do you think an extra slight hit with a nail punch would do for more security on those nails from not popping up without going all the way through the boards? I’ve never used a nail gun before so I don’t know how they work as far as getting the nails in securely and not sticking up out of the wood.