
How to Add Aged Patina to New Clay Pots
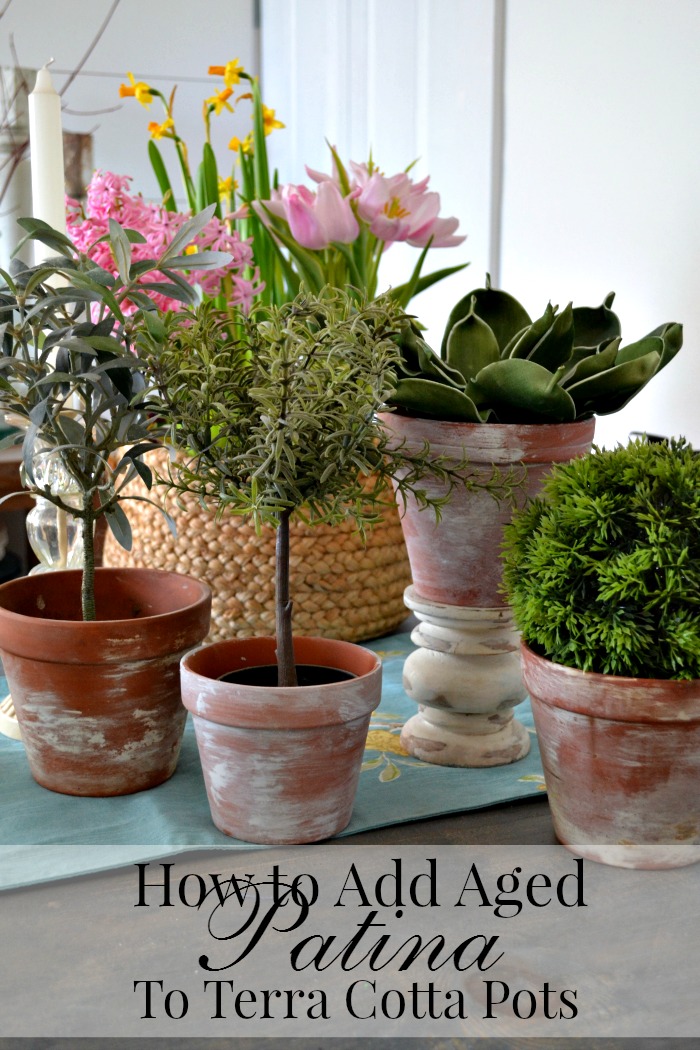
There is just something about the aged patina of old clay pots. You just know they have been around for years and lovingly filled with plants and flowers of all kinds. Even when they sitting empty, stacked up on a potting bench they are like a work of art.
I, for one, do not have the patience to wait for this natural aging process to take place. And secondly, chances are my pots would be broken long before they even got the chance to develop any sort of patina!
I have read many different tutorials on how to achieve that perfect weathered patina. Everything from yogurt to buttermilk to chalky lime. Most of the recommended methods still can require anywhere from 6 to 8 weeks to see the patina develop.
Today I am going to show you how to age a terracotta pot in just two easy steps!
This post may contain affiliate links for your convenience in finding the products that I use in this tutorial. I may receive a small commission if you choose to make a purchase however the cost to you does not increase!
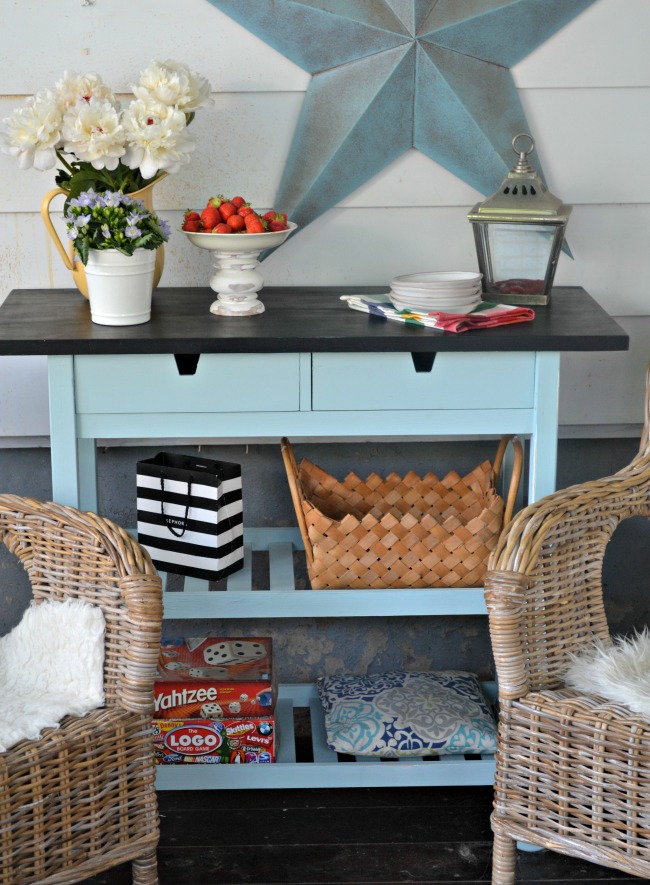
Usually when I am working on a project, whether it is a thrift store upcycle or styling a space, I tend to fly by the seat of my pants. Take last year for example, when I was dressing my front porch for summer I decided that I really needed some of these aged pots to make the whole look come together. Of course I made this decision as I was actually putting things into place.
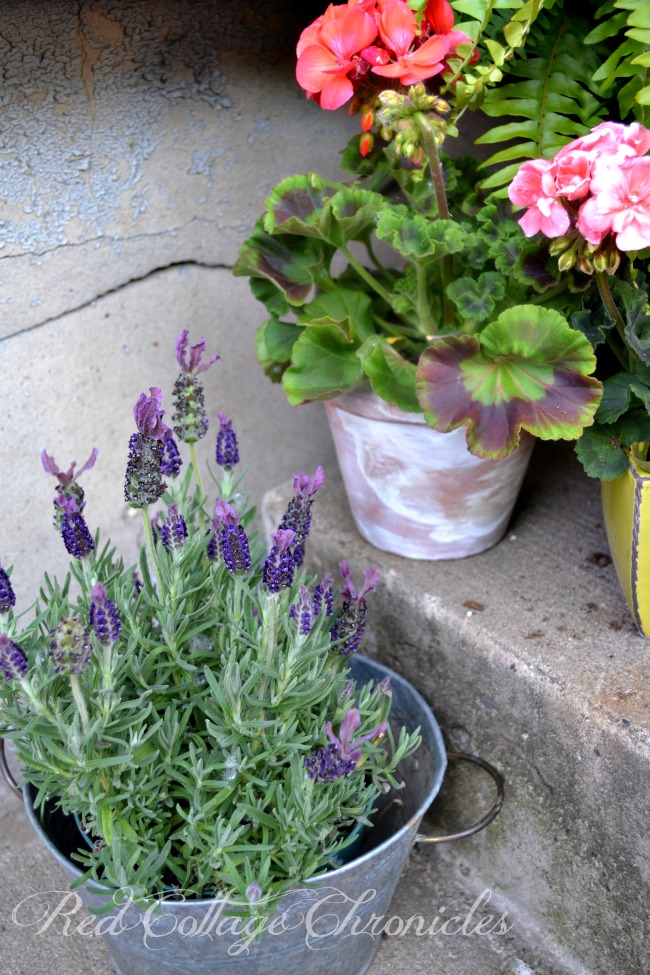
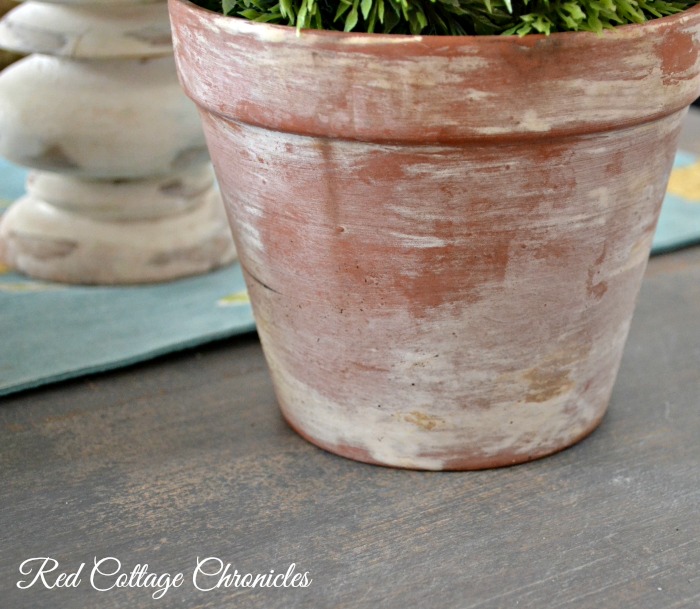
I picked up some cheap Terracotta pots and used some RustOleum Chalked Paint in Linen, a cheap paintbrush and a wet paper towel to create that old weathered patina I was looking for.
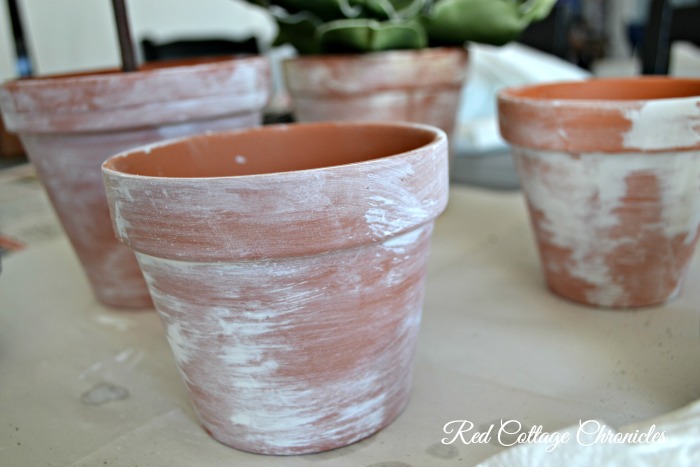
I was really quite happy with how they looked right off the bat, but I noticed by the end of the summer that they are starting to develop an even better patina with some spots turning a pale mossy green. A win-win really. I got the look instantly, and it looks like it will only get better with time!
Here is how I turned new, inexpensive clay pots into ones that look like they have spent years weathering in the garden:
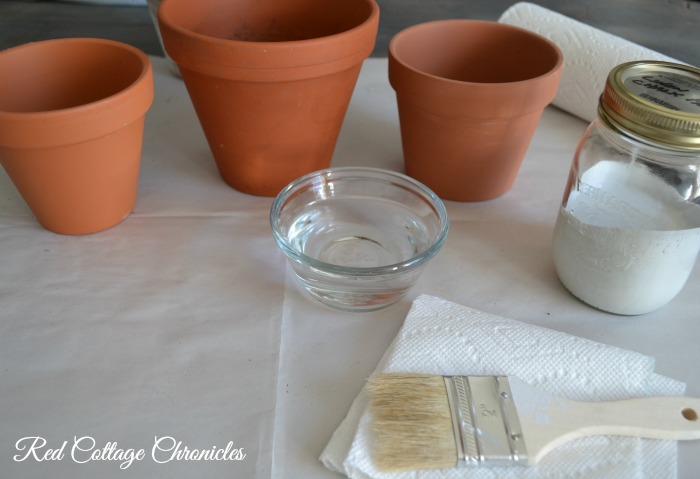
You will need terracotta pots, RustOleum Chalked paint in Linen, paper towels, a bowl of water and a paintbrush. I prefer a cheap brush to a sponge brush as I think the brush strokes add a bit of character.
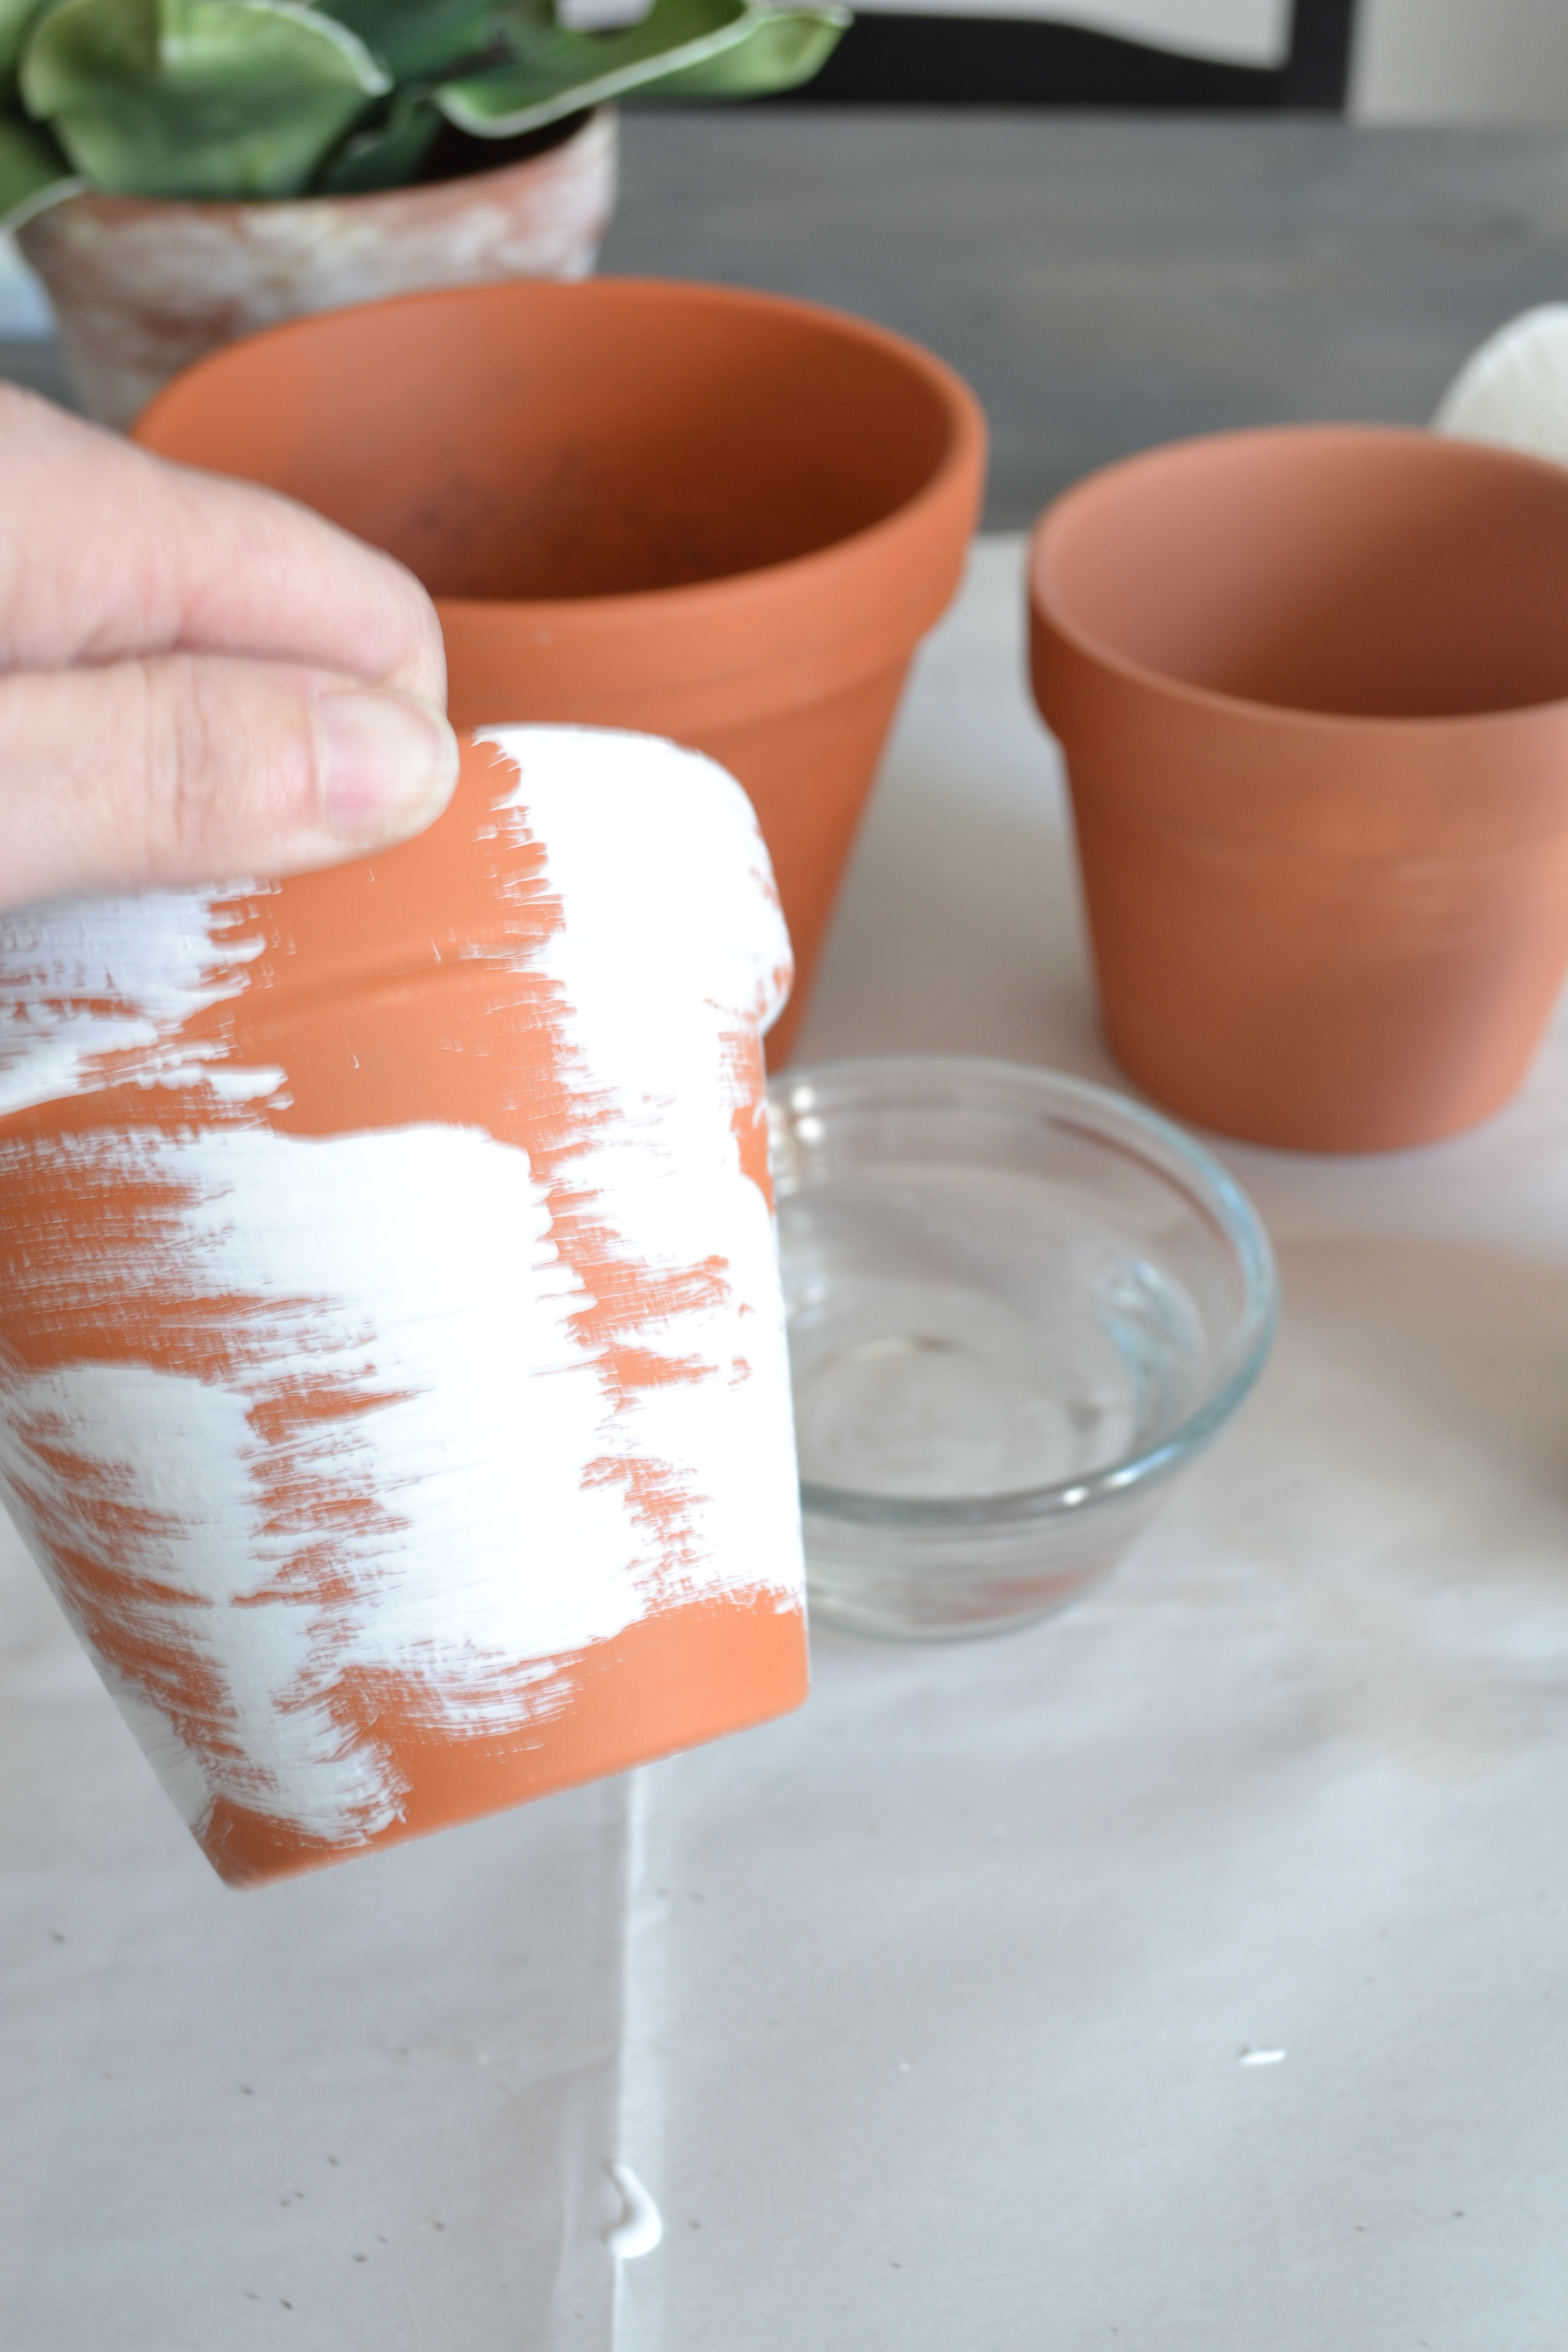
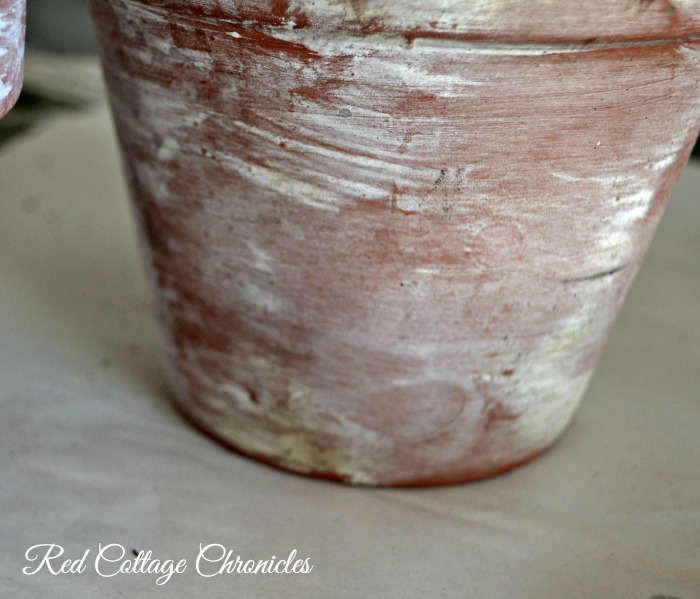
Randomly brush patches of paint onto the pot, thicker in some areas and light wispy strokes in others. There is no right or wrong here.
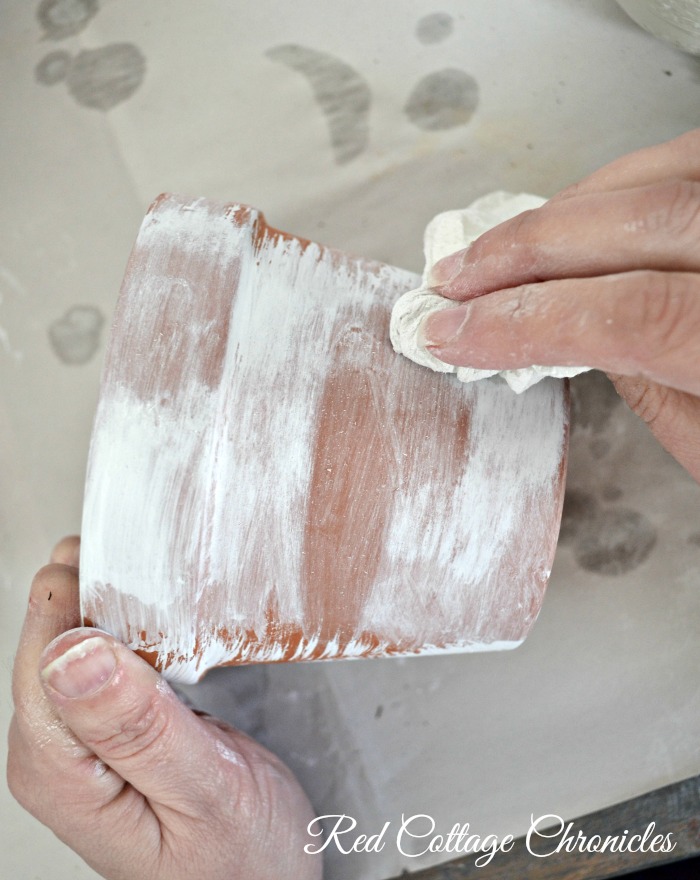
Dip a paper towel into the bowl of water, squeezing out the excess. You don’t want it too wet. Using varying pressure, smudge and blend the patches of paint. Some areas you will want to just blend thicker patches, while other areas you will want to wipe almost all the paint completely off just leaving a translucent haze.
Re-wet the paper towel as necessary and continue blending until you achieve the look you want. It really is foolproof. If you take off to much either blend in more from a thicker patch or add a bit more with your brush.
Fill with your favorite flowers or plants, and come summertime set them out into your garden where they will continue to age and patina when filled with soil and exposed to the elements!
At the end of the season I empty some of mine of the plants and soil and bring them indoors. Some I just take out the plant but leave the soil, and just leave them out in the shed.
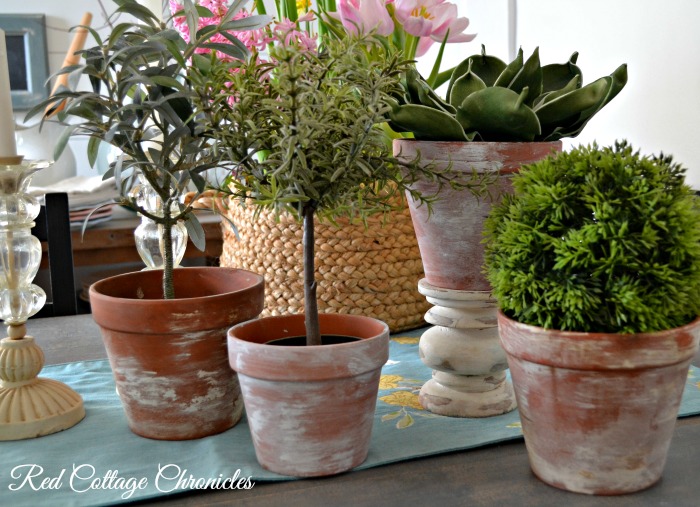
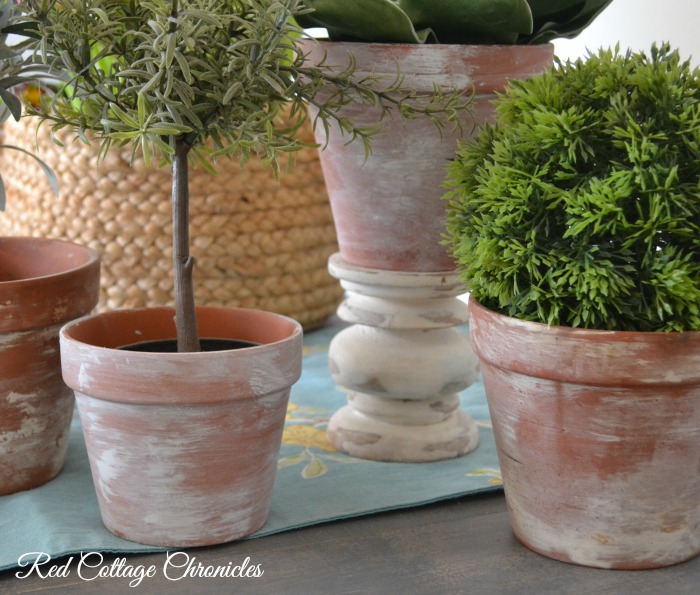
These ones have been dressing up my mantel and dining room, just waiting to be re-potted with whatever colorful annuals that catch my attention this spring!
Until next time….


Seriously in love with this look! Need it to warm up here. I am ready for spring.
I love the aged patina you achieved on these pots Maureen. They look amazing!!
Thank you for sharing them this week at Create, Bake, Grow & Gather.
Just dropping back to let you know that I’m featuring your post at Create, Bake, grow & Gather today. Thank you for sharing your creativity 🙂
Well, that is fun new! Thank you 🙂