
DIY Farmhouse Table
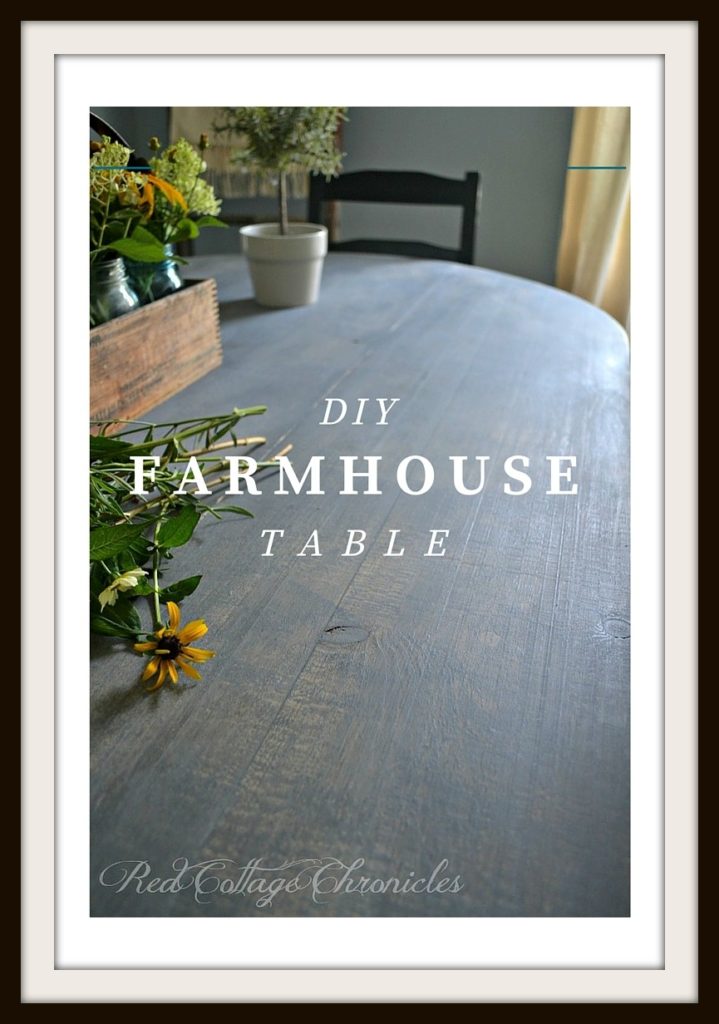
I am so excited to be sharing this post with you today! Our DIY farmhouse table is finally finished and I couldn’t be happier with how it turned out.
The table itself has been finished for at least a couple of months. I finished it using Amy Howard at Home One Step paint and Liming Wax, left it for a month or two and then finally had the chance to tweak it ever so slightly resulting in a table I am absolutely loving!
Isn’t funny how just the smallest of tweaks can make or break how you feel about the finished project. If you ask anyone in my family what exactly I did differently, they would have no idea I did anything at all. I think it is the Libra in me. I have to weigh all the options before finally committing!
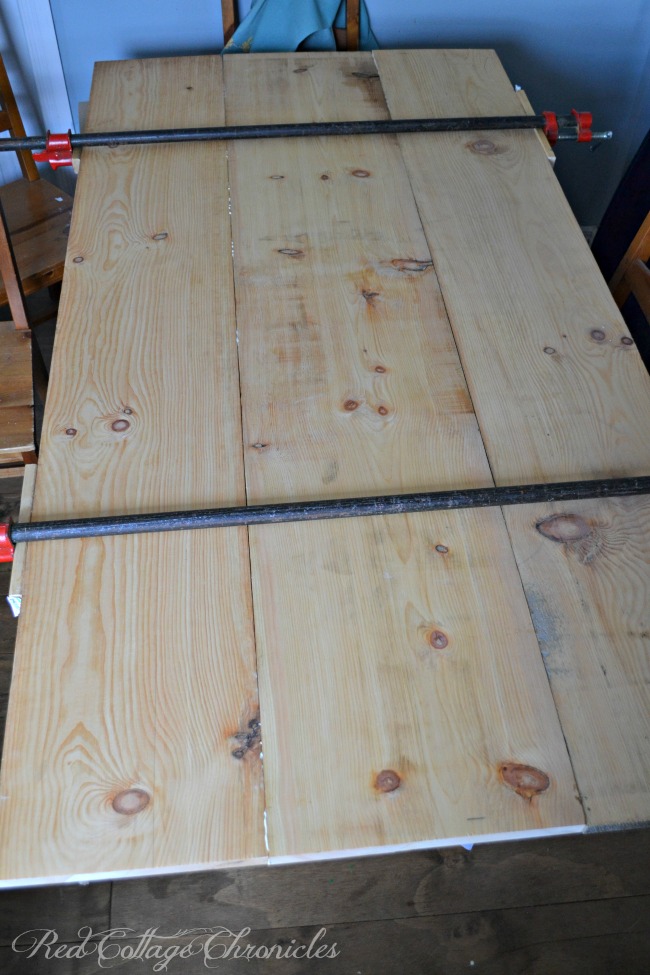
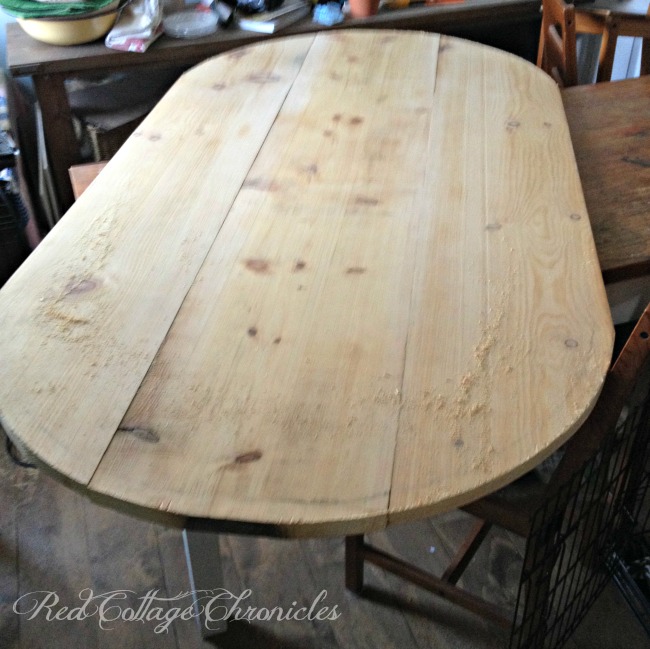
We used rough sawn pine lumber for the table top in two different widths. The wider plank is in the centre, with two narrower planks on each side. Tim glued, then clamped them together.
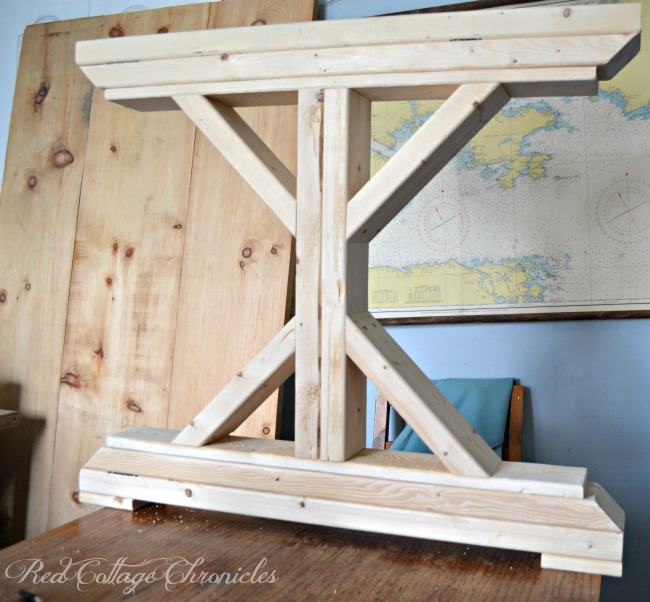
He then built the legs using the same pattern we used for our outdoor harvest table, and just scaled them down slightly to fit the table top.
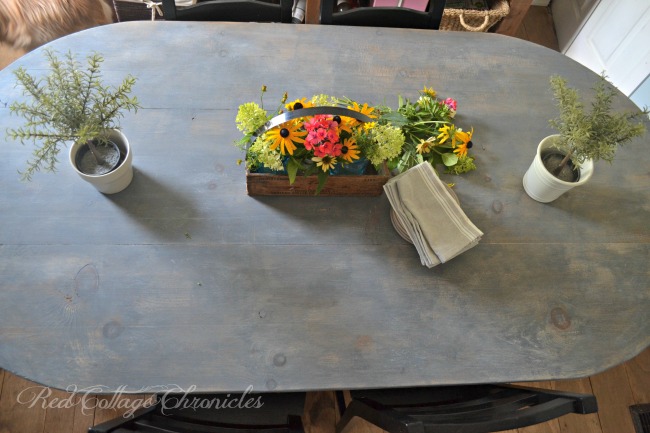
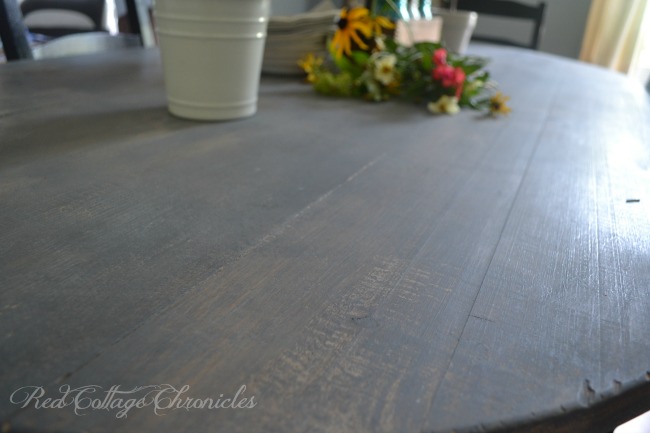
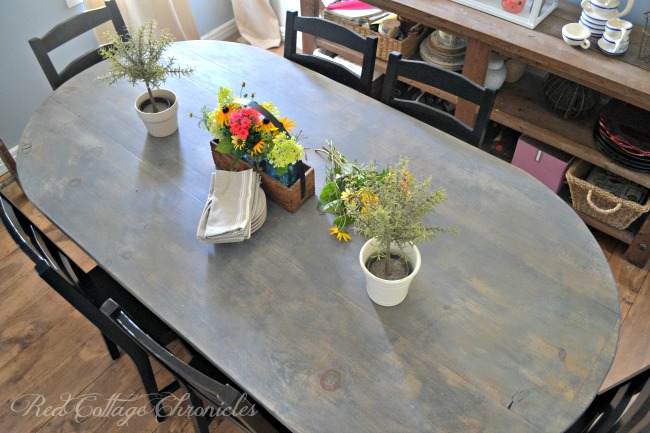
My inspiration for our farmhouse table came from one of my favourite movies “It’s Complicated”. I just love how the ends are rounded without making the table look completely oval. Does that make sense to anyone else but me?! See what I mean….
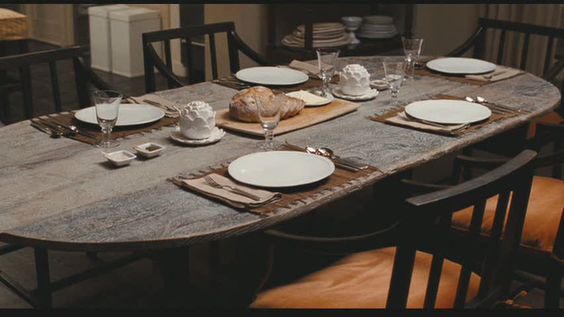
I have no idea what the dimensions of my inspiration table are, but I have a feeling ours is a bit scaled down! Ours measures 38″ wide by 72″ long.
When it came to cutting those ends, I was really nervous that we wouldn’t get it right. I had visions of the table becoming shorter and shorter as we tried to get even cuts on either end. Let’s just say I put it off for longer than I should have.
One day while I was at work, Tim was home on a day off and this picture came across my iphone! I nearly had a heart attack! He took things into his own hands and made the cuts himself. He jigged up a compass kinda thing and just went for it!
One more reason why I just love that man!!

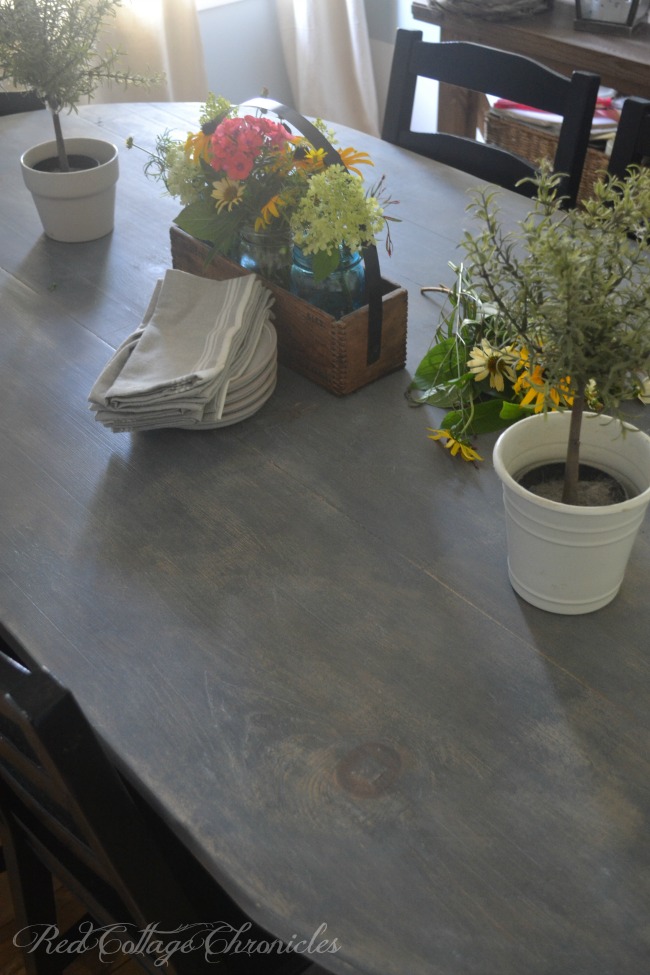
When it came to actually finishing the table I really wanted to try and achieve a look of a worn patina, with wood showing through, but with that grayish white tone of aged wood.
I did a little test on an extra piece of the rough sawn pine before I decided to tackle the real thing!
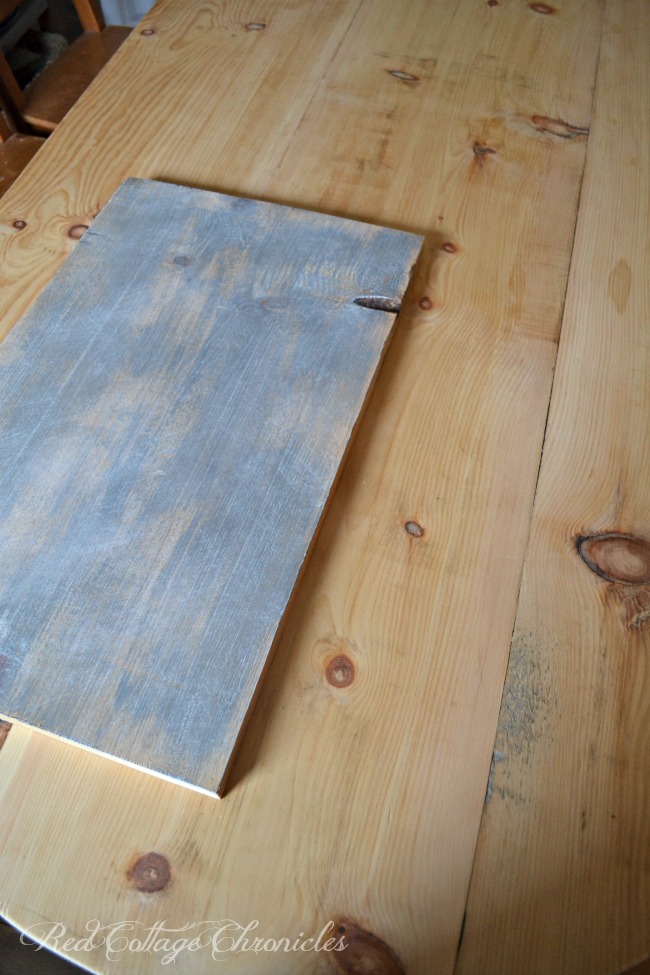
Let me just tell you, I am in love with the Amy Howard at Home line of paints and finishes. I used the One Step Paint* in “Good Man Is Hard To Find” which is a gorgeous shade of gray. I applied it using a brush with a light hand, leaving some areas of wood showing through, while adding a bit heavier application and then blending it in with a barely damp rag in other areas.
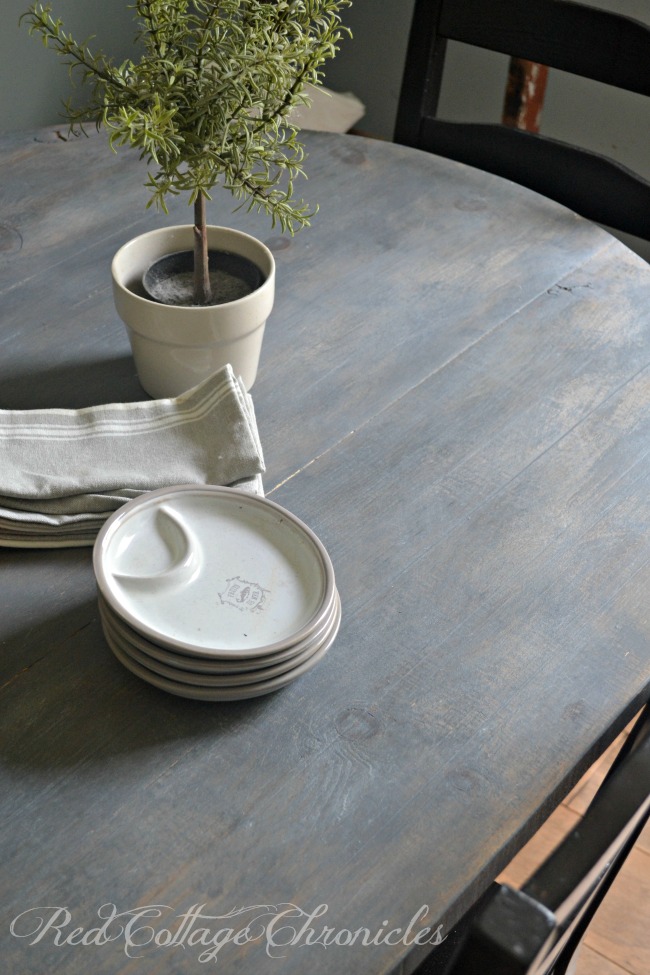
I finished it off by applying a coat of Amy Howard at Home Liming Wax. Oh. My. Goodness. I have been liming waxing everything!
As with the paint, I was a little heavy handed in some areas and lighter in others. I finished by buffing with a soft cloth and gently pushing it into the grain of the roughness and knots of the wood.
We have been using the table for about 3 months now and the finish is proving to be very durable. We don’t treat the table with kid gloves. I just use a damp cloth to wipe it clean when necessary.

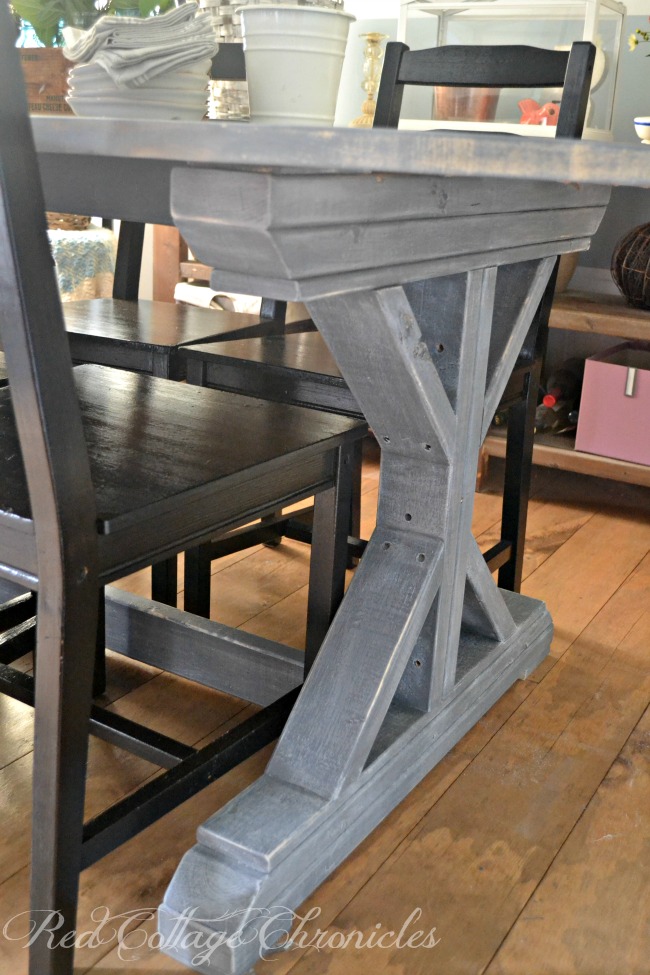
I sanded areas of the table legs and brace that would naturally have worn away over time with feet resting up against them. We thought of filling the screw holes, but so far I kind of like them like they are but I may decide to fill them in eventually. Decisions, decisions!
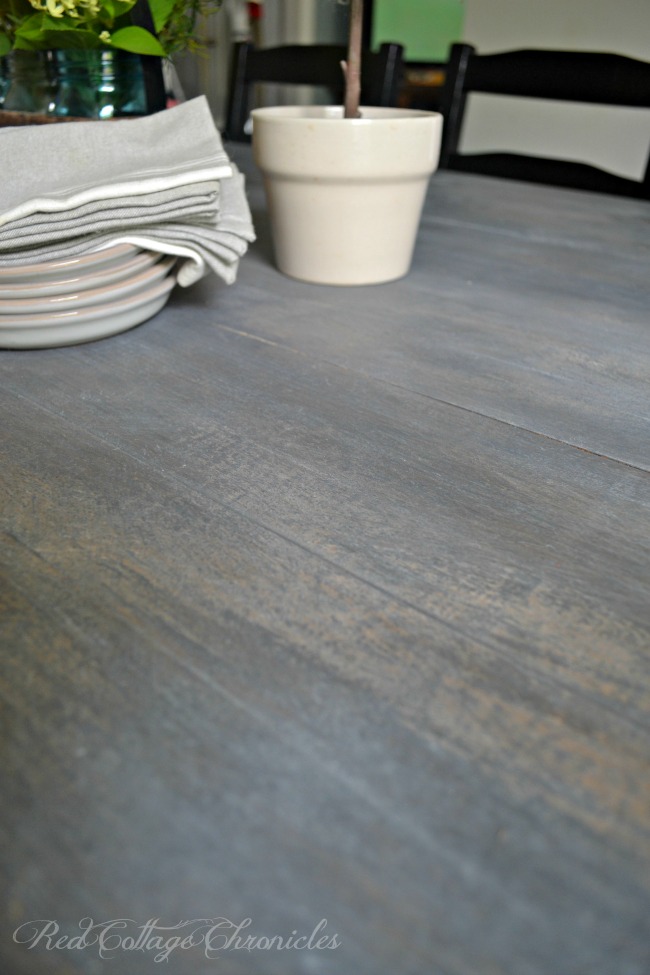
The finish on the table top required no sanding at all. Again, I simply used a damp rag to blend the paint and blur its’ edges while using a very light touch.

We took our time choosing just the right boards at the lumber mill. I wanted as much character as possible with deep groves and knots throughout.
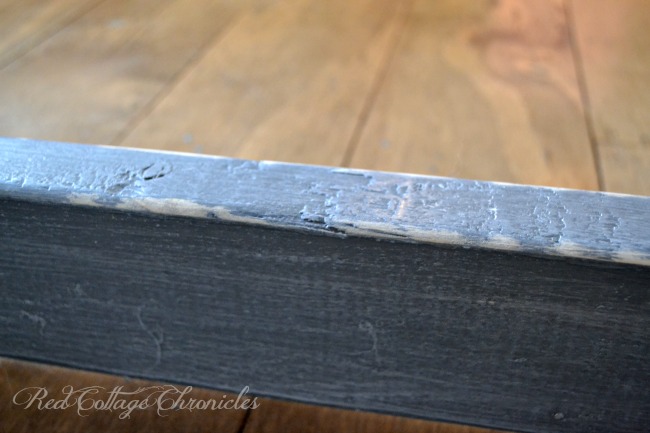
Using rough sewn boards gave it the character I was looking for. The edges were a wee bit chippy in some places, which turned out to be perfect for making the seams in the boards look worn and aged.
This project took way longer than I had hoped for. Much of that time was spent procrastinating. I spent too much time doubting the outcome and anticipating perfection but afraid I wouldn’t achieve it. In the end I wasn’t looking for perfection at all. Perfection can be so boring!

So what do you think about our new farmhouse table? Have you ever came across something you fell in love with but couldn’t find for sale anywhere?
I have been doing that a lot lately and there is no better way to acquire new skills than the hands on approach. With each new project I am procrastinating just a little bit less and trusting in the outcome a little bit more!
Until next time…

Disclosure: Amy Howard at Home provided me with complimentary One Step Paint and Liming wax to complete this project, however as always my opinions are completely my own! For you convenience this post contains affiliate links to the products used. If you click an affiliate link and decide to make a purchase I will receive a small commission however this does not change the cost to you!


Simply beautiful Maureen! I love that finish and I agree with you about that liming wax! I’ve been thinking about building a table for our family room and I’m going to keep those rounded ends in mind – I love the shape and totally get what you’re saying about the table not being oval!
Thank you Jeanie! We are really loving it!
It looks fantastic Maureen! The table is beautiful – hats off to Tim as well.
I love the set from “It’s Complicated” too, the house, her shop, its all so inspiring. Nothing better that seeing something you love and recreating yourself – a DIYer’s home run!
Thanks Kristin! When it comes to Nancy Meyers movies I watch once for the story and then several more times to admire the set!!
Such a beautiful table. All of that hard work and time has paid off. Something to be proud of. Great finish as well. Now on to other projects? Kudos to both of you. have a happy week ahead and thanks so much for your sweet visit.
Maureen, I love your table! You and Tim did a fabulous job! The finish is just perfect…congrats on a fantastic job and I know you will enjoy using it! Pam @ Everyday Living
Thank you Pam! I think we will be enjoying it for years to come 🙂
Love love love this! Great job,,great couple,,sending love
Awww! Thank you Robin! You really need to stop by and see it person 🙂
I love the table ~ but the chairs… I LOVE the black chairs ! I have wanted to paint mine, … NOW I am going to go black ! Love your thanks for the inspiration.
Thanks so much Alicia! These are old chairs from a (really cheap) Ikea set we bought my daughter when she went off for college!! I decided to paint them until I found the exact chairs I want. Turns out painting them black has made all the difference 🙂
So beautiful I am hoping to make one also. I just need a wall to come down in my kitchen first. But it is definitely in the plans!
I’m in love with your farmhouse table!! Pinning and saving for future reference!! Hubby gets some kuddos for this one!!
Thanks Amy! I am so lucky he is always on board when an idea strikes me!!
Hi Maureen, Your table is beautiful!!! I’m glad I came across your blog! I’m building a table within the coming weeks and definitely will be looking to yours for inspiration. I have a couple questions if you’re able to help… First, where do you go to find rough sawn lumber? (I saw you mention you’re Canadian. Where are you from?) …Actual second question: What did your husband use to cut the circular ends? I recently used a jigsaw to cut circles and I’m afraid it couldn’t make them look as nice as your hubby did! Thanks so much! Oh, and the paint/finish is absolutely beautiful as well!!!
Hi Heather! Sorry for the delayed reply. I am in the Niagara area and get all our specialty lumber at The Wood Shed in Smithville. Tim did use a jigsaw with a brand new sharp blade. It did require some sanding to get things smooth. So glad that you stopped by!! Any other questions don’t hesitate to reach out!
It really does gives a farm house vibe. The grey color makes it so unique and makes it look so soothing. The capacity is also great. Really loved the design and hopefully one day will make one like this. Thanks a lot for this amazing table design.