
DIY Christmas Topiary

At the risk of sounding like a broken record, sticking to a budget this Christmas is priority #1! So far, I think I have done pretty darn good.
I have always admired the gorgeous topiary’s I have seen around blog land, but the price tag was a bit more than I was willing to pay at some local shops. So, I decided to try my hand at creating a pair for Christmas to flank my kitchen sink.
It started with a trip to Michael’s with coupon in hand for 25% off total purchase, sale items included!
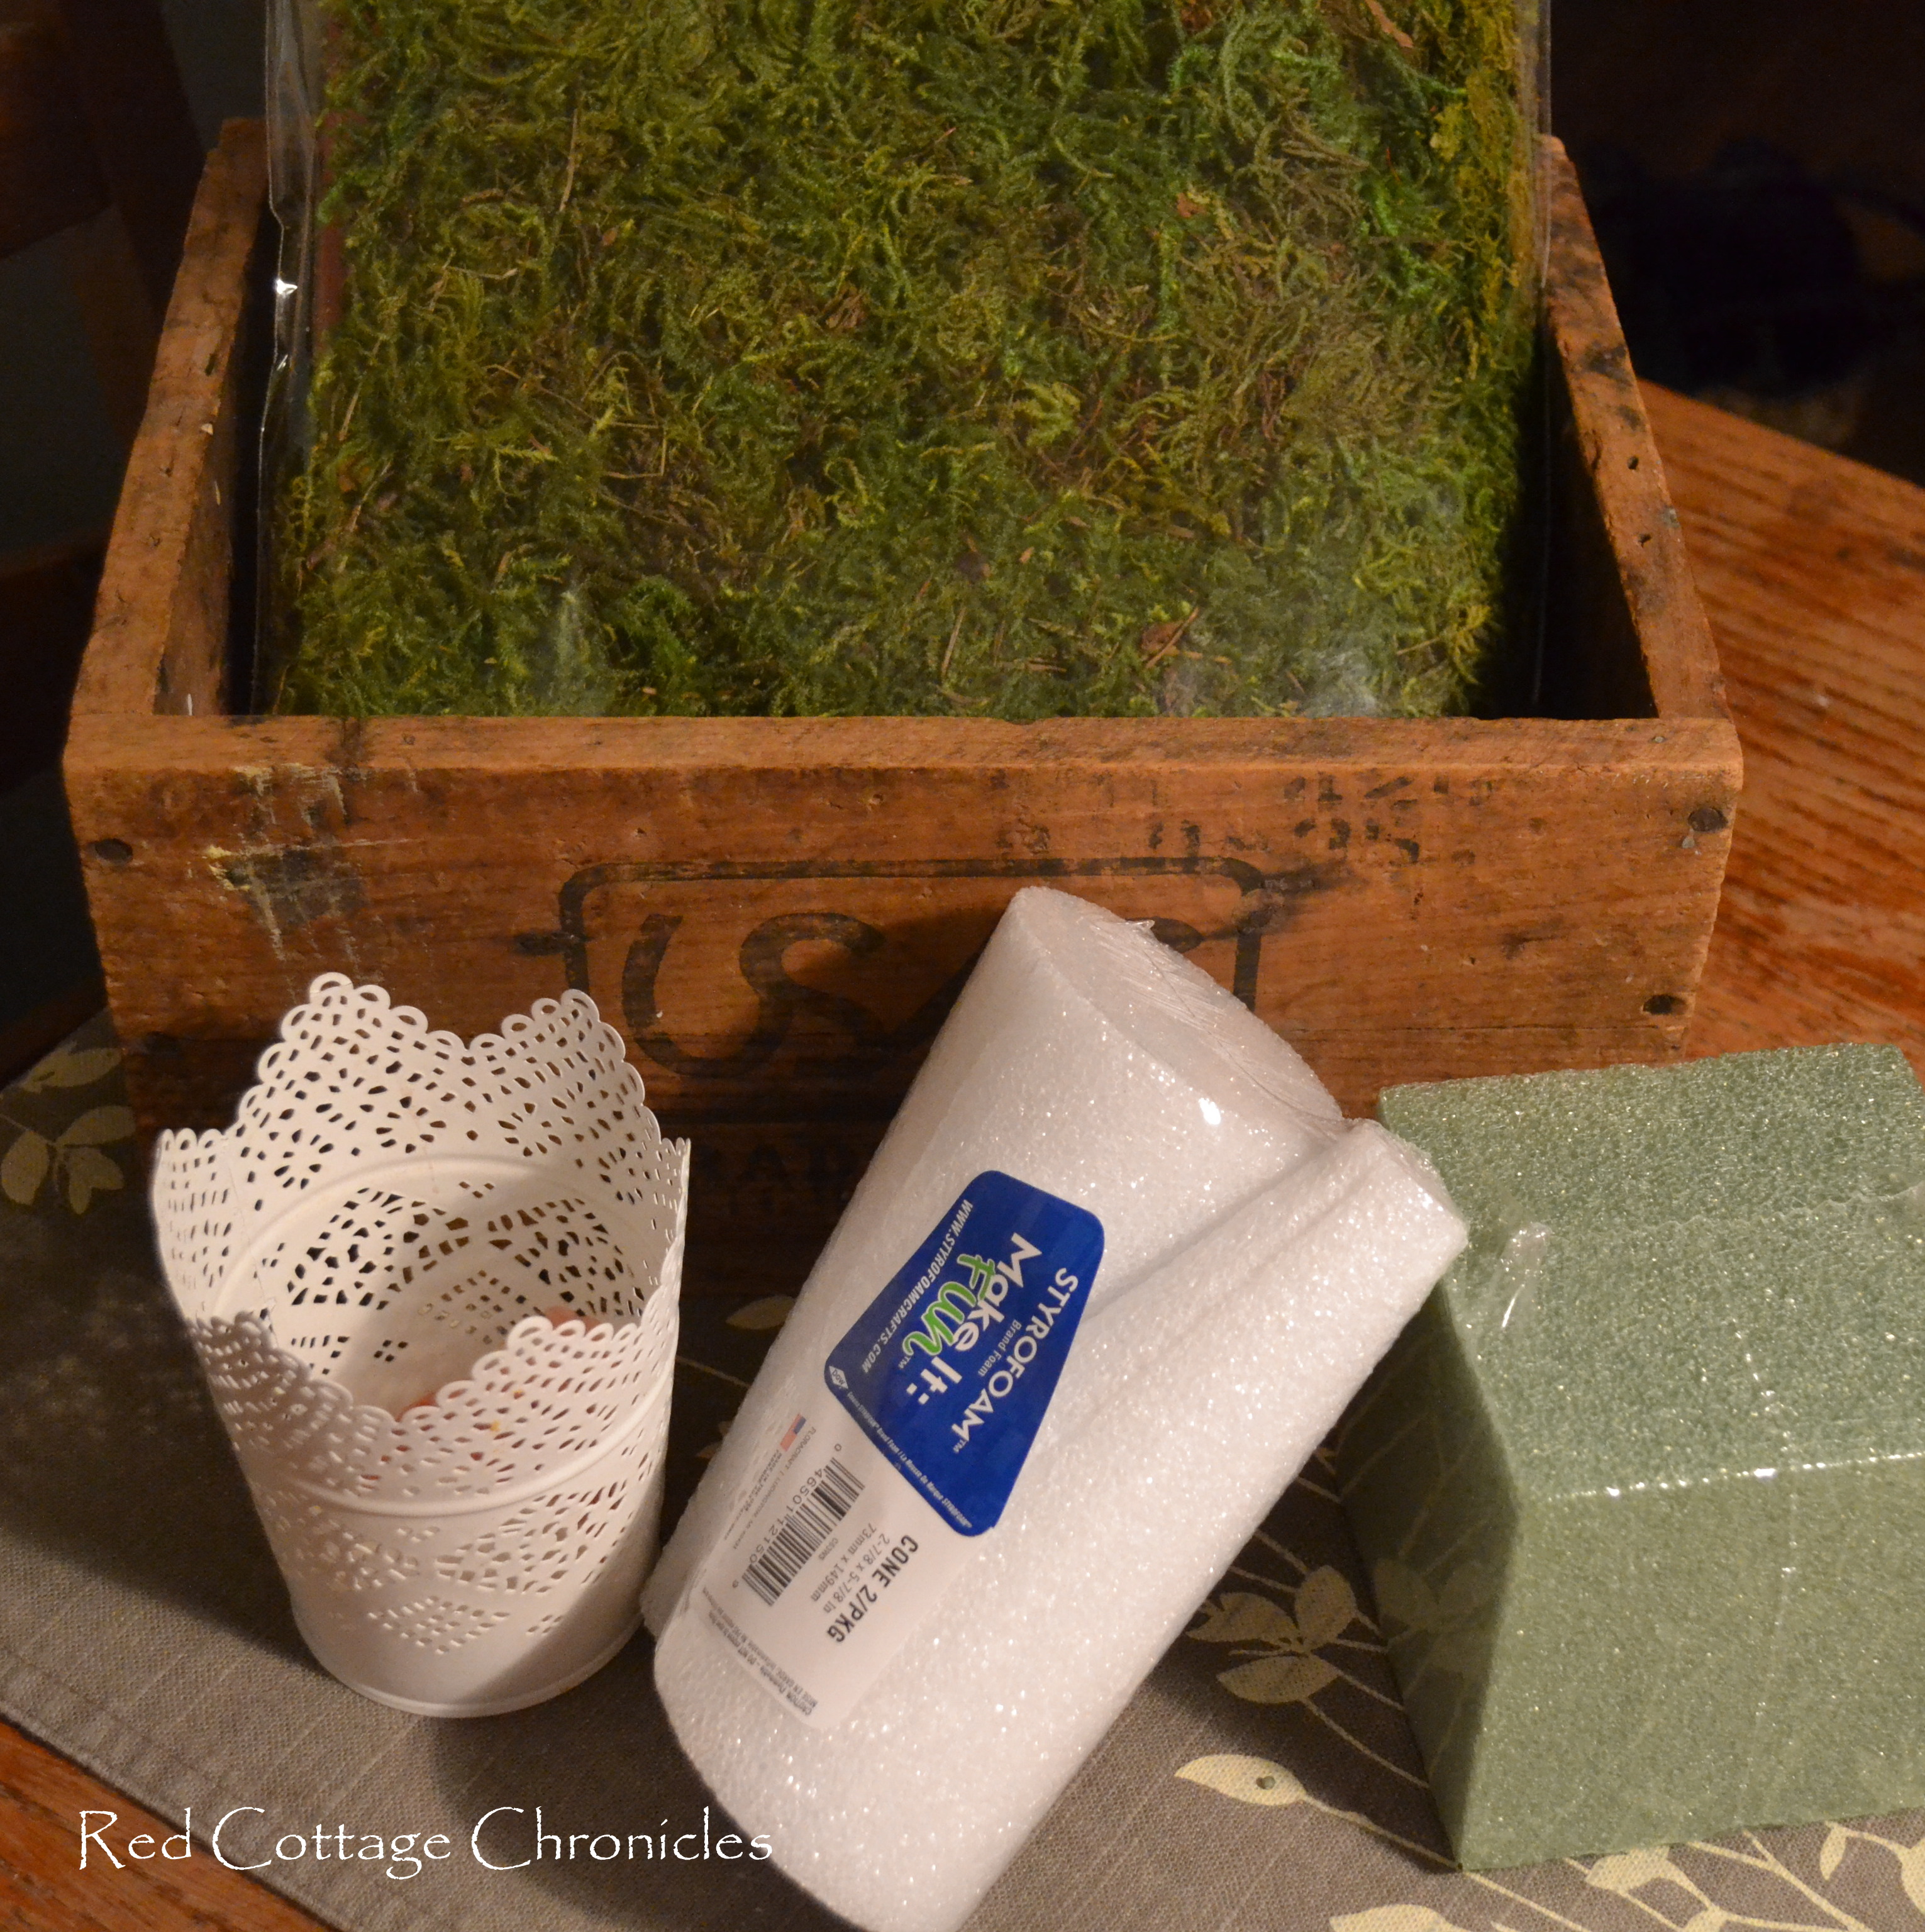
I picked up a bag of moss and 2 styrofoam cones. Both on sale, plus an addition 25% off!
Next was the dollar store to pick up some dry oasis.
I already had two cute tin containers from Ikea, and grabbed a couple of sticks from my hydrangea tree out back. Some Christmas ribbon left over from last year finished the look.
Total spent was about $12.
I got right to work and was so engrossed in the process I forgot to take many pictures.
I started by hot gluing the moss randomly onto the styrofoam cones starting at the bottom and working up to the tip. It has been a long time since I worked with hot glue and had forgotten just how darn hot that glue gets!
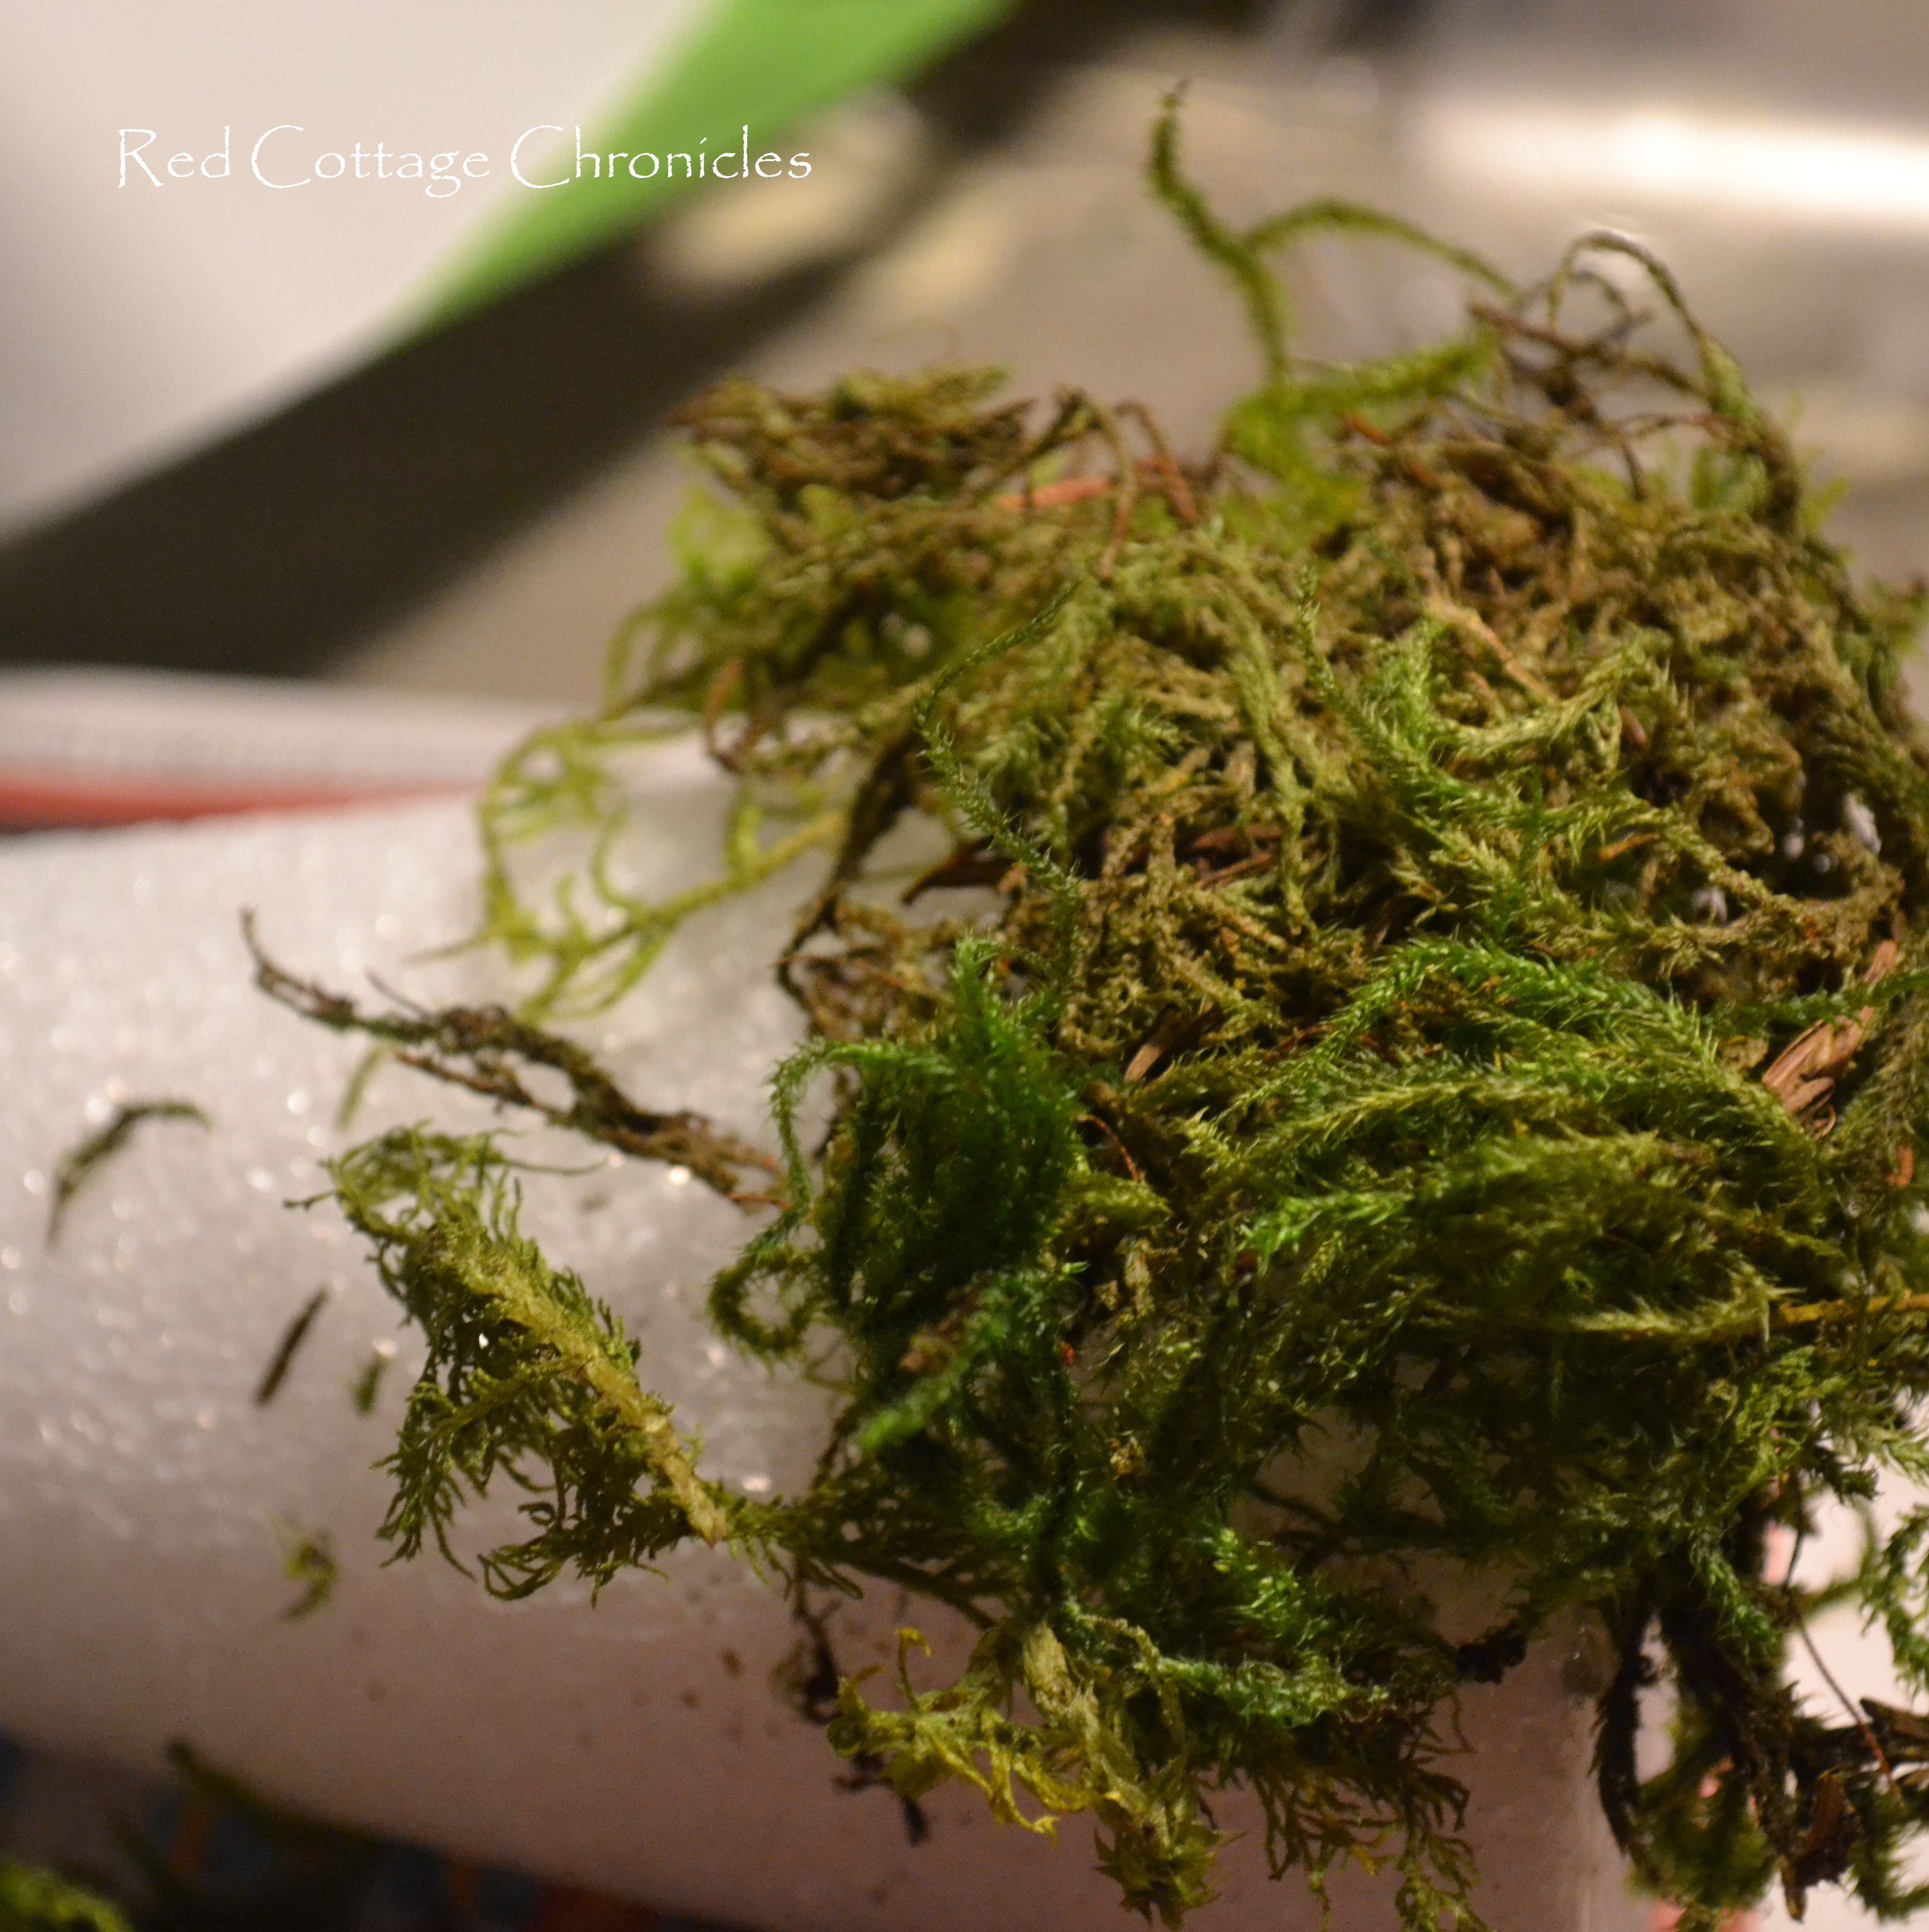
Keeping gluing on the moss until the cone is completely covered, bottom included.
At this stage I was a bit concerned about my crafting abilities! It certainly did not appear cone shaped at this point with moss jutting out in all directions.

Nothing a good trim couldn’t fix though! Cutting off all the random pieces that were sticking out made all the difference!

And, while I didn’t take a picture of this step, it is pretty self explanatory. I firmly inserted a stick into bottom centre of each cone.
I cut a piece of dry floral oasis to fit each tin container tightly, and then stuck the topiary top into the foam.
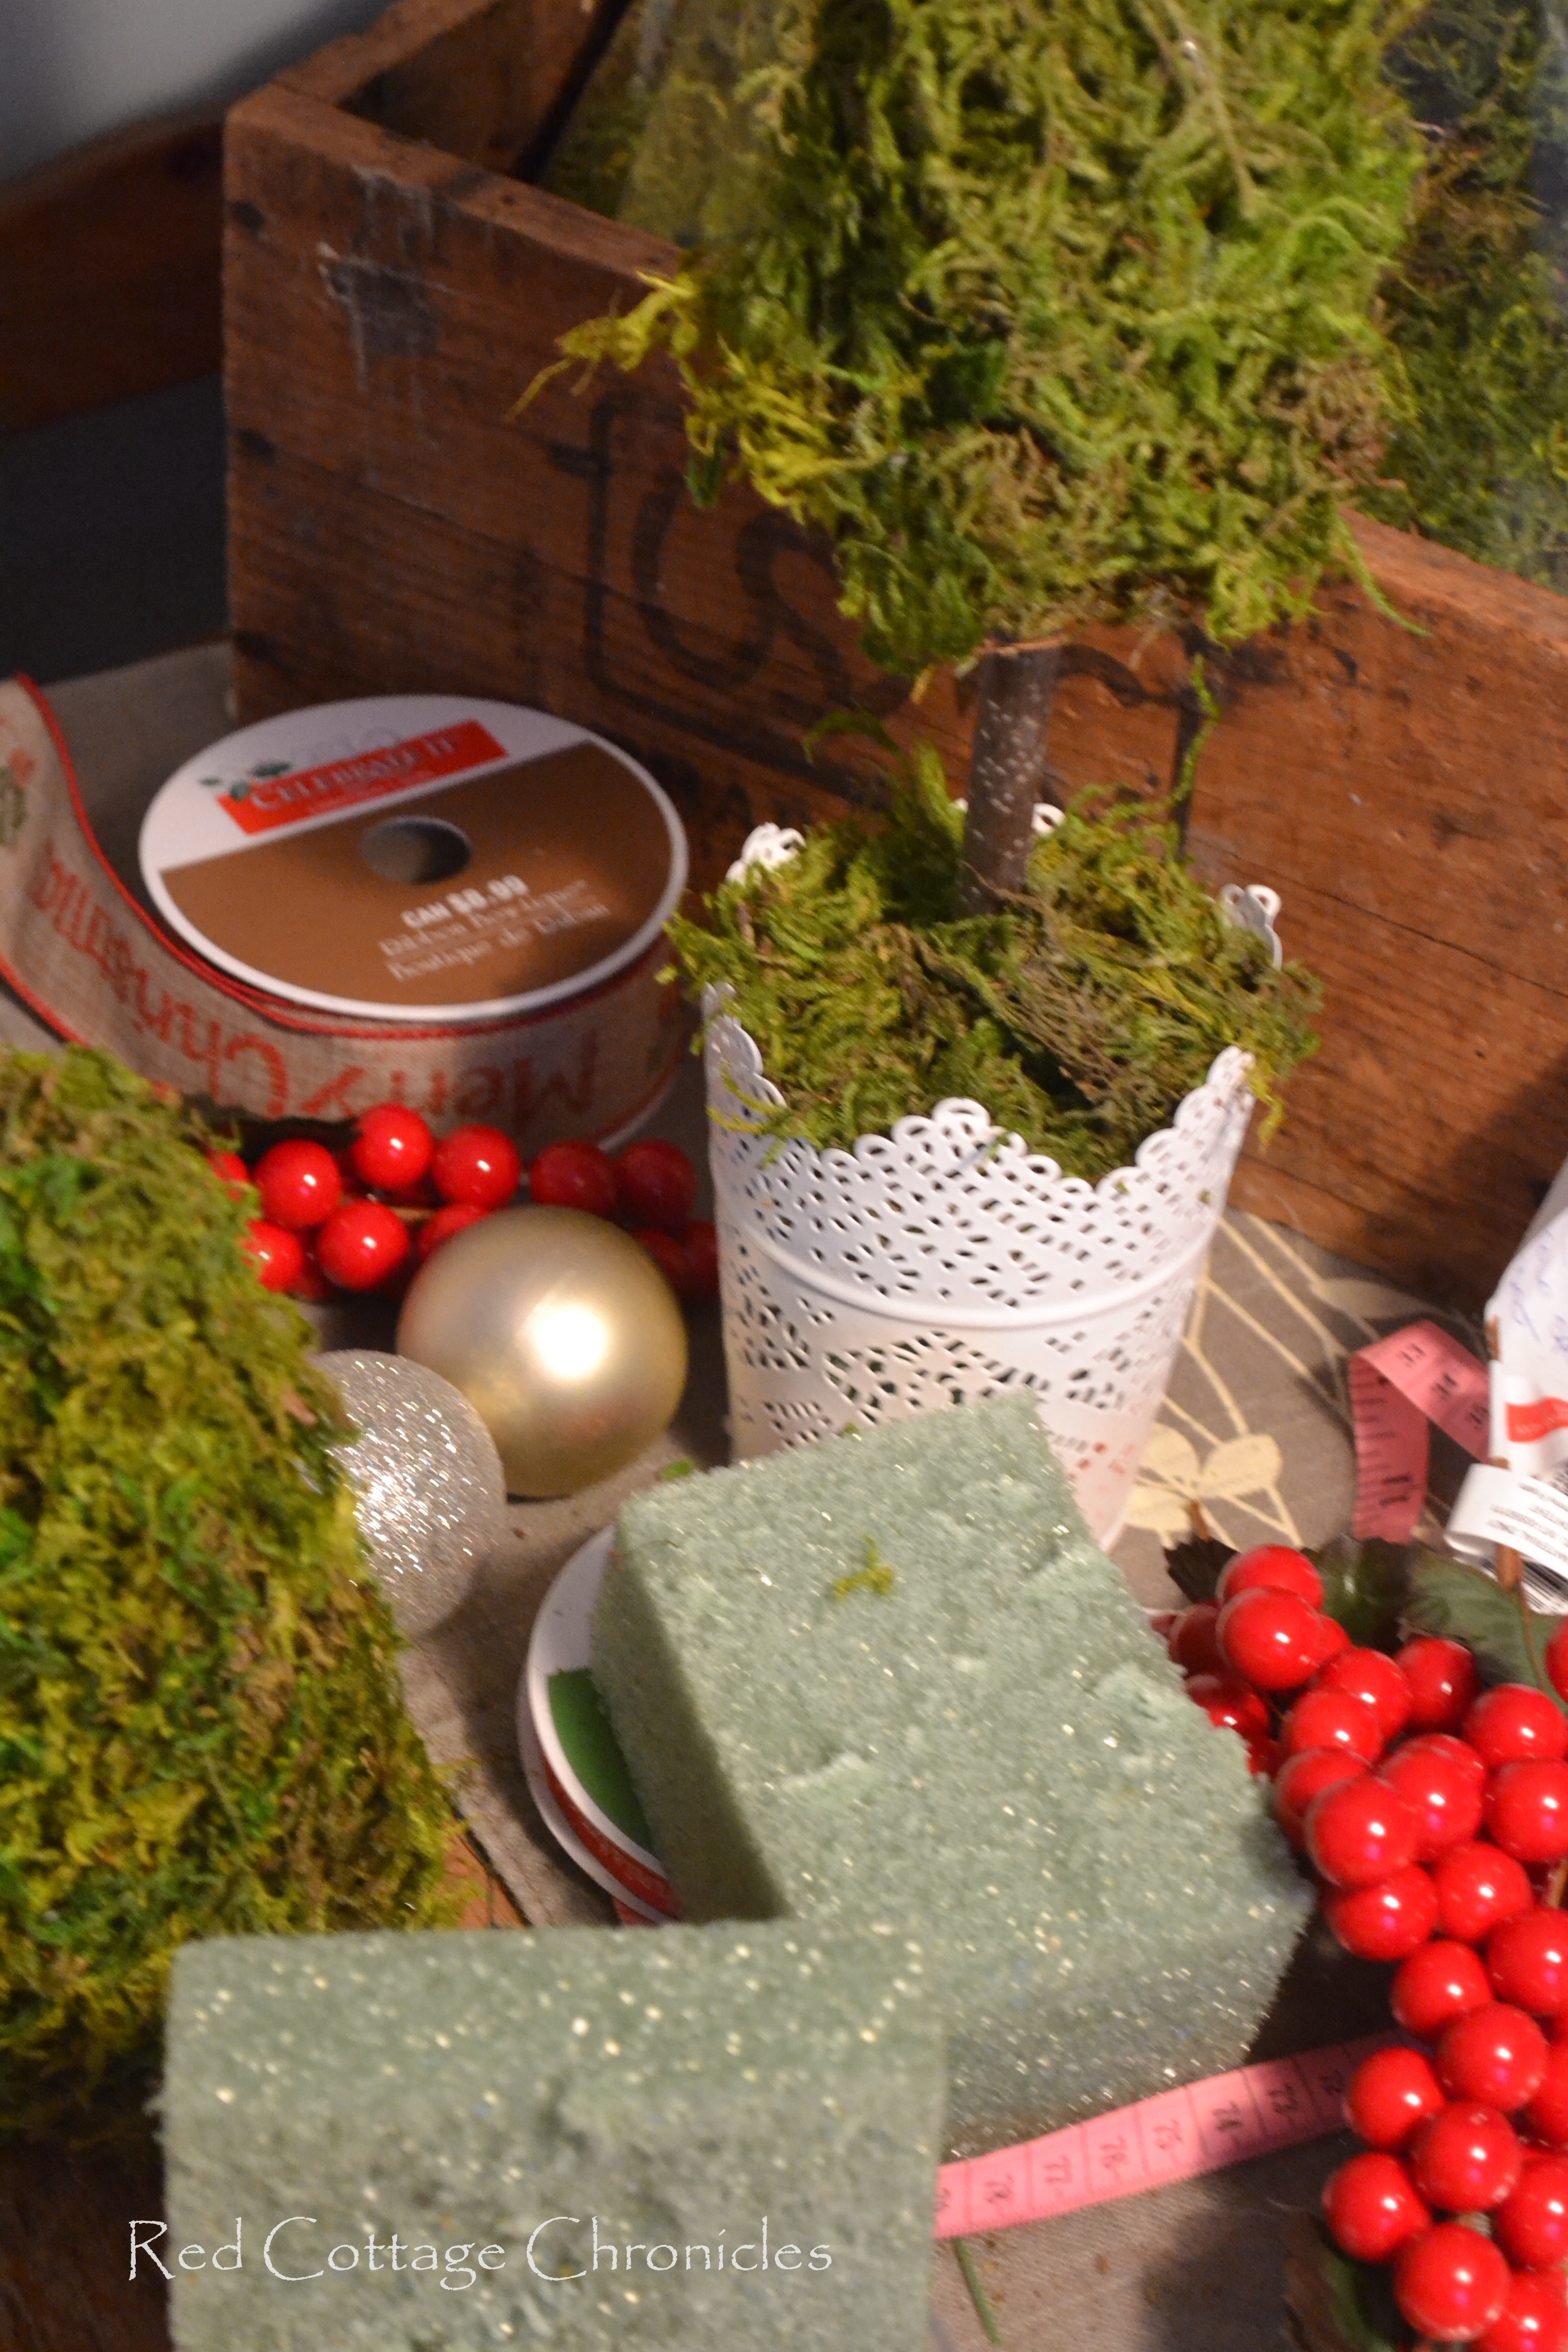
I covered the foam with moss, and tied a simple little bow around each stem. Three red berries (I had left over from another project) add a festive touch to each one.

Ta-da! Two cute DIY Christmas topiary tree’s. Perfect for a fireplace mantel, a dining table, or anywhere else you want to dress up for the holidays!
And, when Tim gets my new-to-me kitchen sink installed, they will sit very nicely on either side, adding a touch of Christmas to the kitchen.
And to get the most bang for my buck, I have a plan to make them work well beyond the Christmas season!
‘Til next time!
Maureen
If you haven’t joined my subscriber list yet, enter your email address below and get an email notification when a new post is published!


2 Comments